Why Your Garage Door Won’t Close: 4 Primary Causes and Fixes
When a garage door won’t close, the issue almost always stems from safety sensor disruptions, travel limit errors, track blockages, or signal interference. Resolving these four root causes cures over 80 percent of daily closing failures without requiring heavy mechanical overhauls. Contacting professional garage door repair services can resolve major failures, but simple checks often restore full function quickly.
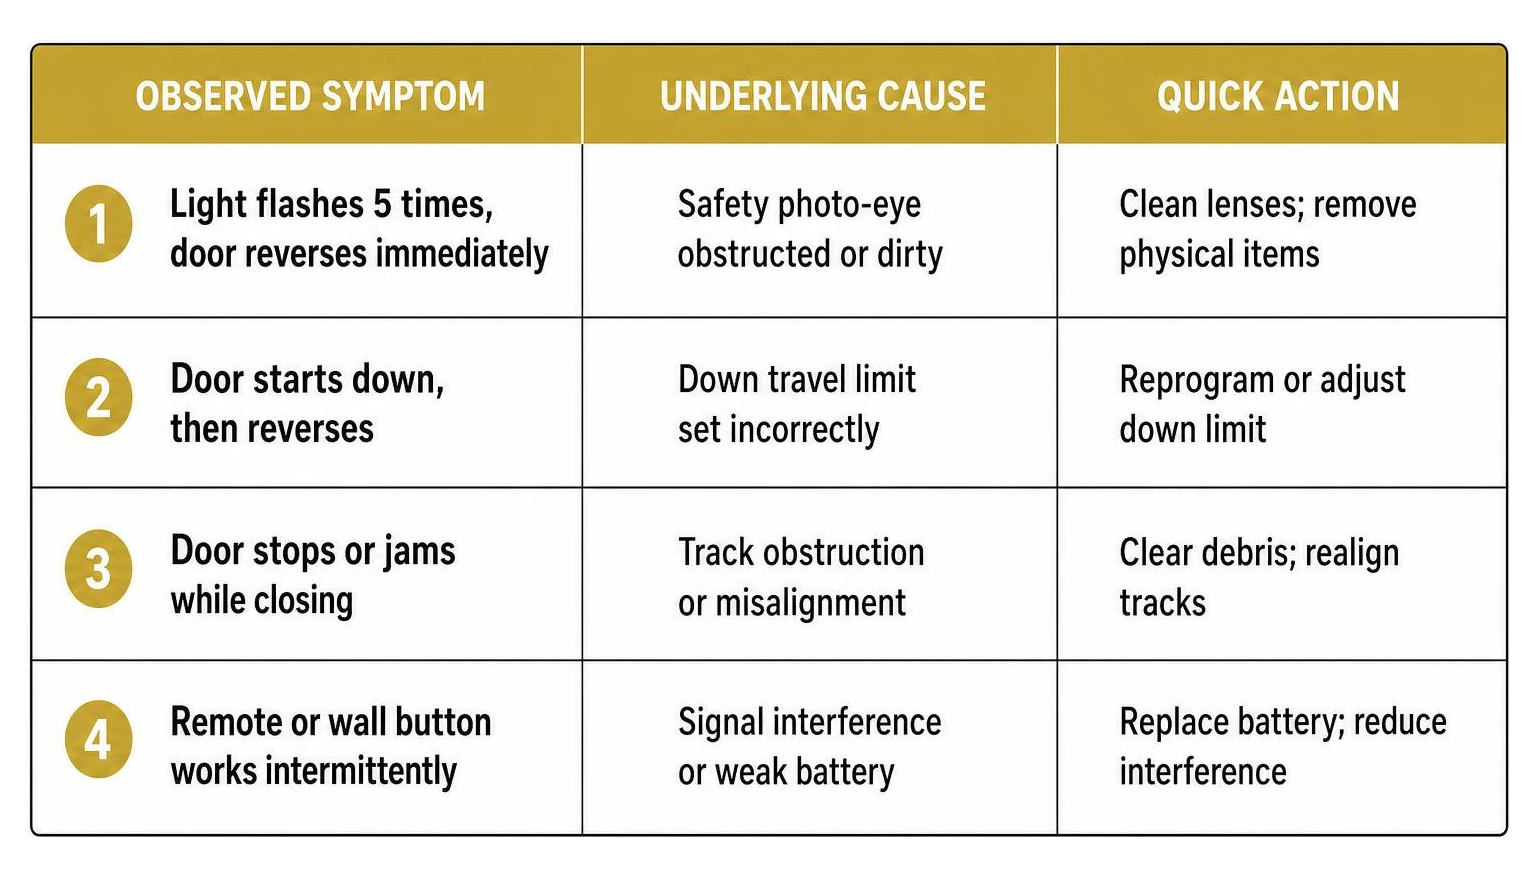
Understanding why your automatic opener behaves erratically starts with recognizing its symptoms:
| Observed Symptom | Underlying Cause | Quick Action |
|---|---|---|
| Light flashes 5 times, door reverses immediately | Safety photo-eye obstructed or dirty | Clean lenses; remove physical items |
| Door touches floor, then bounces back up | Down-travel limit set too far | Turn down-limit screw counter-clockwise |
| Opener hums, but door remains stationary | Trolley disconnected from operator | Re-engage emergency release cord |
| Remote fails, but wall button operates door | Dead transmitter battery or RF noise | Replace battery; check lock mode |
Fix 1: Clean and Realign Safety Sensors When Your Garage Door Won’t Close
Federal safety standards (UL 325) adopted in 1993 require every residential opener to feature photo-eye safety sensors, and the U.S. Consumer Product Safety Commission explains automatic garage door opener safety requirements for entrapment protection. Mounted 6 inches off the floor on both sides of the door track, one sensor sends an invisible infrared beam while the other receives it. If anything interrupts this light path-or if the lenses are coated in dust, cobwebs, or salt residue-the opener immediately stops the door and reverses direction to prevent crushing accidents.
If your opener lights flash 5 times and beep when attempting to close, your sensors are signaling an obstruction. First, wipe both optical lenses with a dry microfiber cloth. Next, check the LED indicator lights on each sensor body. The sending sensor displays a steady amber light, while the receiving sensor features a green light. A blinking or dark light means the sensors are misaligned.
To realign them, loosen the mounting bracket wing nut, swing the sensor until the LED glows solid without flickering, and retighten the nut. For detailed troubleshooting steps on optical failures, read our guide on Garage Door Sensor Troubles.
Direct late-afternoon sunlight can also blind receiving photo-eyes. If your door operates fine in the morning but fails during sunny afternoons, field tests demonstrate that sliding a temporary cardboard sleeve over the receiving sensor shades the lens, resolving glare-induced reversals. Homeowners facing late-night closing glitches can review key diagnostic steps to resolve unexpected sensor blockages.
Fix 2: Adjust Travel Limits and Reset Openers When a Garage Door Won’t Close
Modern opener units measure internal motor revolutions to determine exactly where the door should stop. When travel limits drift due to electrical surges or mechanical wear, the opener misinterprets floor contact as a physical obstacle and reverses.
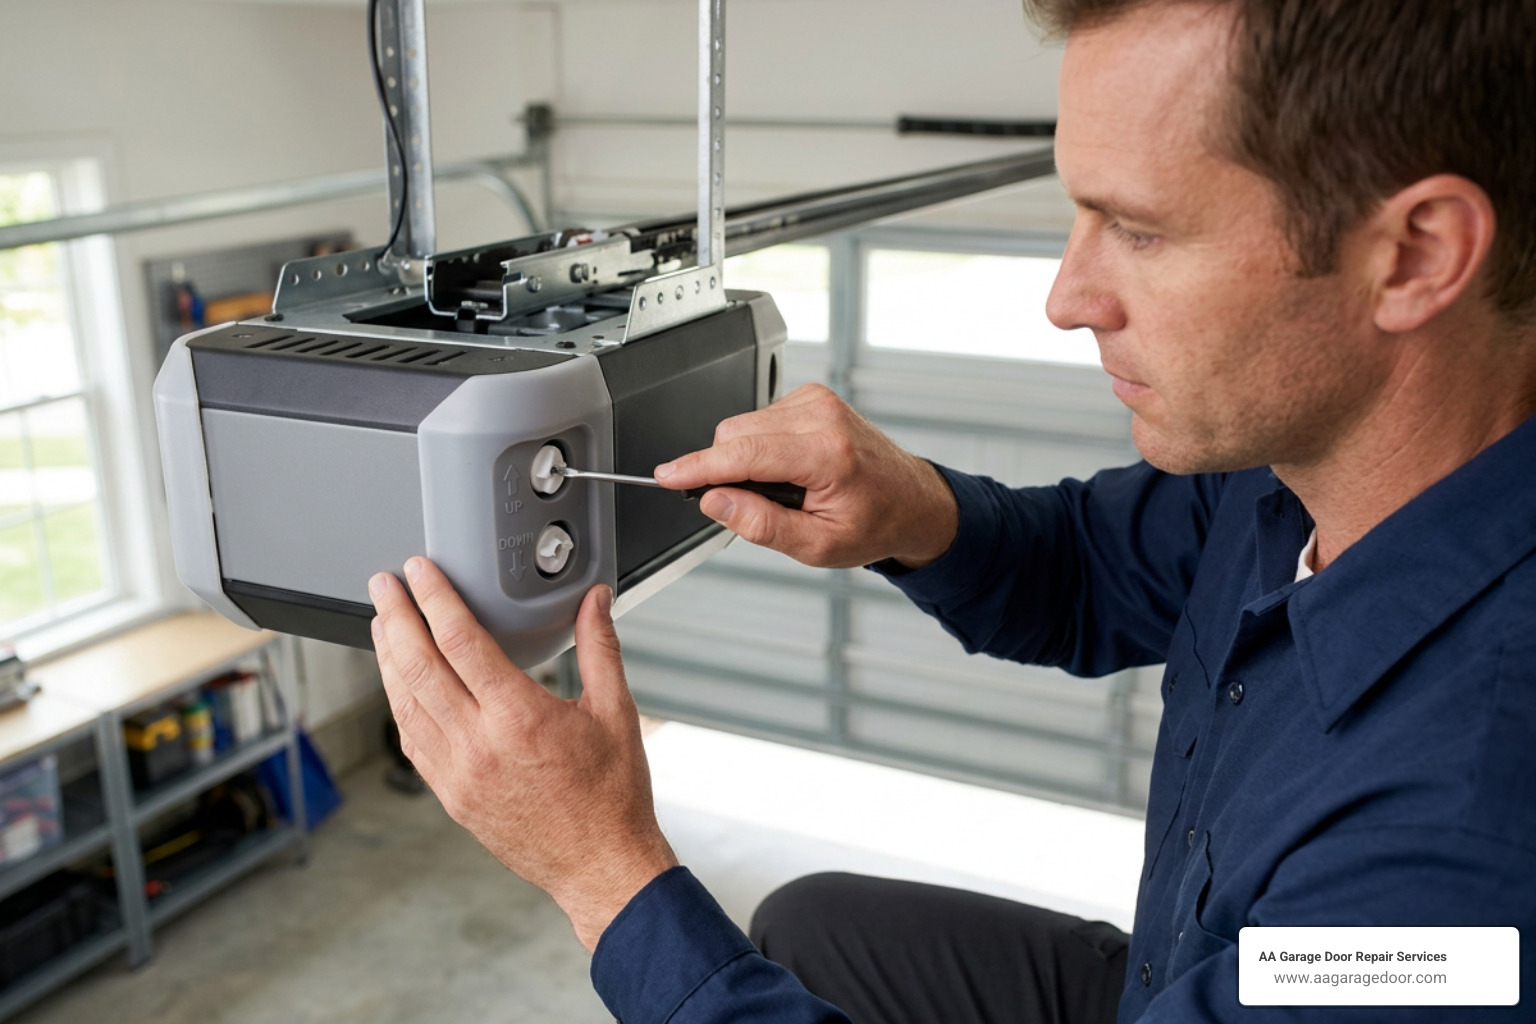
To adjust travel limit screws on the side or rear of your opener motor head:
- Locate the plastic adjustment screws labeled “UP” and “DOWN”.
- Use a flathead screwdriver to adjust the “DOWN” limit.
- Turn the screw counter-clockwise in quarter-turn increments to decrease downward travel distance if the door slams and reverses.
- Turn clockwise if the door leaves a uniform gap short of the ground.
- Test the door movement after every single adjustment.
If adjusting the screws fails to resolve travel errors, power cycle the opener logic board by unplugging the unit for 30 seconds. Plug it back in and reprogram the travel limits following our step-by-step Garage Door Opener Programming Guide. To resolve short-stopping problems step-by-step, review simple techniques to readjust down-travel limits.
Fix 3: Clear Track Obstructions and Fix Off-Track Rollers
Physical impediments along the steel vertical tracks force the opener to work harder. If total resistance exceeds safety thresholds, the auto-reverse system triggers.
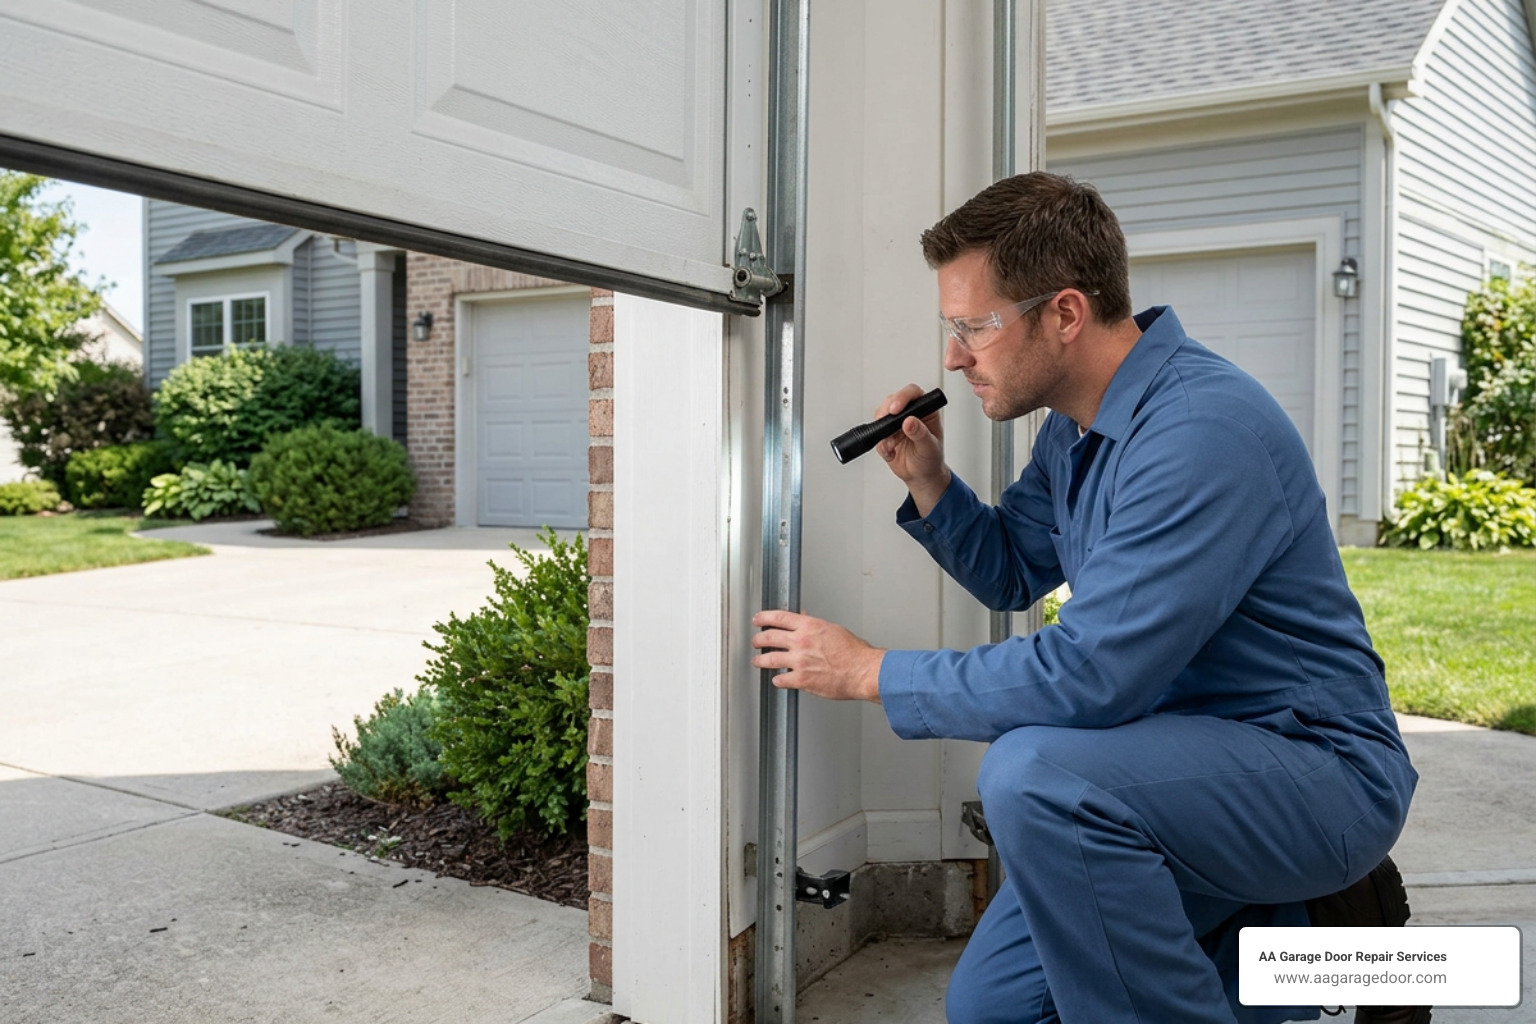
Inspect the inside of your track channels for:
- Accumulated dirt, gravel, road salt, or hardened grease.
- Bumps from vehicle taps or stray garden equipment.
- Dislodged steel or nylon rollers.
Never apply grease or WD-40 directly into the tracks, as wet lubricants attract grit that binds moving parts. Clean tracks using a spray cleaner and shop rag. Apply silicone spray or white lithium grease exclusively to roller bearings and hinges.
If a roller has popped out of its channel or the vertical track is visibly bent, operating the door risks severe structural collapse. Review our Garage Door Off Track Complete Guide to handle track misalignments safely. Always verify that manual slide locks on the interior door frame are disengaged before pressing the wall console.
Fix 4: Manage Remote Signal Interference and Emergency Release Cords
When a wall console operates the door perfectly but hand-held remotes fail, dead batteries or radio frequency (RF) interference are the primary causes. Replace the CR2032 or AAA batteries in your transmitters first. Next, check whether the wall control panel’s “Vacation Lock” switch was accidentally engaged, as this feature blocks all incoming remote radio signals.
LED light bulbs installed inside the opener unit, household routers, and wireless security cameras can emit electrical noise that blocks the opener’s receiver frequency. Standard 60-watt incandescents or specialized opener-rated LED bulbs eliminate signal disruption.
If the opener motor runs continuously without moving the door, someone pulled the red emergency release rope, disengaging the trolley from the carriage drive chain or belt. To re-engage the drive system:
- Pull the red release cord backward toward the motor unit.
- Manually lift the door up slightly until the trolley latch snaps back into the opener carriage.
- Run the automatic opener through one complete cycle to confirm automatic latching.
If your emergency mechanism is damaged or detached, read our guide on what to do when your Garage Door Release Cord Broke.
Understanding Mechanical Failures: Springs, Cables, and Tracks
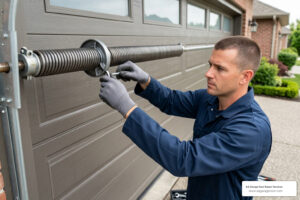
A standard residential door weighs between 150 and 300 pounds. While the electric motor guides movement, high-tension torsion or extension springs carry the heavy lifting weight.
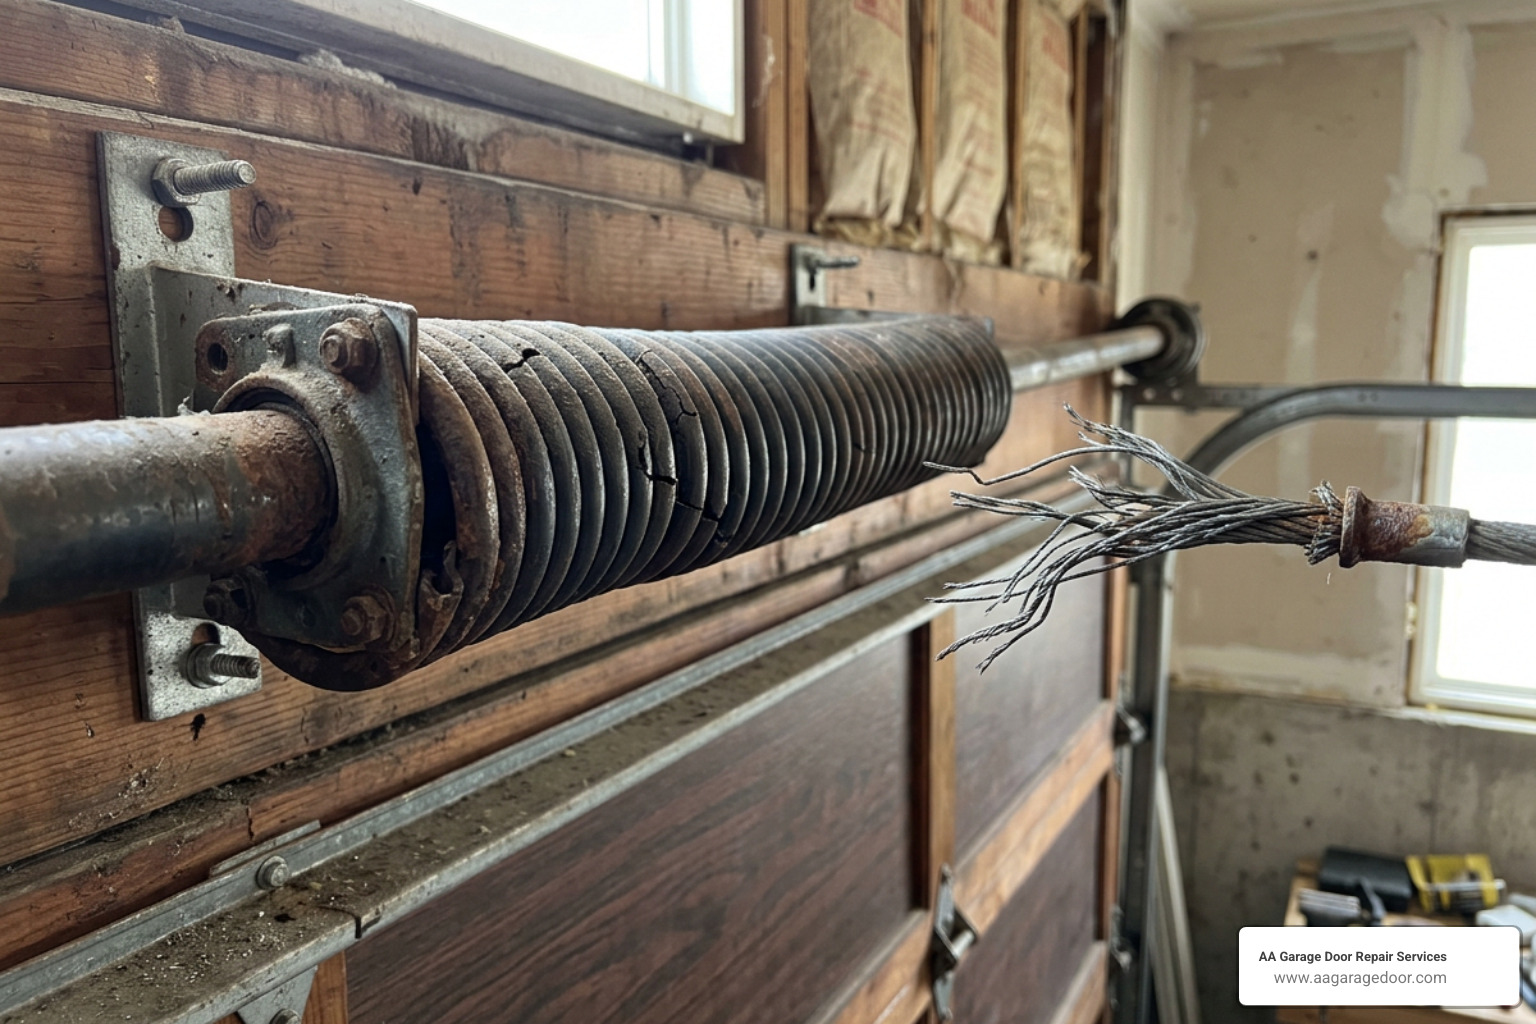
When a spring snaps—often producing a sound like a gunshot—or a lifting cable frays and slips off its drum, the system loses balance. Attempting to force a mechanical door failure shut with an automatic opener strips motor gears, bends track sections, and snaps drive belts.
A properly balanced garage door stays stationary when lifted manually roughly 3 feet off the ground. If your door feels extraordinarily heavy, slams downward rapidly, or hangs crookedly with one side lower than the other, stop using the automatic opener immediately. Inspecting high-tension hardware requires specialized tools; check our pricing breakdown for Garage Door Spring Repair Price and review our professional procedures for Garage Door Cable Repair.
Safe DIY Troubleshooting Checklist Before Calling an Expert
Before scheduling a service technician, complete this quick, safe diagnostic checklist:
- Check safety sensors: Confirm lenses are clean and indicator LEDs shine solid without blinking.
- Inspect doorway path: Clear away toys, bikes, snow, ice buildup, and stray debris from the floor.
- Verify wall button function: Hold down the interior wall panel button. If the door closes completely while holding the button, your photo-eye sensors or wiring circuit are faulting.
- Test manual locks: Ensure internal slide latches are completely unlocked.
- Perform manual lift test: With the door closed, disengage the opener release cord and lift the door by hand. It should move smoothly without grinding.
- Examine power source: Confirm the opener is plugged into an active outlet and check for tripped GFCI breakers.
For additional hazard prevention tips, check our guide on Garage Door Safety Tips for Homeowners alongside our general Garage Door Not Closing Guide.
When to Call a Professional Technician
While clearing leaves off a sensor or swapping remote batteries are ideal DIY tasks, heavy mechanical hardware demands expert intervention. High-tension torsion springs, bottom bracket rollers, and lifting cables store enormous kinetic energy that causes severe injury if released improperly.
Call a certified technician immediately if you observe:
- Visible gaps or breaks in upper horizontal torsion springs.
- Frayed, snapped, or unspooled lifting cables.
- A door hanging crookedly or dislodged entirely from its track guide.
- Loud grinding noises from internal motor gears.
- Severe structural bends in the door panels or track brackets.
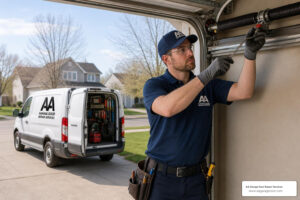
Our team at AA Garage Door Repair Services provides fast, 24/7 emergency service across St. Paul, the Twin Cities metro area, and Western Wisconsin. If your closing problem involves high-tension components or persistent electrical faults, book a local specialist through our Garage Door Repair Near Me page or reach out directly to our specialists offering garage door service in Baldwin, WI.
Frequently Asked Questions About Garage Doors That Won’t Close
Why does my garage door close and then immediately open again?
This behavior occurs when down-travel limits are set too far or force settings detect resistance near the floor. The opener interprets contact with the ground as an obstruction, reversing to prevent damage. Turning the down-limit screw counter-clockwise reduces travel distance and cures bouncing doors.
Can a broken spring or cable prevent my garage door from closing?
Yes. When a spring breaks or a cable snaps, the door loses counterbalance weight and hangs crookedly. This uneven weight distribution creates friction in the tracks, triggering auto-reverse safety features or stalling the motor.
How do I reset my garage door opener if it won’t close?
Unplug the opener motor from the ceiling power outlet for 30 seconds to hard reset the internal logic board. Plug it back in, clear the sensor path, and press the learn button to re-pair remote controls and recalibrate travel limits according to the manufacturer’s manual.
Conclusion
A garage door won’t close problem threatens your home’s security, climate insulation, and safety. By systematically checking photo-eye sensor alignment, clearing track channels, testing remote batteries, and adjusting opener travel limits, you can resolve the majority of daily closing faults safely.
When issues involve broken springs, frayed cables, or bent tracks, leave high-tension repairs to qualified experts. Regular preventive care keeps moving components operating quietly for decades. To keep your system in top condition, follow our Garage Door Maintenance Complete Guide or contact AA Garage Door Repair Services for 24/7 emergency repair support.