Why Local Garage Door Opener Installation Matters for Twin Cities Homeowners
Local garage door opener installation is essential for homeowners who want reliable access to their garage and improved home security. When your opener fails, getting it replaced by a qualified local technician from a trusted Twin Cities garage door company ensures your daily routine stays on track and your home remains secure. A modern opener is a key part of your home’s convenience.
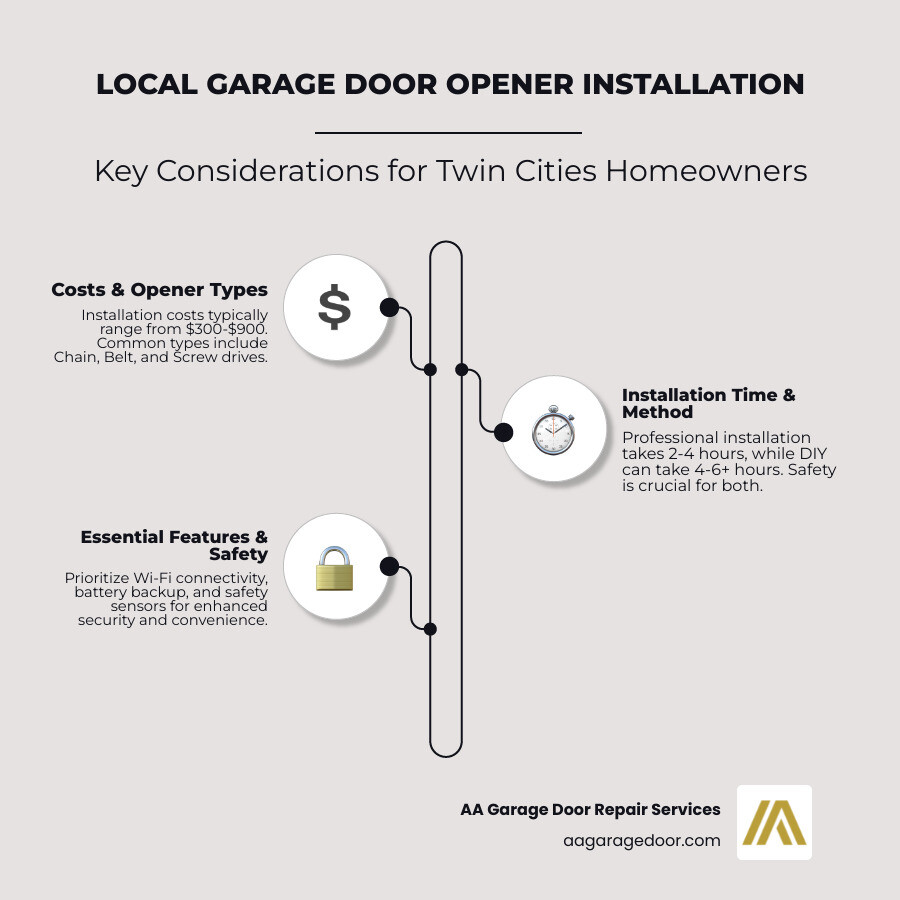
Key aspects of local garage door opener installation:
- Average cost: $300 to $900 total (unit + labor)
- Installation time: 2-6 hours
- Professional vs DIY: Professionals take 2-4 hours; DIY takes 4-6+ hours
- Common opener types: Chain drive ($150-$250), belt drive ($200-$450), screw drive ($200-$500)
- Must-have features: Wi-Fi connectivity, battery backup, safety sensors, rolling codes
The installation process involves several critical steps, from checking door balance and mounting the motor to programming travel limits and testing safety features. Getting these steps right is crucial for safety and long-term performance. For homeowners with broken or outdated systems, professional garage door opener installation ensures the job meets safety standards and protects manufacturer warranties.
Is It Time for a New Opener? Key Signs and Benefits
If your garage door opener is acting up, you may wonder if it’s time for a replacement. Local garage door opener installation becomes necessary when repair costs mount or safety is a concern. Here are the telltale signs your opener is ready for retirement.
Signs of Failure
- Slow operation: If your door moves sluggishly, the motor might be wearing out. This minor annoyance can become a major problem when you’re in a hurry.
- Strange noises: Grinding, squealing, or clunking sounds often mean internal parts are failing. While chain-drive openers are naturally noisy, any new or excessive sound is a red flag.
- Frequent repairs: If you’re constantly calling for service, investing in a new opener is more cost-effective than continuing with repairs.
- Lack of modern safety features: Openers made before 1993 often lack auto-reverse and infrared safety sensors. This is a significant safety hazard, especially for families with children or pets.
Benefits of a New Opener
Upgrading your opener offers more than just reliability; it improves your daily life.
- Improved security: Modern openers use rolling code technology, which changes the access code with each use, preventing signal theft. Many integrate with home security systems.
- Quieter operation: Belt-drive and direct-drive models are significantly quieter, which is ideal if your garage is near living spaces.
- Smart home compatibility: Wi-Fi-enabled openers allow you to monitor and control your garage door from anywhere using your smartphone.
- Battery backup: This feature ensures you can operate your garage door during a power outage, so you’re never trapped.
For a complete rundown, check out our guide on the 10 Benefits of an Automatic Garage Door Opener.
Understanding the Costs and Key Factors
Local garage door opener installation typically costs between $300 and $900, including the unit and labor. The opener itself costs $150 to $500, with labor fees from $150 to $400.
Key cost factors include:
- Opener type: Chain drives are the most affordable ($150-$250), while direct-drive units are at the higher end ($300-$500).
- Horsepower: Most doors need a 1/2 HP motor, but heavier wood or oversized doors require a stronger (and more expensive) 3/4 or 1 HP motor.
- Brand: Genie openers typically range from $150-$450, while LiftMaster is often $250-$500.
- Wiring: If new electrical wiring is needed, expect to add $10-$25 per linear foot.
- Door size: Doors taller than 7-8 feet may need an extension kit, adding $50-$100.
Our Garage Door Installation Cost guide offers more detailed breakdowns.
Choosing the Right Garage Door Opener for Your Home
Picking the right opener involves balancing features, performance, and budget.
| Opener Type | Unit Cost ($) | Noise Level | Maintenance | Best Use Cases |
|---|---|---|---|---|
| Chain Drive | 150-250 | Loud | High (lubrication) | Budget-friendly, durable, heavy doors; detached garages |
| Belt Drive | 200-450 | Quiet | Low | Attached garages, living spaces above, smooth operation |
| Screw Drive | 200-500 | Medium | Medium (grease) | Moderate use, cold climates; less moving parts, but can be noisy over time |
| Direct Drive | 300-500 | Very Quiet | Very Low | Premium option, extremely quiet, long-lasting; attached garages, heavy doors |
Chain drive openers are reliable and affordable but noisy, making them best for detached garages. Belt drive openers are quieter and ideal for attached garages. Screw drive openers have fewer parts but can be noisy and sensitive to temperature extremes. Direct drive openers are the quietest and most durable option, with a price to match.
Must-Have Features
Modern openers offer features that improve convenience and security. Wi-Fi connectivity allows remote operation, battery backup provides access during power outages, and safety sensors are a critical, legally required safety feature. Rolling codes protect your home by changing the access code after each use.
Our guide on how to Choose the Best Garage Door Opener dives deeper into your options. If you’re torn between the two most popular types, our article on the 4 Differences Between Chain Drive and Belt Drive Garage Door Openers can help you decide.
The Local Garage Door Opener Installation Process: DIY vs. Professional
When it’s time for a local garage door opener installation, homeowners must decide: do it yourself or hire a professional? Both paths have pros and cons, but understanding the time and safety risks is key.
Installation Time
- DIY Project Time: A DIY installation typically takes four to six hours for someone with home improvement experience. This assumes you have the right tools and don’t encounter unexpected issues. A new installation (where no opener existed before) will take longer.
- Professional Installation Time: An experienced technician can usually complete the job in just 2 to 4 hours. Their efficiency comes from specialized tools and the ability to quickly solve problems.
Safety Considerations
Garage doors are heavy and operate under extreme tension, making safety a top priority.
- Spring Tension: Garage door springs counterbalance hundreds of pounds of weight. They store immense energy and can cause severe injury or death if they break or are handled improperly. This is the single biggest danger in garage door work.
- Electrical Wiring: Openers require a 120V outlet. If one isn’t available, an electrician must run new wiring. Faulty wiring is a fire hazard and can damage the new opener.
- Door Balance: Before installation, the door must be balanced. A balanced door stays in place when opened halfway. If it falls or rises, the springs need professional adjustment. Installing an opener on an unbalanced door will cause premature failure.
Given the risks, we always recommend calling a professional when in doubt.
Key Steps for a DIY Local Garage Door Opener Installation
If you’re confident in your skills, here’s a general overview. Always follow your specific model’s manual.
- Preparation: Disable door locks, remove ropes, and test the door’s balance. If it’s not balanced, stop and call a pro.
- Assembly: Assemble the rail and install the chain or belt mechanism on the floor.
- Mounting: Securely fasten the header bracket to a structural support and hang the motor unit from the ceiling joists.
- Sensor Installation: Mount the photo-eye sensors no more than 6 inches from the floor, ensuring they are aligned.
- Door Attachment: Attach the door bracket and connect the door arm from the trolley to the door.
- Set Travel Limits: Program the opener to stop at the correct open and close positions.
- Test Safety Features: Perform the safety reversal test with a 1.5-inch object and test the photo-eyes.
For detailed instructions, consult a manual like the LIFTMASTER, 8165, RESIDENTIAL GARAGE DOOR OPENER, INSTALLATION MANUAL.
Why Hiring a Professional is Often the Best Choice
While DIY saves on labor costs, professional installation offers significant advantages.
- Expertise & Tools: Professionals have the experience and specialized tools to handle any challenge efficiently.
- Safety Assurance: Technicians are trained to work safely around high-tension springs and electrical systems, ensuring all safety features are correctly installed and tested.
- Warranty Protection: Many manufacturers void warranties on DIY installations. A professional install protects your investment.
- Time Savings: A pro can do in a few hours what might take you a full day.
What to Look for in an Installer
Choose a qualified professional by checking for:
- License and Insurance: This protects you from liability.
- Positive Reviews: See what other local homeowners have to say.
- Local Experience: For homeowners throughout the Twin Cities and Western Wisconsin, a local company like ours brings familiarity with everything from Minnesota winters to local permit requirements.
- Transparent Pricing: Get a detailed written estimate with no hidden fees.
At AA Garage Door, we’ve provided reliable installations since 2001, backing our work with a commitment to your satisfaction.
After Installation: Maintenance and Troubleshooting
Once your new garage door opener is installed, regular maintenance will extend its lifespan and prevent common problems. A well-maintained opener can last 10 to 15 years.
Maintenance Tips
- Monthly Safety Tests: This is crucial. Test the safety reversal system by placing a 1.5-inch object in the door’s path; it should reverse on contact. Test the photo eyes by waving an object through the beam as the door closes; it should stop and reverse. If either test fails, stop using the opener and call for service.
- Lubrication: Annually, apply white lithium grease or silicone spray to the door’s metal rollers, hinges, and bearings. Do NOT grease the tracks. For chain or screw drive openers, lubricate the rail every few years. Belt drives require little to no lubrication.
- Check Balance: Annually, disconnect the opener and lift the door halfway. It should stay put. If it moves, the springs need professional adjustment, as an unbalanced door strains the opener.
- Tighten Hardware: Vibrations can loosen bolts and screws over time. Periodically check and tighten all hardware on the door and opener.
- Clean Photo Eyes: Wipe the sensor lenses with a soft cloth to remove dust and cobwebs.
Troubleshooting Common Opener Problems
Even with good maintenance, issues can occur. Here are some common fixes:
- Opener Won’t Close: The most common cause is misaligned or obstructed photo eyes. Check for blockages and ensure the sensor’s LED lights are solid, not blinking. Also, check for physical obstructions in the door’s path.
- Remote Not Working: Start by replacing the battery. If that doesn’t work, check that the wall control’s “lock” mode isn’t engaged. You may also need to move closer or reprogram the remote.
- Noisy Operation: Lack of lubrication is the usual culprit. Lubricate all moving parts. Also, tighten loose hardware and consider upgrading old steel rollers to quieter nylon ones.
- Door Reverses Unexpectedly: This is often caused by a safety sensor trigger or incorrect force settings. Check the photo eyes first. If the door is hitting the floor too hard or encountering resistance, the travel and force limits may need careful adjustment.
For complex issues or if you’re ever unsure, it’s always safest to call a professional for diagnosis and repair.
Frequently Asked Questions about Garage Door Opener Installation
We’ve heard every question imaginable about local garage door opener installation. Here are answers to the most common ones to help you make a confident decision.
How long does it take to install a garage door opener?
A professional can typically complete a local garage door opener installation in 2 to 4 hours. This includes setup, alignment, sensor connection, and remote programming.
A DIY project usually takes 4 to 6 hours or more, depending on your skill level and whether you’re replacing an old unit or installing a new one from scratch. Older garages or complex setups can add time.
What horsepower do I need for my garage door opener?
A 1/2 horsepower motor is sufficient for most standard residential garage doors (single or double doors made of steel or aluminum). This provides a good balance of power and longevity.
For heavier doors—such as solid wood, heavily insulated, or oversized models—you should upgrade to a 3/4 or 1 horsepower motor. Using an underpowered opener will cause it to wear out much faster. It’s always best to match the horsepower to your door’s weight from the start.
Can I install a new opener on an old garage door?
Yes, you can install a new opener on an old door, but only if the door itself is in excellent working condition. The most critical factor is door balance. Disconnect the opener and lift the door halfway. If it stays put, the balance is good. If it falls or rises, the springs need professional adjustment first.
An installer should also inspect the springs, cables, and rollers for wear. The door components do the heavy lifting, not the opener. Installing a new opener on a poorly functioning door will quickly destroy the motor. Think of it as putting a new engine in a car with bad tires—it’s a recipe for failure.
Your Trusted Partner for Local Garage Door Opener Installation
When it comes to local garage door opener installation, the quality of the work determines whether you get years of convenience or constant headaches. A properly installed garage door opener ensures safe, reliable access to your home and provides peace of mind.
Professional installation guarantees the job is done right the first time, regardless of the brand you choose. Your opener is a critical part of your home’s daily function and security, and we treat it as such.
At AA Garage Door, we’ve been the go-to team for local garage door opener installation since 2001. Our approach is simple: fast, reliable service with transparent pricing and a meaningful satisfaction guarantee. We believe you deserve to know what you’re paying for and that the job was done correctly.
Our local expertise spans across the Twin Cities and Western Wisconsin. This isn’t just a service area to us; these are our neighbors. We offer expert service in St. Paul and surrounding communities like Eagan, Woodbury, and Maple Grove, understanding the unique needs of homes in our region.
We also offer 24/7 emergency service because problems don’t wait for a convenient time. Don’t let a faulty opener be a source of frustration. Trust our experienced team to get your installation done right.
Ready for a smooth, quiet, and reliable garage door? Request a Free Estimate online today.

