Why One-Piece Garage Door Installation Is a Smart Home Upgrade
One-piece garage door installation is a rewarding home improvement project that provides a sleek, durable, and space-saving solution. Unlike sectional doors, a one-piece door tilts upward as a single solid slab, resting parallel to the garage ceiling. This design requires less headroom and has fewer moving parts. For homeowners in the Twin Cities area seeking expert garage door specialists, professional installation ensures safety and warranty-backed workmanship.
Quick Installation Overview:
- Measure the garage opening (width, height, headroom, sideroom).
- Prepare the door frame, ensuring jambs are plumb and level.
- Mount jamb hardware (master plates, pivot arms, brackets).
- Position the door slab onto the pivot hardware with a helper.
- Install the counterbalance spring system.
- Test for balance and smooth operation.
- Connect a garage door opener if desired.
Typical Installation Time: 8-10 hours for DIY (2 people) | 3-5 hours for professional installation
I’m David Sands, owner of AA Garage Door LLC. With 23 years of experience across Wisconsin and Minnesota, I’ve overseen countless one-piece garage door installations. This guide will walk you through the process, whether you’re tackling it yourself or seeking professional help.
 Measure opening dimensions, 2) Mount jamb hardware to door frame, 3) Lift and attach door slab to pivot arms, 4) Install counterbalance springs with proper tension, 5) Test balance and operation, 6) Optional: Connect automatic opener - one piece garage door installation infographic")
Before You Begin: Preparation and Safety
Proper preparation is the most critical phase of a one-piece garage door installation. A one-piece door operates on a jamb-mounted hinge mechanism that, while simpler than a sectional door’s track system, demands a sturdy frame and precise measurements to function safely.
Why Choose a One-Piece Garage Door?
One-piece doors, popular in the western USA, offer distinct advantages due to their design.
- Simplicity and Durability: With fewer moving parts than sectional doors (no individual panel hinges, rollers, or extensive tracks), there are fewer components to break or require maintenance.
- Aesthetics: The single, solid slab provides a seamless, uninterrupted look that improves curb appeal and allows for unique facade designs.
- Space-Saving: The tilt-up design requires less headroom than many sectional systems, making it ideal for garages with low ceilings or for maximizing overhead storage space.
- Cost-Effectiveness: A simpler design often translates to a lower price for both the door and the installation labor.
- Energy Efficiency: Modern one-piece doors are available with built-in insulation to help regulate garage temperature and reduce energy costs.
Tools and Materials Checklist
Gathering all tools and materials beforehand prevents delays. Key items include:
- Power Tools: Impact driver, power drill with 3/16″ or 5/32″ bits.
- Hand Tools: Ratchet wrench, locking pliers, tape measure, level, sturdy ladder.
- Safety Gear: Safety glasses, gloves.
- Installation Components: Wood shims, jamb hardware kit, counterbalance springs (extension or torsion), fasteners (lag screws, carriage bolts), a prop stick for support, and proper winding bars for torsion springs.
For a list of recommended tools, you can explore these essential tools for the job.
Measuring Your Garage Opening Accurately
Incorrect measurements are a costly and time-consuming mistake. Measure twice to ensure accuracy.

- Width: Measure the finished opening at the top, middle, and bottom. Use the widest measurement.
- Height: Measure from the floor to the header on the left, center, and right. Use the tallest measurement.
- Headroom: Measure the distance from the top of the door opening to the lowest overhead obstruction (e.g., beam, light fixture).
- Sideroom: Measure from each side of the opening to the nearest wall. At least 3-4 inches is typically required for hardware.
- Frame Inspection: Before ordering, inspect the jambs (vertical sides) and header (top). They must be firm, plumb, and level. Repair or replace any damaged wood.
Critical Safety Precautions for One-Piece Garage Door Installation
This installation involves serious hazards. The door slab is heavy (over 100 lbs), and the springs are under extreme tension. Respect the risks involved.
- Wear Protective Gear: Safety glasses and gloves are mandatory to protect against debris and pinch points.
- Work with a Helper: Never attempt to lift or position the heavy, awkward door slab alone. This requires at least two people.
- Clear the Work Area: Move vehicles and keep children and pets away. Ensure the area is well-lit and free of clutter.
- Respect Spring Tension: Counterbalance springs store immense energy. A snapping spring can cause severe injury or death. Follow all manufacturer instructions for installation precisely. Never use improvised tools for winding torsion springs.
- Secure the Door: Never place any part of your body under the door unless it is securely propped open.
- Disconnect Power: If replacing a door with an opener, turn off the power at the circuit breaker first.
- Read the Manual: Thoroughly read the manufacturer’s instructions before you begin. They contain critical safety and installation details specific to your product.
The Step-by-Step Guide to One-Piece Garage Door Installation
Installing a one-piece door involves mounting hardware to the jambs and attaching the door slab. This process is more straightforward than assembling a sectional door but still requires precision and patience.
Step 1: Prepare the Garage Opening and Frame
A solid, square, and level frame is the foundation for a successful one-piece garage door installation.
Start by ensuring your wood jambs are structurally sound, plumb, and free of rot or damage. Replace any weak wood. If there are old screw holes, plug them with dowels or use through bolts for added strength. Now is also the ideal time to install weather-stripping around the frame and attach rubber bumpers to the header to cushion the door in its open position. Finally, use your measurements to mark the exact hardware locations on the jambs and pre-drill pilot holes (typically 3/16″ or 5/32″) to prevent the wood from splitting.
Step 2: Assemble and Mount the Jamb Hardware
The jamb-mounted hardware creates the pivot system for the door. A common system, like the E900 hardware, uses master plates, cantilever arms, and door angle brackets.

Mount the master plate flush against the jamb on both sides, aligning it with your marks. Secure it firmly with lag screws into the solid framing. Attach the cantilever arms to the master plates; these arms will connect to the door slab to create the pivot. The door angle brackets are bolted directly to the door slab itself. For precise placement, always refer to your specific hardware instructions, such as this One-Piece Garage Door Hardware guide.
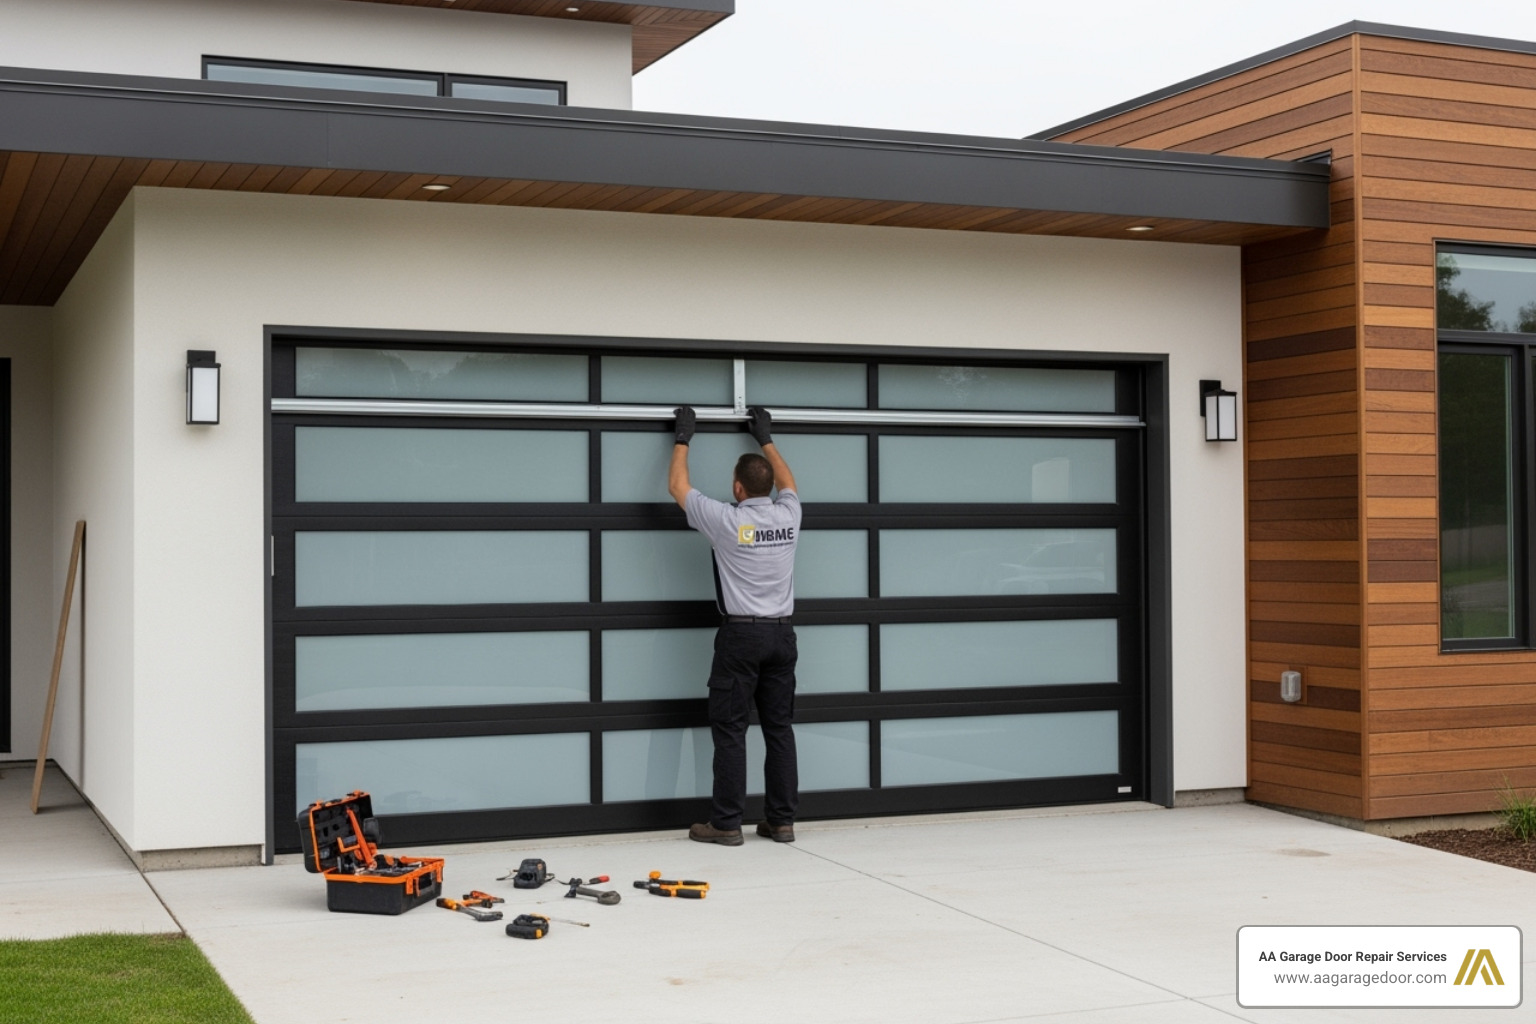
Step 3: Position and Attach the Door
This step is physically demanding and requires at least one helper. Attempting to lift and position the heavy door slab alone is extremely dangerous.
With your helper(s), carefully lift the door into the opening. Use wood shims underneath to support its weight and center it in the opening, ensuring equal spacing on both sides. The top edge should be flush against the header. You can temporarily tack door stops to the jambs to hold the door in place. Align the door angle brackets on the slab with the cantilever arms and secure them with the provided bolts and nuts. Double-check that all fasteners are tight, as this connection bears the full weight of the door during operation.
Step 4: Install the Counterbalance Spring System
The counterbalance system makes the heavy door feel light. This is the most dangerous part of the installation due to high spring tension. Extreme caution is required.

Most one-piece doors use extension springs. With the door propped securely in the open position, connect one end of each spring to the jamb hardware and the other to the door via a cable or chain. Proper pre-stretch is critical; the springs should hold the door against the header but should not be stretched more than 2 inches. Safety cables must be run through the center of each spring to contain it in case of breakage. Some systems include an Adjusta-matic Kicker to fine-tune leverage. Adjust this mechanism only when the door is open and securely propped.
Finalizing the Installation: Testing, Adjustments, and Opener
This final phase of one-piece garage door installation ensures the door operates smoothly and safely. Fine-tuning is crucial for long-term performance.
Testing for Balance and Smooth Operation
After installation, test the door’s performance. Disconnect any opener for a manual test.
- Balance Test: Lift the door halfway and let go. A properly balanced door should remain in place without drifting up or down.
- Movement Check: Open and close the door several times. It should move smoothly without binding, scraping, or excessive noise.
- Clearance Check: Ensure the door maintains consistent spacing from the frame and jambs throughout its movement.
- Fastener Check: After a few test cycles, re-tighten all nuts, bolts, and screws to ensure they are secure.
Common Adjustments for a Perfect Fit
Fine-tuning is a normal part of the installation process.
- Centering: To fix uneven gaps, slightly loosen the top lag screw on a master plate, gently tap the plate toward the center of the door, and re-tighten.
- Spring Tension: If the door feels too heavy or lifts too easily, adjust the spring tension. For extension springs, this may involve moving the attachment point or adjusting the kicker system. Always make adjustments with the door open and securely propped. Pre-stretch should never exceed 2 inches.
- Fit: When fully open, the door should rest snugly against the header bumpers. If it sags, revisit your spring tension or kicker adjustments.
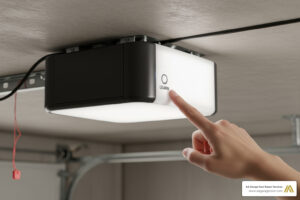
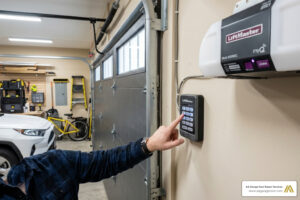
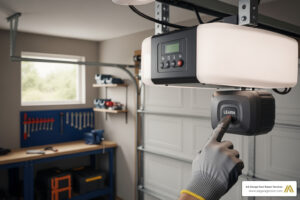
Connecting a Garage Door Opener
Adding an automatic opener provides convenience and security.

First, reinforce the door with a bracket if needed to handle the stress from the opener arm. Mount the opener header bracket to solid framing above the door. Assemble the opener rail and attach it between the motor unit (on the ceiling) and the header bracket. Connect the opener arm from the rail’s carriage to the reinforcement bracket on the door. Finally, install and test the safety sensors. These photoelectric eyes are required by law and must be mounted no more than six inches above the floor.
| Opener Type | Pros | Cons |
|---|---|---|
| Chain Drive | Budget-friendly, reliable, strong | Can be noisy |
| Belt Drive | Quiet operation, smooth | More expensive than chain drive |
| Direct Drive | Extremely quiet, durable | Most expensive, limited lifting capacity |
DIY vs. Professional One-Piece Garage Door Installation
While a one-piece garage door installation is a feasible DIY project for those with strong mechanical skills, it carries significant risks. The combination of a heavy door slab (150-300 pounds) and high-tension springs can lead to property damage or serious injury if handled incorrectly.
A typical DIY installation requires 8 to 10 hours for two people, while a professional can usually complete the job in 3 to 5 hours. Beyond speed, professionals offer specialized tools, extensive experience, and a warranty-backed installation that guarantees safety and proper function.
When to Call a Professional
Recognizing when to call for help is a mark of good judgment. Consider professional installation in the following situations:
- Lack of Experience: If you are not confident working with mechanical systems or high-tension springs, it is safest to hire an expert. A mistake with a spring can be extremely dangerous.
- No Helper Available: Lifting and positioning the heavy door slab cannot be done safely by one person. If you do not have a reliable helper, professional installation is essential.
- Damaged Garage Frame: If your door opening is not square and plumb, or if the jambs show signs of rot or damage, these structural issues must be professionally repaired before installation.
- Balancing or Adjustment Issues: If the door does not balance correctly or move smoothly after installation, a professional can diagnose and fix complex alignment or tension problems quickly.
- Peace of Mind: A professional installation provides the assurance that the job adheres to all safety standards and manufacturer specifications, often including an installation warranty.
For homeowners in Apple Valley and the surrounding Twin Cities area, professional help ensures a safe, warrantied installation. Our team at AA Garage Door Repair Services has been providing reliable service since 2001, and we are ready to assist with a complete garage door replacement or to help if a DIY project becomes overwhelming.
Frequently Asked Questions about One-Piece Garage Door Installation
How long does it take to install a one-piece garage door?
A DIY one-piece garage door installation typically takes 8 to 10 hours for two people with moderate mechanical skills. In contrast, professional installers can usually complete the job in 3 to 5 hours, thanks to their experience and specialized tools.
Are one-piece garage doors safe?
Yes, a correctly installed one-piece garage door is very safe for daily operation. The primary safety risks occur during the installation process, specifically when handling the high-tension springs. Once installed, modern doors include essential safety features like containment cables for extension springs, which prevent a broken spring from becoming a dangerous projectile.
What is the most difficult part of a one-piece garage door installation?
The two most challenging steps are:
- Lifting and Positioning the Door: The single door slab is heavy (150-300 lbs) and awkward. Safely maneuvering it into the correct position on the pivot hardware requires at least two people and careful coordination.
- Installing and Tensioning the Springs: The counterbalance springs are under hundreds of pounds of force. Correctly installing and adjusting them to achieve proper door balance requires precision, the right tools, and strict adherence to safety protocols. This step poses the most significant risk of injury.
Your Partner for a Perfect Installation
Completing a one-piece garage door installation is a significant home improvement that adds lasting value and curb appeal. When installed correctly, your new door will provide years of reliable service. The key to longevity is regular maintenance, such as lubricating moving parts and checking spring tension.
We understand that the process can be demanding. The weight of the door and the precision required for spring adjustments are not for everyone, and that’s why we’re here to help.
Since 2001, AA Garage Door Repair Services has been a trusted provider of garage door installations and repairs throughout St. Paul, the Twin Cities, and Western Wisconsin. Our experience ensures your job is done safely and efficiently.
When you work with our team, you get the peace of mind that comes from a professional installation. We ensure every component is balanced, every spring is tensioned correctly, and all safety features are tested. Our installations come with transparent pricing and a satisfaction guarantee.
Whether you need expert advice for a DIY project or have decided professional installation is the smarter choice, our team is available to help. For a guaranteed, professional garage door replacement or a new installation done right the first time, contact our team today. We’ll have your new one-piece garage door operating smoothly and safely.