What You Need to Know Before Programming a New Garage Door Remote
Learning how to program a new garage door remote takes under 5 minutes for most homeowners. Here’s the quick answer:
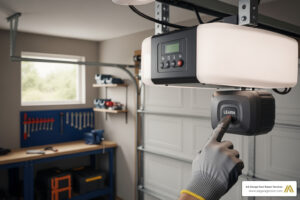
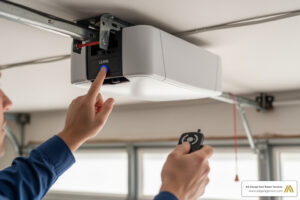
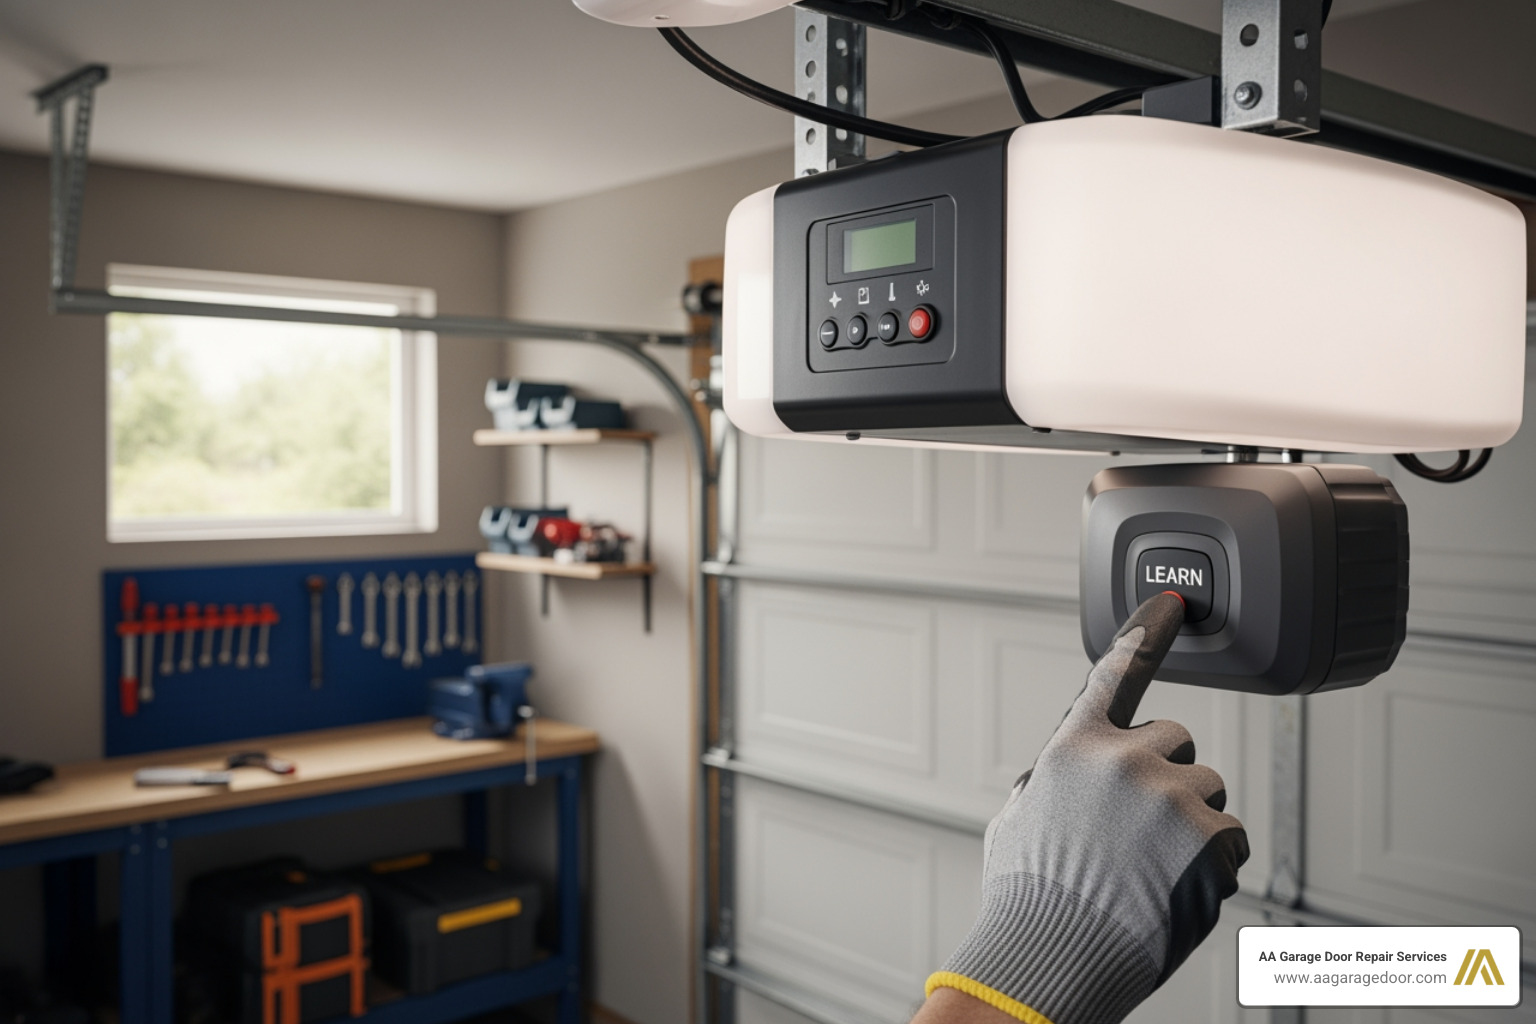
- Find the Learn button on your garage door opener motor unit (usually near the antenna wire or under a light cover).
- Press and release the Learn button — the LED will light up.
- Within 30 seconds, press and hold the button on your new remote until the opener’s light blinks or you hear two clicks.
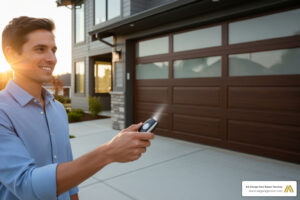
- Test the remote by pressing it from a normal distance.
That’s the core process for most openers made after 1993, including LiftMaster, Chamberlain, Genie, and Craftsman.
Whether you’ve lost a remote, moved into a new home, or just added a vehicle to the household, getting your garage door opener working with a new remote is one of the most common tasks homeowners face. For professional assistance, AA Garage Door Repair Services provides expert solutions for all your entry system needs. Modern openers use rolling code technology, which generates a brand-new security code every single time you press the button — making today’s systems far more secure than older fixed-code models.
But even with simple technology, things go wrong. The 30-second programming window closes fast. Learn button colors mean different things on different brands. And one wrong press can wipe every remote from memory at once.
This guide walks you through every step — from basic setup to brand-specific instructions, HomeLink syncing, keypad programming, and troubleshooting.
I’m David Sands, owner of AA Garage Door Repair Services, with over 23 years of hands-on experience installing and servicing garage door opener systems across Wisconsin and Minnesota, including the Twin Cities metro. As an authorized LiftMaster dealer, I’ve helped thousands of homeowners understand exactly how to program a new garage door remote — and I’ll make sure you get it right the first time.

Essential Steps for How to Program a New Garage Door Remote

Most modern garage door openers manufactured after 1993 follow a standardized method for syncing accessories. This is known as the “Learn Button” method. Because these units can store between 8 and 20 remote codes in their internal memory, adding a new device doesn’t usually require you to erase your old ones.
The most critical factor in how to program a new garage door remote is timing. Once you activate the programming mode on the motor unit, you typically have exactly 30 seconds to complete the handshake with your remote. If you miss this window, the LED indicator will turn off, and you’ll have to start over.
For a deeper dive into the technical side of how these units communicate, check out our Garage Door Opener Programming Guide.
Preparation and Tools
Before you climb that ladder, you need to gather a few things. Programming is a “quick-hit” task, but it’s frustrating to get halfway through and realize your batteries are dead.
- A Sturdy Ladder: Ensure it is placed on level ground directly beneath the motor unit.
- Fresh Batteries: We find that battery issues solve nearly 70% of remote “malfunctions.” Use high-quality lithium or alkaline batteries for the best signal range.
- Brand and Model Identification: Look at the sticker on the motor unit (usually under the light cover). Knowing if you have a LiftMaster, Genie, or Craftsman is essential as the button sequences vary.
- A Helper (Optional): While you can do this alone, having someone stand by the door to confirm if it moves can save you a few trips up and down the ladder.
For more details on choosing the right replacement, see our Garage Door Remote Complete Guide.
Locating the Learn Button
The “Learn” button is the brain of your programming operation. It is almost always located on the back or side of the motor unit hanging from your garage ceiling.
- Under the Light Cover: Most Chamberlain and LiftMaster models hide the button behind the plastic light lens. Simply flip the lens down to reveal the control panel.
- Near the Antenna: Look for a thin, floppy wire hanging down from the motor. The Learn button is usually located right next to where that wire enters the chassis.
- Button Colors: The color of the button is a secret code for the frequency the opener uses. Common colors include Yellow, Purple, Red/Orange, and Green. Matching your remote’s compatibility to this color is the first step in successful pairing.
Brand-Specific Instructions: LiftMaster, Genie, and Craftsman

Not all openers speak the same language. While the 30-second rule generally applies, the specific feedback you get from the machine (blinking lights vs. clicking sounds) depends on the brand.
Programming a New Garage Door Remote for LiftMaster and Chamberlain
LiftMaster and Chamberlain (along with many Sears Craftsman models) are built by the same parent company. They use Security+ and Security+ 2.0 technology.
- Identify your button color. If you have a Yellow Learn Button, you likely have a Security+ 2.0 system (like the 893LM model).
- Press and immediately release the Learn button. Do not hold it down (holding it for 6+ seconds will erase all your remotes!).
- The Learn indicator light will glow steadily for 30 seconds.
- Within that time, press and hold the button on your new remote.
- Release the button when the garage door opener lights blink or you hear two clicks. This signifies the “handshake” is complete.
For official manufacturer documentation, you can also refer to the Chamberlain Group support page.
How to Program a New Garage Door Remote for Genie Intellicode
Genie uses a system called Intellicode, which has been standard since 1997. The process is slightly different:
- Press and hold the Program button on the motor unit until the round LED turns blue, then release.
- The long LED will then flash purple. This means it is in “Learn Mode.”
- Stand at least five feet away from the opener. Press the button on your new remote once. The purple light will turn solid.
- Press the remote button a second time. Both LEDs on the motor will flash and turn off.
- Press the remote button a third time to test. The door should move.
If your Genie unit is older or requires a specific frequency, our team can assist with garage door openers installations and replacements in the St. Paul area.
Advanced Setup: HomeLink, Keypads, and Older Systems
Many modern vehicles come with HomeLink or Car2U systems integrated into the rearview mirror or visor. This allows you to ditch the clip-on remote entirely.
Syncing with HomeLink and Car2U
Programming a car is often a “two-step handshake.”
- Step 1: Training the Car. Hold your handheld remote 1-3 inches away from the HomeLink buttons in your car. Press both the handheld remote button and the desired HomeLink button simultaneously. Hold until the indicator light in the car flashes rapidly.
- Step 2: The Rolling Code Sync. Now, go to your garage motor unit and press the Learn button. Return to the car within 30 seconds and press the trained HomeLink button two or three times (holding for 2 seconds each time) until the garage door moves.
| System Type | Technology | Programming Method | Security Level |
|---|---|---|---|
| Rolling Code | Security+ / Intellicode | Learn Button | High (New code every use) |
| Fixed Code | DIP Switches | Manual Switch Matching | Low (Static code) |
| Smart System | Wi-Fi / MyQ | Smartphone App | Very High (Encrypted) |
Programming Wireless Keypads and Accessories
Wireless keypads are a lifesaver when you’re out gardening or the kids beat you home from school. To program these:
- Enter your desired 4-digit PIN on the keypad.
- Press the Learn button on the motor unit.
- Within 30 seconds, press and hold the ENTER button on the keypad until the opener lights blink.
If your keypad is acting up or the buttons are sticking, it might be time for a garage door opener repair to ensure the receiver is still functioning correctly.
Troubleshooting and Security: Erasing Old Codes
Sometimes, the standard steps for how to program a new garage door remote just don’t work. In our experience servicing homes in Apple Valley and the surrounding Twin Cities, the culprit is often signal interference.
How to Erase and Reprogram for Security
If you lose a remote or move into a new house, you must erase the old codes. You don’t want a stranger holding an old remote that still works on your door.
- To Erase: Press and hold the Learn button on the motor unit. The LED will light up. Continue holding for about 6 to 10 seconds until the LED goes out.
- The Result: Every remote and keypad linked to that motor is now wiped. You will need to go back and reprogram the remotes you still have using the steps outlined above.
Common Programming Failures
If you’ve followed the steps and the remote still won’t pair, check these common issues:
- RF Interference: LED light bulbs in the garage opener can emit radio frequency interference that blocks the remote’s signal. Try unscrewing the bulbs and programming again.
- Antenna Damage: Ensure the small wire antenna hanging from the motor isn’t cut or shoved up inside the metal casing.
- Memory Full: Some older units can only hold 8 remotes. If you’ve added many over the years, you may need to erase the memory and start fresh.
- Logic Board Failure: If the Learn light won’t even turn on when you press the button, the internal logic board may have been fried by a power surge.
Frequently Asked Questions about Garage Remotes
Why won’t my new garage door remote program?
The most common reasons are a 30-second timeout, incompatible frequency (mismatched Learn button color), or interference from LED bulbs. Ensure you are standing within 5-10 feet of the unit during the initial sync.
How many remotes can I program to one opener?
Most modern LiftMaster and Chamberlain units store up to 8 remotes. Some Genie models can store up to 20. If you exceed this limit, the oldest remote code is usually overwritten, or the unit will refuse to learn new ones until the memory is cleared.
Do I need to reprogram my remote after changing the battery?
No. The programming is stored in the motor unit’s non-volatile memory. Changing the battery in your handheld remote will not “un-pair” it from the opener.
Conclusion
Mastering how to program a new garage door remote is a great DIY skill that enhances your home’s security and convenience. Whether you’re dealing with a brand-new LiftMaster or an older Genie Intellicode system, the process is designed to be user-friendly as long as you respect the 30-second programming window.
However, we know that technology can be a “head-scratcher.” If you’ve tried the steps above and your door still isn’t responding, or if you suspect a deeper mechanical issue like a failing logic board or misaligned sensors, we are here to help.
At AA Garage Door Repair Services, we’ve been the trusted choice for the Twin Cities and Western Wisconsin since 2001. We offer 24/7 emergency service, transparent pricing, and a 100% satisfaction guarantee. Don’t spend your weekend struggling with a ladder — let the pros handle it.
Need help with your garage door openers? Visit us in St. Paul, Woodbury, Hudson, or Baldwin for expert assistance. We’ll get your remote — and your life — back in sync.