Why Knowing How to Configure a Garage Remote Saves You Time, Money, and Frustration
Knowing how to configure a garage remote is one of the most practical skills a homeowner can have – and it’s simpler than most people expect. Whether you’ve lost a remote, moved into a new home, or just bought a replacement, you can usually get everything working again in under 10 minutes. If you encounter mechanical issues during the process, seeking professional garage door repair and installation ensures your system remains secure and functional.
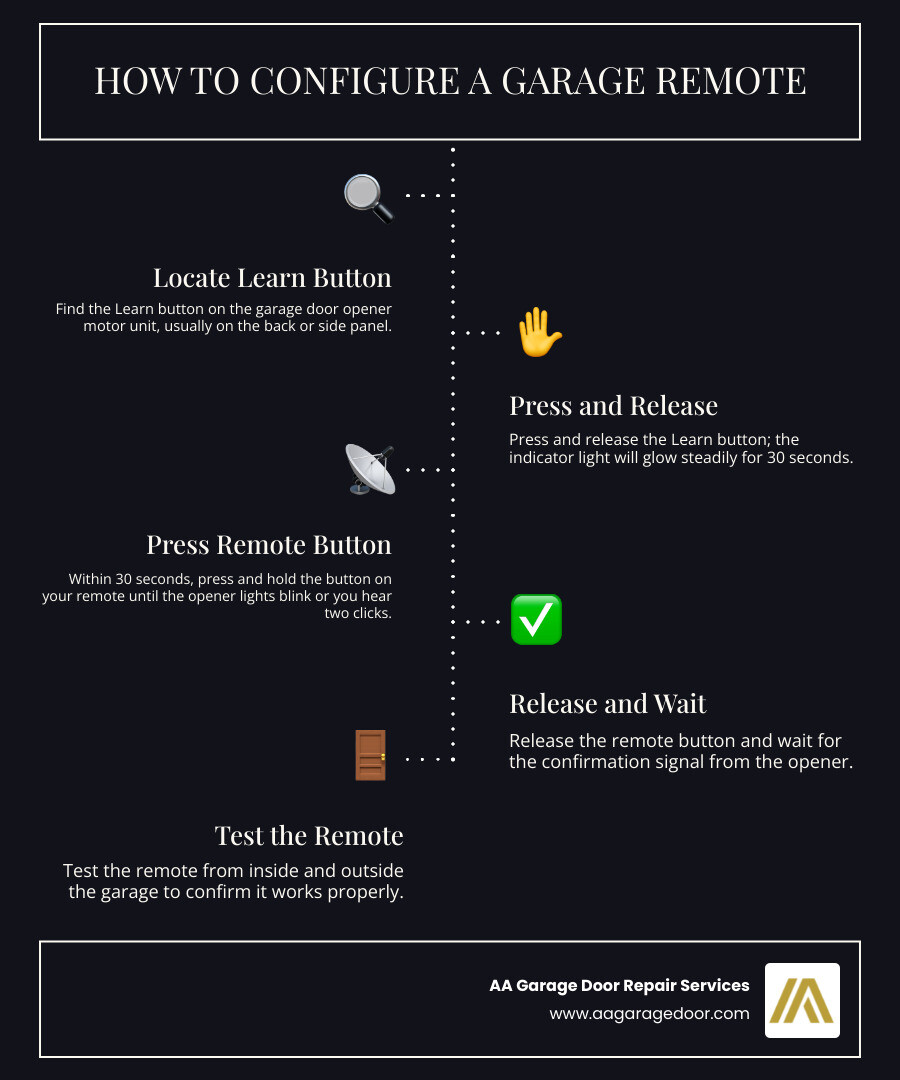
Here’s the quick answer – how to configure a garage remote in 5 steps:
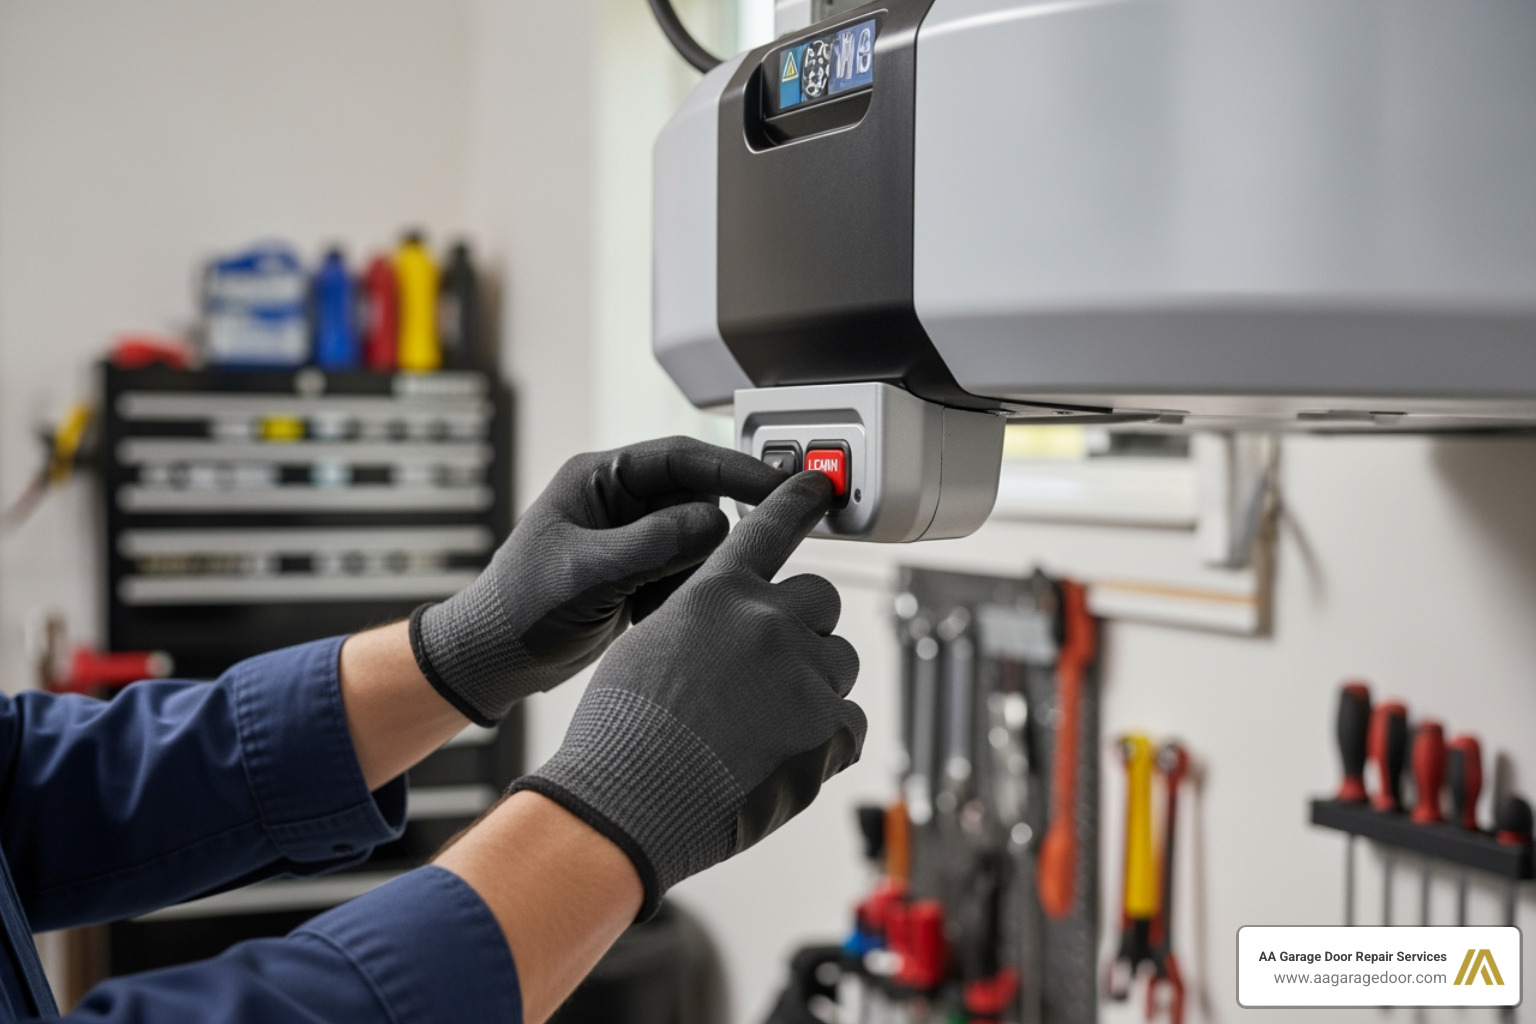
- Locate the Learn button on your garage door opener motor unit (usually on the back or side panel)
- Press and release the Learn button – the indicator light will glow steadily for 30 seconds
- Within 30 seconds, press and hold the button on your remote until the opener’s lights blink or you hear two clicks
- Release the button and wait for the confirmation signal
- Test the remote from inside and outside the garage to confirm it works
That’s the core process for most openers made after 1993. Brand-specific steps, keypads, car systems, and troubleshooting are covered in detail below.
Garage doors are a fixture in American homes – with over 145 million housing units in the US, roughly four out of five have a garage. And with 66% of newly built single-family homes including a two-car garage, reliable remote access isn’t a luxury – it’s a daily necessity. Yet when a remote stops working or needs to be reprogrammed, many homeowners don’t know where to start.
That’s where professional garage door opener services can help – but in most cases, this is a straightforward DIY task.
I’m David Sands, owner of AA Garage Door LLC, with over 23 years of hands-on experience programming, installing, and repairing garage door opener systems across Wisconsin and Minnesota. In that time, I’ve configured remotes for virtually every major brand and model, and I’ve built this guide to walk you through how to configure a garage remote the right way – safely, quickly, and without guesswork.
Essential Preparation for Garage Remote Configuration
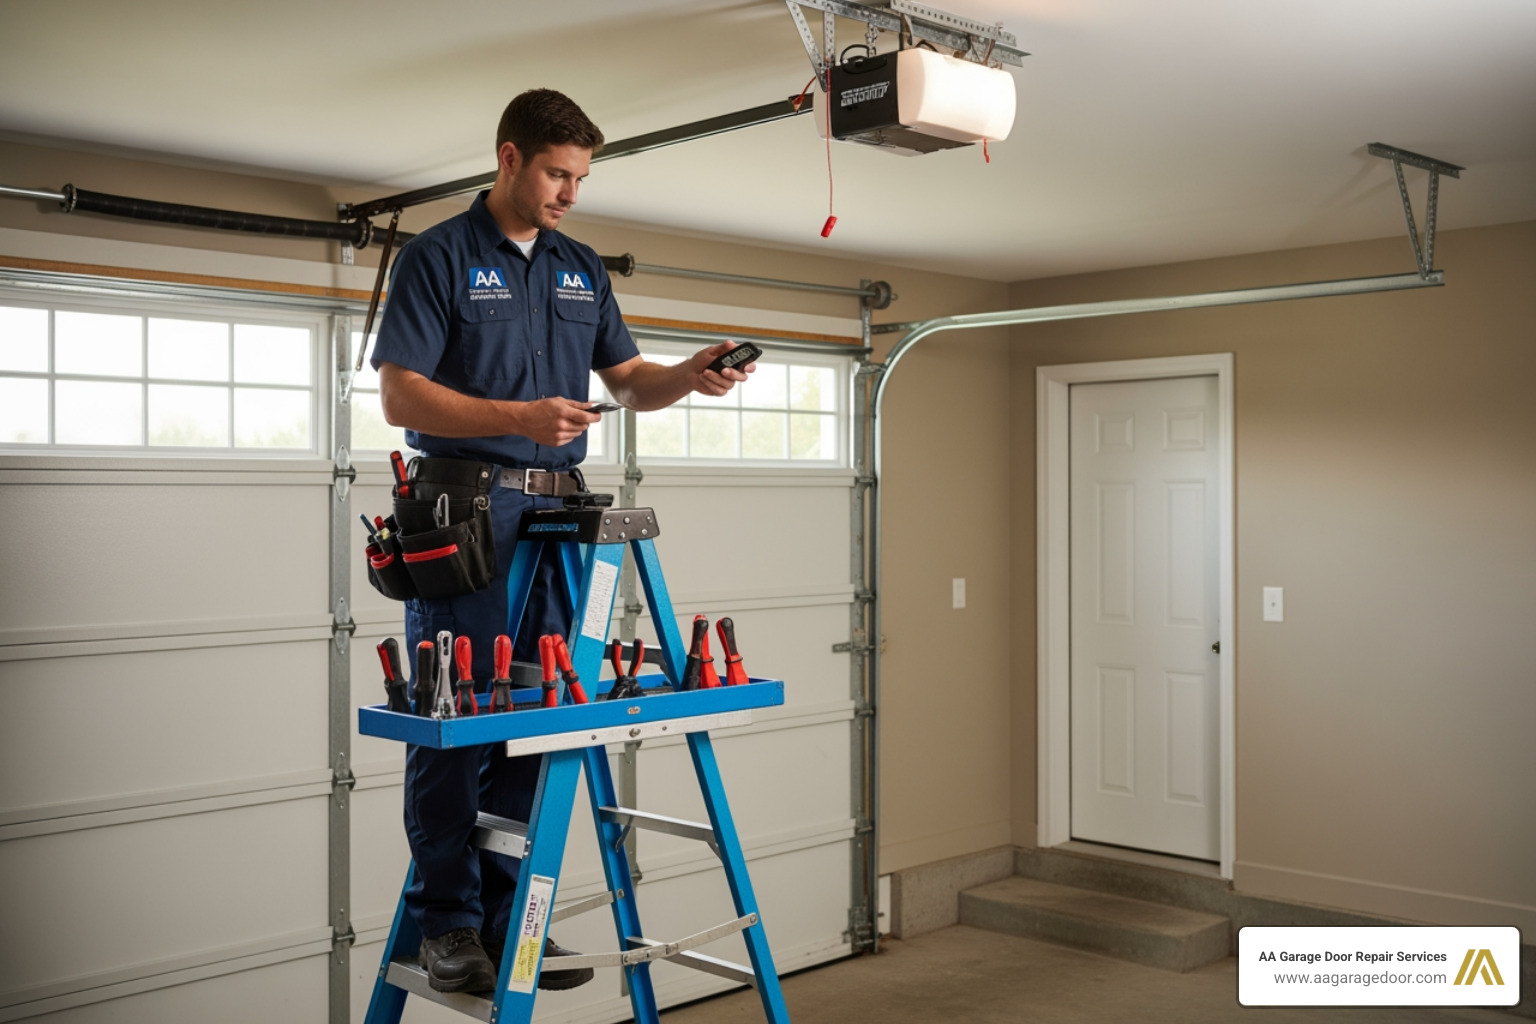
Before we dive into the buttons and codes, a little preparation goes a long way. At AA Garage Door Repair Services, we always tell our neighbors in St. Paul and Woodbury that safety is the first step. Configuring a garage remote requires you to work near the motor unit, which is usually 7 to 10 feet off the ground.
Tools and Safety Precautions
You won’t need a heavy toolbox, but you will need a few essentials:
- A sturdy stepladder: Ensure it is placed on level ground. Never stand on the top rung.
- Fresh batteries: Even a new remote might have a weak “factory” battery. We recommend replacing them annually as part of your Garage Door Opener Maintenance Guide.
- A helper: While not strictly required, having someone on the ground to hand you the remote or test the door while you’re on the ladder makes the process much safer.
Safety Warning: Keep children and pets away from the door during this process. The door will likely move during testing, and you want a clear path for the safety sensors.
Identifying Your Opener Type
To successfully learn how to program a garage door opener, you must identify your technology. Most modern units use Rolling Code Technology. This means the remote generates a new, encrypted signal every time you press the button, preventing “code grabbing” by tech-savvy intruders.
The easiest way to identify your system is the Learn Button Color:
- Yellow: Security+ 2.0 (310, 315, and 390 MHz)
- Purple: Security+ 315 MHz
- Orange/Red: Security+ 390 MHz
- Green: Billion Code 390 MHz
How to Configure Garage Remote: The Standard Step-by-Step Process
Most openers manufactured after 1993 follow a nearly identical logic. The motor unit has a “memory,” and you are essentially introducing the new remote to that memory. Following a Garage Door Opener Programming Guide ensures you don’t miss the critical timing windows.
The Universal Pairing Method
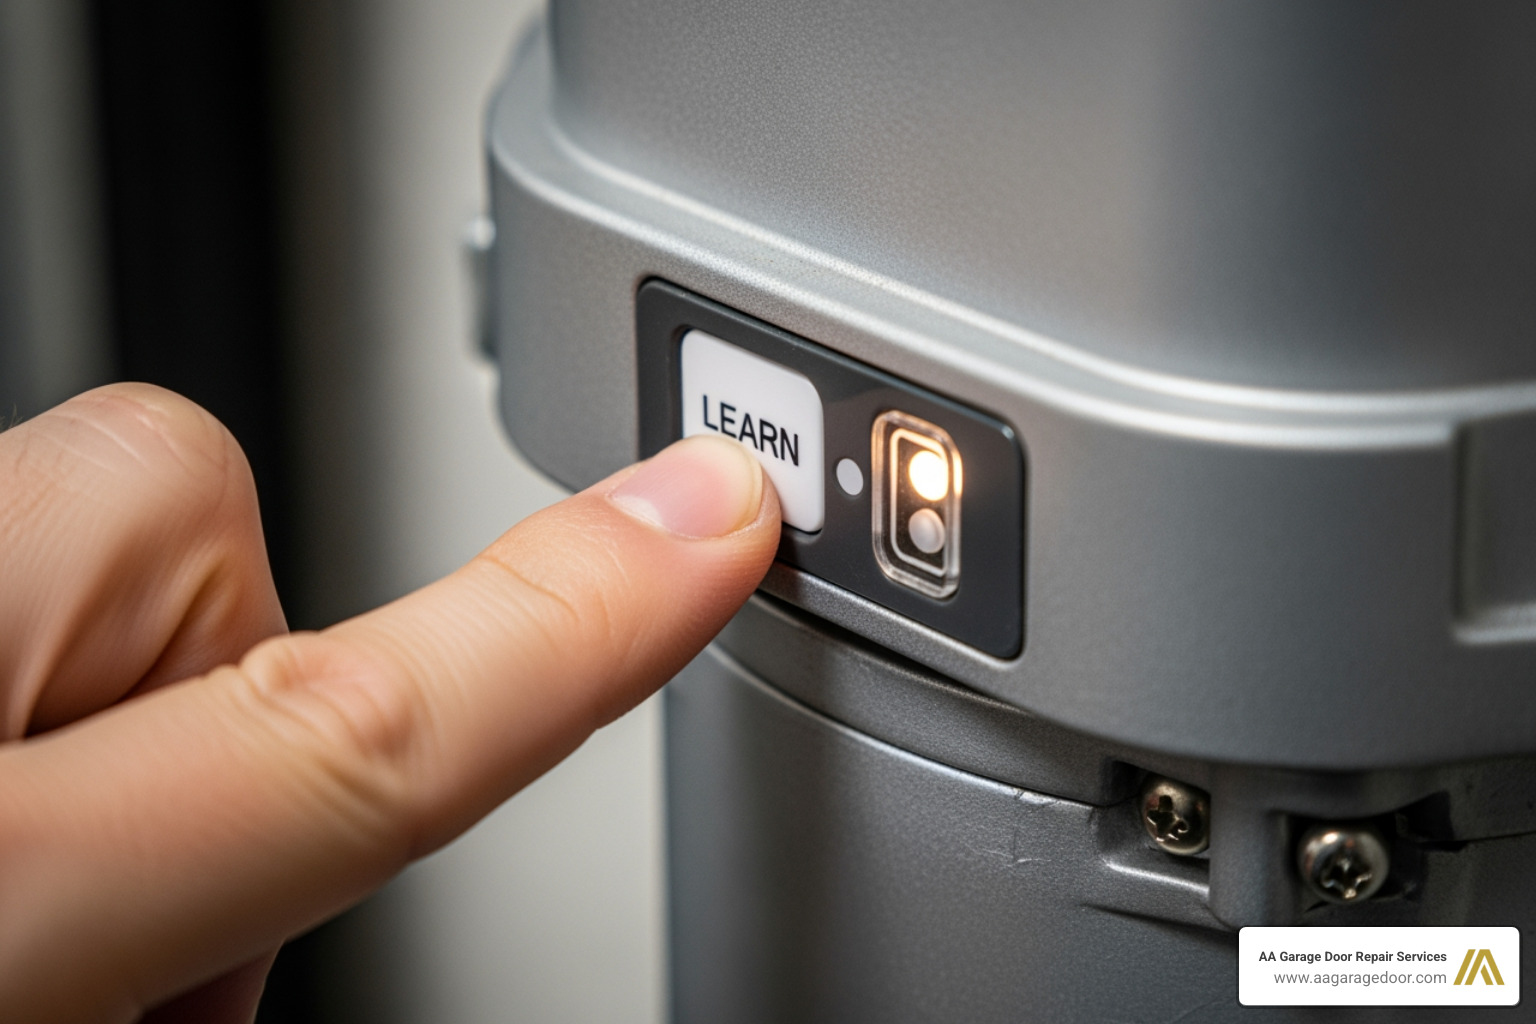
- Access the Motor: Climb your ladder and remove the light cover or back panel to reveal the Learn button and indicator LED.
- Activate Learn Mode: Press and immediately release the Learn button. Do not hold it down (holding it for more than 6 seconds usually erases all your existing remotes).
- The 30-Second Window: Once the indicator light glows, you have exactly 30 seconds to complete the pairing.
- Sync the Remote: Press and hold the button on your handheld remote.
- Confirmation: Watch the motor unit. The lightbulb will flash, or you will hear two clicks. This is the unit saying, “I recognize this remote.”
- Test: Step away from the motor and press the remote button. The door should operate smoothly.
For more detailed brand variations, you can check this guide on how to setup garage door remote systems.
How to Configure Garage Remote for LiftMaster and Chamberlain Models
LiftMaster, Chamberlain, and Craftsman are essentially the same “family” of products. If you have a Yellow Learn Button, you are dealing with the most modern encryption. For these models, you often only need to press the remote button once (no long hold required) after hitting the Learn button. If you have an older Purple Button model, you may need to hold the remote button until the lights flash.
According to WikiHow’s guide on pairing, some newer wall consoles also have a “Learn” button built right into the interior push-button station, saving you a trip up the ladder.
How to Configure Garage Remote for Genie and Overhead Door Systems
Genie and Overhead Door use a system called Intellicode. The process is slightly different:
- Press and hold the Program/Set button on the motor until the round LED turns blue.
- Release the button; the long LED will flash purple.
- Press the remote button once. Both LEDs will flash purple.
- Press the remote button a second time. Both LEDs will turn off.
- Press the remote button a third time to operate the door.
For a deeper dive into these specific brands, see our Garage Door Opener Remote Complete Guide.
Programming Keypads and Vehicle HomeLink Systems
Keypads and car buttons provide freedom from carrying a physical remote. In fact, over 42 million vehicles on US roads are equipped with HomeLink systems, making this one of our most requested services in Baldwin and Hudson, WI.
How to Program a Garage Door Opener Keypad
Keypads are perfect for when you’re out for a jog or the kids beat you home from school.
- Press the Learn button on the motor unit.
- Within 30 seconds, enter your desired 4-digit PIN on the keypad.
- Press and hold the Enter button.
- Wait for the motor lights to blink, then release.
- Test the PIN by entering it and pressing Enter.
Integrating with Ford and Modern Vehicle Systems
HomeLink allows you to sync your car’s built-in buttons to your garage.
- Clear the Car’s Memory: Hold the two outer HomeLink buttons in your car until the light flashes rapidly (usually 20 seconds).
- Clone the Signal: Hold your handheld remote 1-3 inches away from the HomeLink buttons. Press both the remote button and the car button simultaneously until the car’s indicator light changes from slow to rapid flashing.
- Bridge to the Opener: Press the Learn button on the garage motor. Within 30 seconds, return to the car and press the programmed HomeLink button firmly two or three times until the door moves.
If you are adding a second driver to the household, check out this resource on how to program a second garage door opener remote.
Troubleshooting and Resetting Your Garage Door Opener
Sometimes, the configuration doesn’t “take.” If you’ve followed the steps and the door remains stubborn, it’s time to troubleshoot.
Resolving Common Configuration Errors
- LED Bulb Interference: This is a “hidden” problem. Many standard LED bulbs emit radio frequency interference that blocks the remote’s signal. If your remote only works from 2 feet away, swap the motor’s lightbulbs for “Garage Door Rated” LEDs or standard incandescent bulbs.
- Antenna Positioning: Ensure the small wire antenna hanging from the motor unit is pointing straight down and isn’t tucked inside the metal housing.
- Memory Full: Most openers can only hold 5 to 10 remotes. If you’ve lived in your home a long time, the memory might be full of old remotes and car systems.
How to Reset Your Opener
If a remote is lost or stolen, you must erase the memory for security.
- Press and hold the Learn button for about 6-10 seconds.
- The indicator light will turn off.
- All remotes and keypads are now erased. You will need to follow the steps in our How to Reprogram Garage Door Opener guide to reconnect the remotes you still have.
For security-minded homeowners, we also have a guide on changing the garage door opener code to keep your home safe.
Advanced Configuration: Smartphone Apps and WiFi Integration
In May 2026, the trend is moving away from physical remotes entirely. Many of our customers in the Twin Cities are upgrading to WiFi-enabled openers.
| Feature | Traditional Remote | Smartphone App (myQ/WiFi) |
|---|---|---|
| Range | 50 – 150 Feet | Anywhere with Internet |
| Security | Rolling Code | Encryption + Biometrics |
| Monitoring | None | Real-time Alerts |
| Guest Access | Must lend physical remote | Send digital “keys” |
To configure a WiFi remote, you’ll typically download an app (like myQ), put the opener into “WiFi Setup Mode” (usually by pressing the Learn button three times or using the wall console), and follow the in-app prompts to connect the opener to your home network. This allows you to close the door from your office in St. Paul if you forgot to do it in the morning.
Frequently Asked Questions about Garage Remote Configuration
How do I program a remote if my opener doesn’t have a Learn button?
If your opener was made before 1993, it likely uses DIP switches. These are a row of 8-12 tiny switches inside the remote and the motor. To “configure” these, you simply flip the switches in the remote to match the exact pattern of the switches in the motor. However, we strongly recommend upgrading these older units, as they lack modern safety sensors and secure encryption.
Can I program multiple remotes to the same garage door?
Yes! Most modern systems support up to 8 remotes and 2 keypads. You just have to program them one at a time. Programming a second remote will not erase the first one, provided you only “press and release” the Learn button.
Why does my garage remote only work when I am very close to the door?
This is usually caused by three things: a dying battery, radio frequency interference (often from LED bulbs or nearby ham radios), or a damaged antenna wire on the motor unit. Start by replacing the battery and removing the lightbulbs to see if the range improves.
Conclusion
Mastering how to configure garage remote systems is a great way to maintain your home’s convenience and security. From standard handheld remotes to integrated vehicle systems and smartphone apps, the technology is designed to make your life easier.
However, we know that sometimes things just don’t go as planned. If you’ve tried the steps above and your door still won’t sync, or if you’re worried about the safety of your opener system, we’re here to help. At AA Garage Door Repair Services, we’ve been serving St. Paul, Woodbury, Baldwin, and Hudson since 2001. We offer 24/7 emergency support and transparent pricing on all repairs and installations.
Don’t let a finicky remote keep you out in the cold. Schedule your professional garage door repair in St. Paul today and let our local experts handle the technical work for you.