Why Changing Your Garage Door Remote Code Protects Your Home
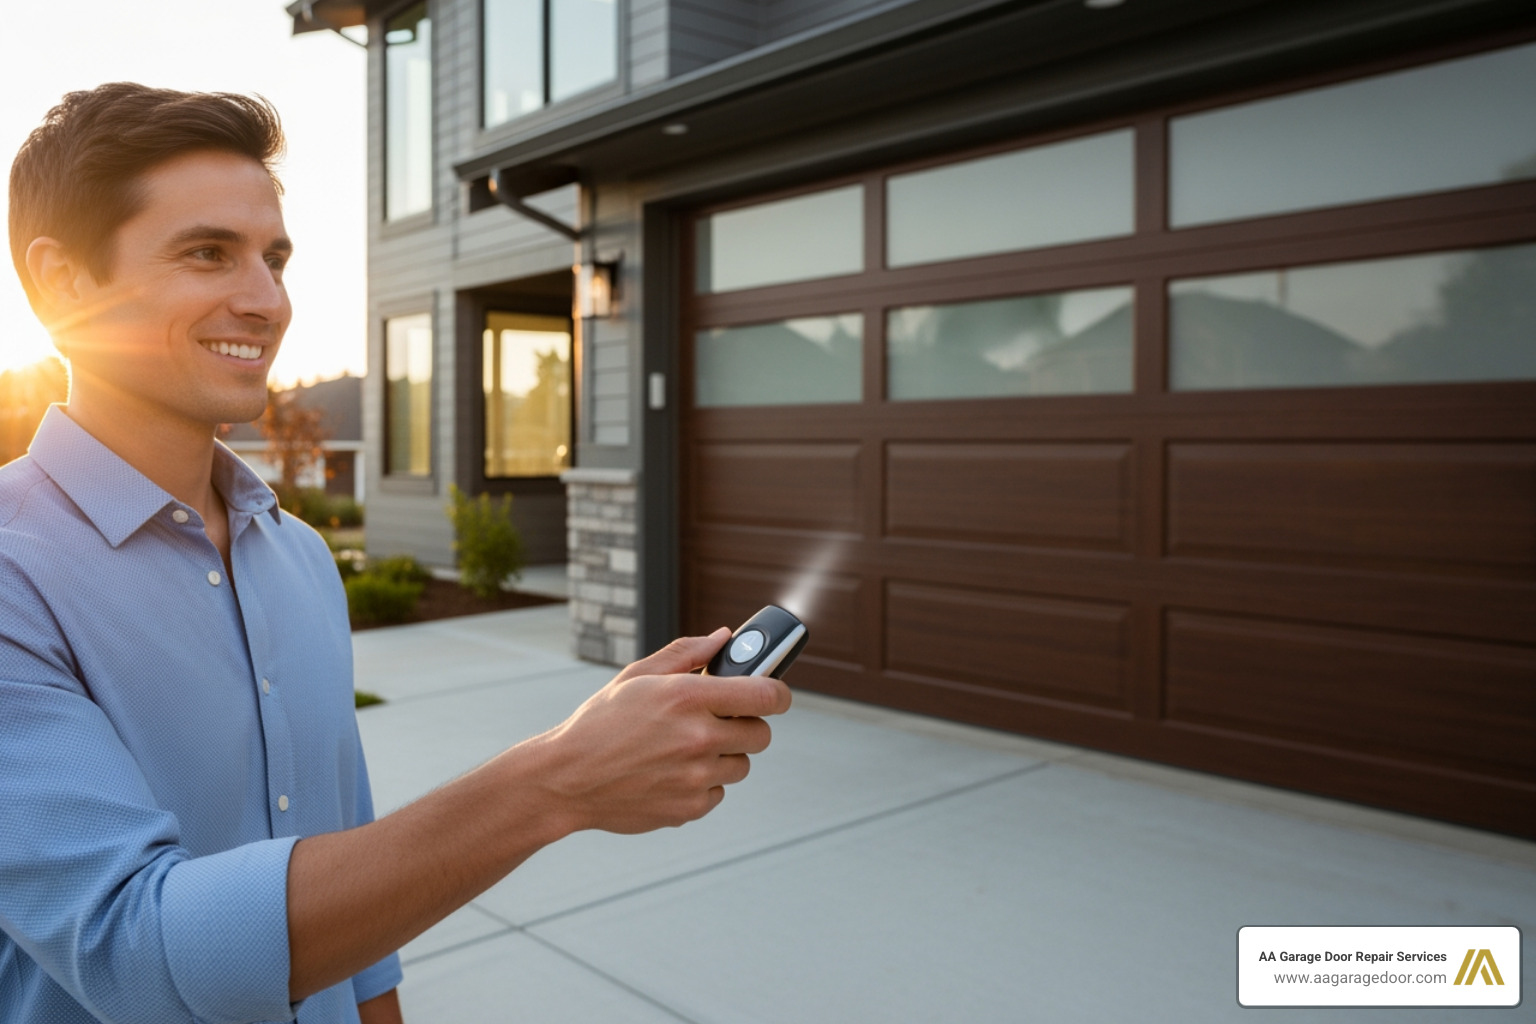
Changing your garage door remote code is one of the fastest ways to secure a major entry point to your home. Homeowners in the Twin Cities and Western WI rely on expert local garage door professionals to keep this access point safe, but the basic reprogramming steps are simple enough for most people to handle on their own. Whenever you move into a new home, lose a remote, or want to upgrade security, updating the code ensures only trusted users can get in. Learning this skill is vital for home protection, and for any complex issues, AA Garage Door Repair Services offers expert garage door solutions.
Homeowners should change garage door remote code whenever they move into a new home, lose a remote, or want to improve security. Your garage door is a primary entry point, and securing it is crucial for your peace of mind.
Quick Steps to Change Your Garage Door Remote Code:
- Clear old codes: Press and hold the ‘Learn’ button on the motor unit for 6-15 seconds until the LED light turns off.
- Enter programming mode: Press the ‘Learn’ button again; the LED will light up for 30 seconds.
- Program new remote: Press the desired button on your remote or enter your new PIN on the keypad.
- Test: Confirm the door operates correctly with the new code.
Modern garage door openers use rolling code technology, where the code changes automatically after each use, making them significantly more secure than older fixed-code models. However, you must still clear and reprogram your system when remotes are lost, stolen, or when new residents move in.
The most common reasons to change your garage door code include:
- Moving into a new property to revoke access from previous owners.
- Losing a remote, which poses an immediate security risk.
- After giving temporary access to contractors or guests.
- As routine security maintenance every 6-12 months.
- In response to local break-in reports for proactive protection.
For most modern systems with a ‘Learn’ button, this process takes only a few minutes. Older models with DIP switches require a different but equally straightforward approach. A simple code change can prevent unauthorized access and give families peace of mind.
 Moving into a new home with icon of house keys and moving boxes, 2) Lost or stolen remote with icon of remote with red X, 3) Periodic security updates every 6-12 months with icon of calendar and shield. Each section includes brief explanation of why timing matters for home security. - change garage door remote code infographic")
Simple guide to change garage door remote code:
Why and When You Should Change Your Garage Door Code
Your garage is an extension of your home, often housing valuable items and providing direct access to your living space. The primary reason to change garage door remote code is to prevent unauthorized access and improve home security. Modern openers use rolling code technology, which changes the code with each use, making it difficult for hackers to intercept. However, older models with fixed codes are more vulnerable.
It is essential to reset your codes immediately if a remote is lost or stolen. This is a real-world concern for homeowners in St. Paul, Hudson, and the surrounding Twin Cities area. Changing your code is the quickest and most effective preventative measure against a security breach.
Key Security Triggers for a Code Change
Knowing when to change garage door remote code is as important as knowing how. These key security triggers should prompt an immediate code change:
- Moving into a new property: Always reset the garage door code to ensure previous owners or their acquaintances no longer have access.
- Losing a remote or keypad: An immediate code change is vital to prevent unauthorized entry if a remote is lost or stolen.
- After giving temporary access: Once contractors, guests, or service workers in areas like Baldwin, WI, no longer need entry, change the code to ensure temporary access does not become permanent.
- If you suspect a compromise: If you notice unusual activity or feel your code may have been intercepted, a proactive code change is a wise security step.
- As part of a regular security audit: Security experts recommend resetting your garage door code every 6-12 months as a best practice to maintain strong home defenses.
Best Practices for a Secure PIN
When you change garage door remote code, choosing a strong PIN is your first line of defense.
- Make it memorable, but not obvious: Avoid easily guessable numbers like your birthdate, house number, or sequential digits (e.g., 1234).
- Opt for random numbers: A random combination of numbers is far more secure than a predictable pattern.
- Avoid sequential or repeating digits: Codes like 1234, 4321, or 5555 are weak and easily compromised.
- Never use your address or birthdate: This information is often publicly available, making it a target for intruders.
- Keep it unique: Do not reuse PINs from your debit card or other accounts. If one is compromised, you prevent a domino effect on your security.
How to Change Your Garage Door Remote Code: A Step-by-Step Guide
The process to change garage door remote code is straightforward, though steps vary by opener model. Modern units use a “Learn” button, while older models have DIP switches. For safety, always ensure the garage door is closed and clear of obstructions before you begin.

For Modern Openers with a ‘Learn’ Button
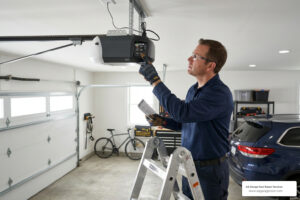
Most openers made in the last 25 years have a ‘Learn’ button for programming. It is a square or round button on the motor unit, often near an LED light. Its color can vary by brand (e.g., purple, red, or yellow for Chamberlain/LiftMaster) and is the key to resetting your codes.
Step 1: Clear Old Codes
First, clear all existing codes from the opener’s memory to deactivate old remotes and keypads.
- Locate the ‘Learn’ button on the garage door opener’s motor unit, sometimes under a light cover.
- Press and hold the ‘Learn’ button for 6-15 seconds until the adjacent LED light turns off. This erases all previous programming.
- Release the button once the LED is off. All old codes are now cleared, a critical step if you’ve moved into a new home in Hudson, WI, or lost a remote.
Step 2: Program Your New Remote or Keypad
With the memory cleared, program your new device.
- Enter programming mode by pressing and releasing the ‘Learn’ button. The LED will light up, giving you about 30 seconds to proceed.
- Program the remote by pressing and holding the button on the remote until the opener’s main lights flash or you hear a click.
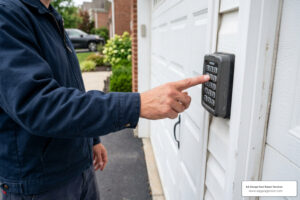
- Program the keypad by entering your new 4-digit PIN and pressing the ‘Enter’ button. The opener will signal its acceptance. For more details, see our garage door opener programming guide and garage keypad programming article.
Step 3: Test and Sync Additional Devices
Finally, confirm everything works correctly.
- Test functionality by using the new remote or keypad to open and close the door.
- Reprogram other remotes by repeating Step 2 for each device, as clearing the memory wiped all previous connections.
- Sync keypads by following the same programming steps. Our garage door opener keypad complete guide offers more instructions.
For Older Openers with DIP Switches
Older openers (pre-1995) use a series of 8-12 small DIP switches inside the remote and motor unit to set the code. The switch pattern in the remote must exactly match the pattern on the motor’s receiver.

How to change garage door remote code on a DIP Switch System
Changing the code involves physically matching the switch positions.
- Open the remote casing to expose the row of tiny switches.
- Access the motor unit’s receiver to find the corresponding set of DIP switches.
- Create a new switch pattern by flipping the switches to a new, unique on/off combination.
- Match the patterns by adjusting the switches on both the remote and the motor unit to be identical.
- Test the new code by closing both units and operating the door with your remote. Repeat for any additional remotes.
Troubleshooting and Advanced Features
If your new code doesn’t work after programming, common culprits include dead remote batteries, being out of range (typically 50-100 feet), or signal interference. Start with these simple solutions:
- Check the remote’s batteries: A dying battery is a frequent cause of programming failure. Replace batteries every 1-2 years.
- Ensure proper range: Stand within the opener’s operating range. If it only works up close, the battery may be weak or the antenna may have an issue.
- Inspect the opener’s antenna: The thin wire antenna on the motor unit should hang straight down and be unobstructed and undamaged.
- Check for interference: New electronics can interfere with the opener’s signal. Try temporarily turning off new devices to see if it resolves the issue.
Troubleshooting: What to Do if You Can’t Change the Garage Door Remote Code
If basic steps fail, try these advanced troubleshooting tips:
- Check the power source: Ensure the opener is plugged into a working outlet.
- Reset the logic board: Unplug the opener for 60 seconds, then plug it back in to reset the logic board and clear glitches.
- Consult your owner’s manual: Your manual provides model-specific instructions and diagrams. Most are available on the manufacturer’s website.
- Look for brand-specific instructions: Search online for “[your opener brand] programming instructions” for custom guidance.
- Consider in-vehicle systems: Programming a car’s built-in opener (like HomeLink) can be more nuanced. Find detailed guides at resources like the HomeLink website.
- When to call the pros: If you still can’t change garage door remote code, it may be time for professional help. An underlying issue with the logic board or receiver could be the cause. Our team offers reliable garage door repair in Apple Valley and is ready to assist.
Smart Openers and Temporary PINs
Modern smart openers offer improved convenience and security. Many are Wi-Fi enabled, allowing you to manage your garage door from a smartphone app.
With a smart opener, you can:
- Change codes remotely: Update or reset codes directly from the app.
- Monitor activity: Receive real-time alerts when your garage door opens or closes.
- Grant temporary access: Set temporary PINs for guests or service workers that expire after a set time or number of uses. This is invaluable for managing access to your St. Paul or Woodbury home without sharing your main code.
- Integrate with smart home systems: Connect to platforms like Amazon Alexa or Google Home for voice control.
For more on these advanced systems, check our garage door opener keypad complete guide. Smart technology integrates your garage door securely into your modern lifestyle.
Frequently Asked Questions about Changing Garage Door Codes
Here are answers to common questions from customers in the Twin Cities and Western WI about managing garage door codes.
How often should I change my garage door code?
For optimal security, you should change garage door remote code every six to twelve months. Change it immediately if you move into a new home, lose a remote, suspect your code is compromised, or after giving temporary access to a non-resident.
Will clearing the codes erase my car’s built-in garage door opener?
Yes. Clearing the codes from the garage door opener’s motor unit deactivates all connected devices, including handheld remotes, external keypads, and built-in vehicle remotes like HomeLink. After clearing the memory, you must reprogram each device individually to restore access.
What do I do if I can’t find the ‘Learn’ button?
The ‘Learn’ button is located on the motor unit mounted on your garage ceiling. Check the back or side panels, or look under the plastic light bulb cover. The button’s color often indicates the brand (e.g., purple, red, green, or yellow for Chamberlain/LiftMaster). If you cannot find it, consult your owner’s manual or the manufacturer’s website for a diagram of your specific model. If you’re still struggling, our technicians can help homeowners in St. Paul, Woodbury, and surrounding areas.
Secure Your Home with Confidence
Learning how to change garage door remote code is a fundamental skill for securing your property and enhancing your peace of mind. By updating your codes when moving, after losing a remote, or as part of routine maintenance, you ensure access is limited to only those you trust. This guide has covered the process for modern and older openers, troubleshooting, and the benefits of smart technology.
If you encounter issues, feel uncomfortable with these steps, or need a system upgrade, professional assistance is a reliable option. Our team at AA Garage Door Repair Services has served homeowners in St. Paul, the Twin Cities, MN, and Western WI since 2001. For a complete system upgrade or a new installation, explore our high-quality garage door openers. We are your local experts, ready to ensure your garage door system is secure and functions perfectly.