Why Knowing How to Reset Your Genie Garage Door Opener Can Save You Time and Money
If you’ve ever needed to know how to reset a Genie garage door opener, you’re in the right place. Performing a system reset is often the fastest way to resolve communication errors between your remote and the motor. For reliable assistance, you can always rely on AA Garage Door to keep your system operating smoothly.
Here’s a quick answer before we dive into the details:
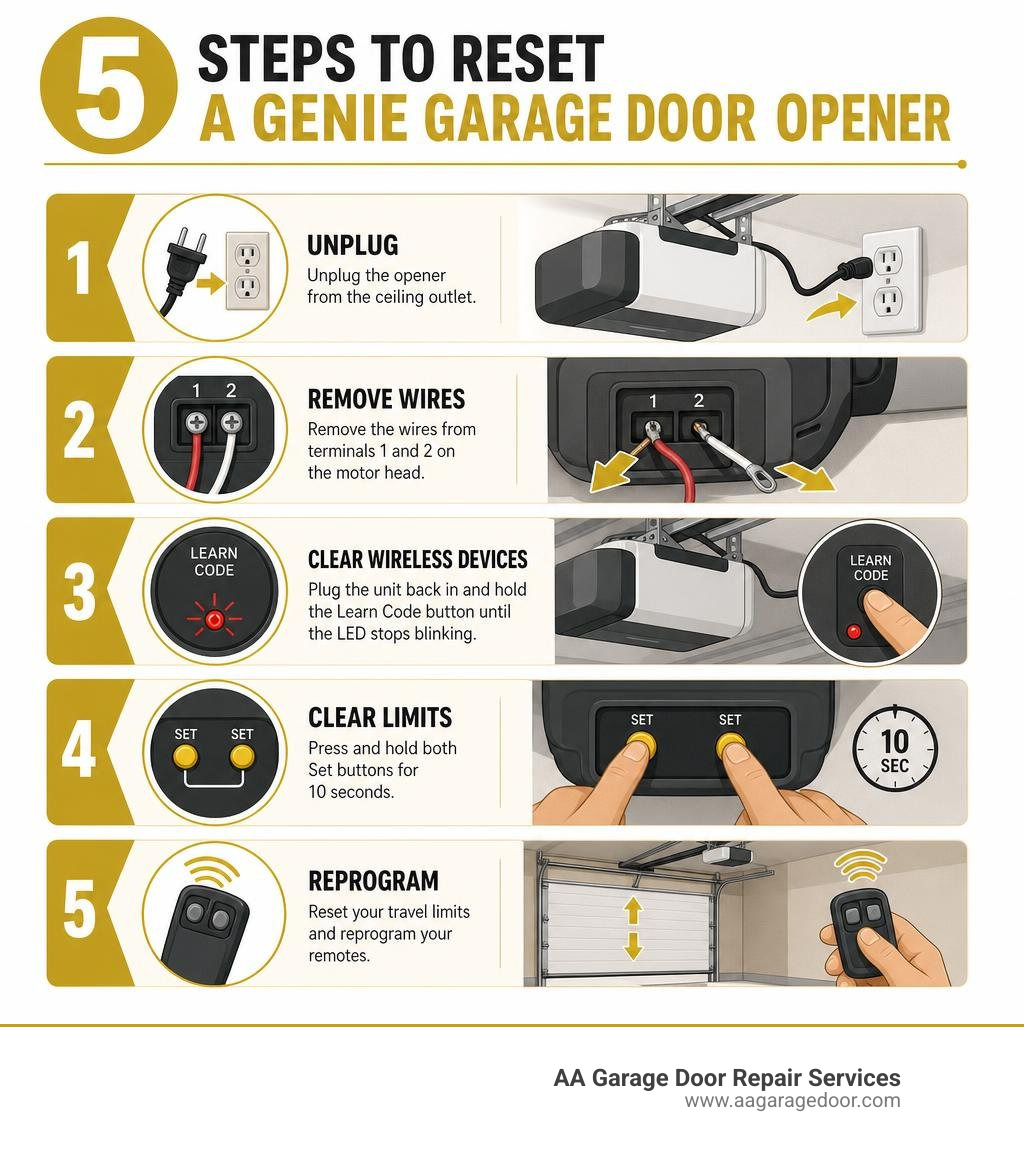
How to reset a Genie garage door opener (quick steps):
- Unplug the opener from the ceiling outlet
- Remove the wires from terminals 1 and 2 on the motor head
- Plug the unit back in and clear wireless devices by holding the Learn Code button until the LED stops blinking
- Clear the limit settings by pressing and holding both Set buttons for 10 seconds
- Reset your travel limits and reprogram your remotes
Note: This hard reset applies specifically to Genie models 600/800. Other models may vary slightly. For professional help with your opener, our garage door opener repair service is available across the Twin Cities.
Your Genie opener can stop working for a lot of reasons — a power surge, a lost remote, a move to a new home, or a logic board that just needs a fresh start. The good news? Most of these problems don’t require a service call. A proper reset clears out the old programming and gives your system a clean slate.
But not all resets are the same. A hard reset wipes everything — wireless devices, limit settings, all of it. Clearing remote memory only removes paired remotes and keypads, leaving your travel limits untouched. Knowing which one you need saves you from doing more work than necessary.
I’m David Sands, owner of AA Garage Door LLC with over 23 years of hands-on experience diagnosing and repairing Genie opener systems across Wisconsin and Minnesota — including countless calls that started with someone asking how to reset a Genie garage door opener after a storm or a stolen remote. This guide walks you through exactly what the manufacturer recommends, plus the real-world tips we’ve picked up in the field.
Quick look at how to reset genie garage door opener:
- how to configure garage remote
- how to program a garage remote control
- how to sync garage door remote control
What is a Hard Reset vs. Clearing Remote Memory?
When troubleshooting a garage door opener, homeowners often confuse a “hard reset” with simply clearing the remote memory. Understanding the difference is crucial to avoiding unnecessary reprogramming. At AA Garage Door, we always advise checking which issue you are trying to solve before wiping your system’s entire configuration.
A hard reset is a complete factory restore. It clears all wireless accessories (remotes, keypads, and smart integrations) and completely erases the travel limit and force settings. You should perform a hard reset when the logic board becomes “frozen” or “confused”—often after a severe power surge, lightning storm, or when replacing major physical components.
In contrast, clearing remote memory only erases the radio frequency (RF) codes stored on the receiver. It leaves your door’s physical travel limits untouched. This is the ideal option if you lose a remote, move into a new home, or want to prevent unauthorized access from older devices.
Modern Genie openers built since the mid-2000s utilize non-volatile memory. This means a standard power outage won’t erase your codes or limits. However, severe electrical spikes can still scramble the internal logic board, necessitating a full factory reset. For a detailed breakdown of basic reset alternatives, you can read How to Reset a Genie Garage Door Opener: 4 Easy Options.
Understanding How to Reset Genie Garage Door Opener Memory
To successfully clear and program your system, you need to identify which generation of Genie Intellicode technology your opener uses:
- Intellicode I (approx. 1995–2011): These older models feature a simple, physical “Learn Code” button (usually red or black) and a single LED indicator.
- Intellicode II (2011–present): These modern openers use a more advanced programming interface featuring a square “PRGM/SET” button alongside “Up (+)” and “Down (-)” arrow buttons, using multi-colored (blue and purple) LEDs to guide you.
Both systems rely on rolling-code security, which automatically changes the encryption key every single time the door is operated. This prevents tech-savvy intruders from grabbing your signal out of the air. Clearing this memory is the single best way to secure your garage if a remote is lost or stolen.
How to Reset Genie Garage Door Opener: The 5-Step Hard Reset for Models 600/800
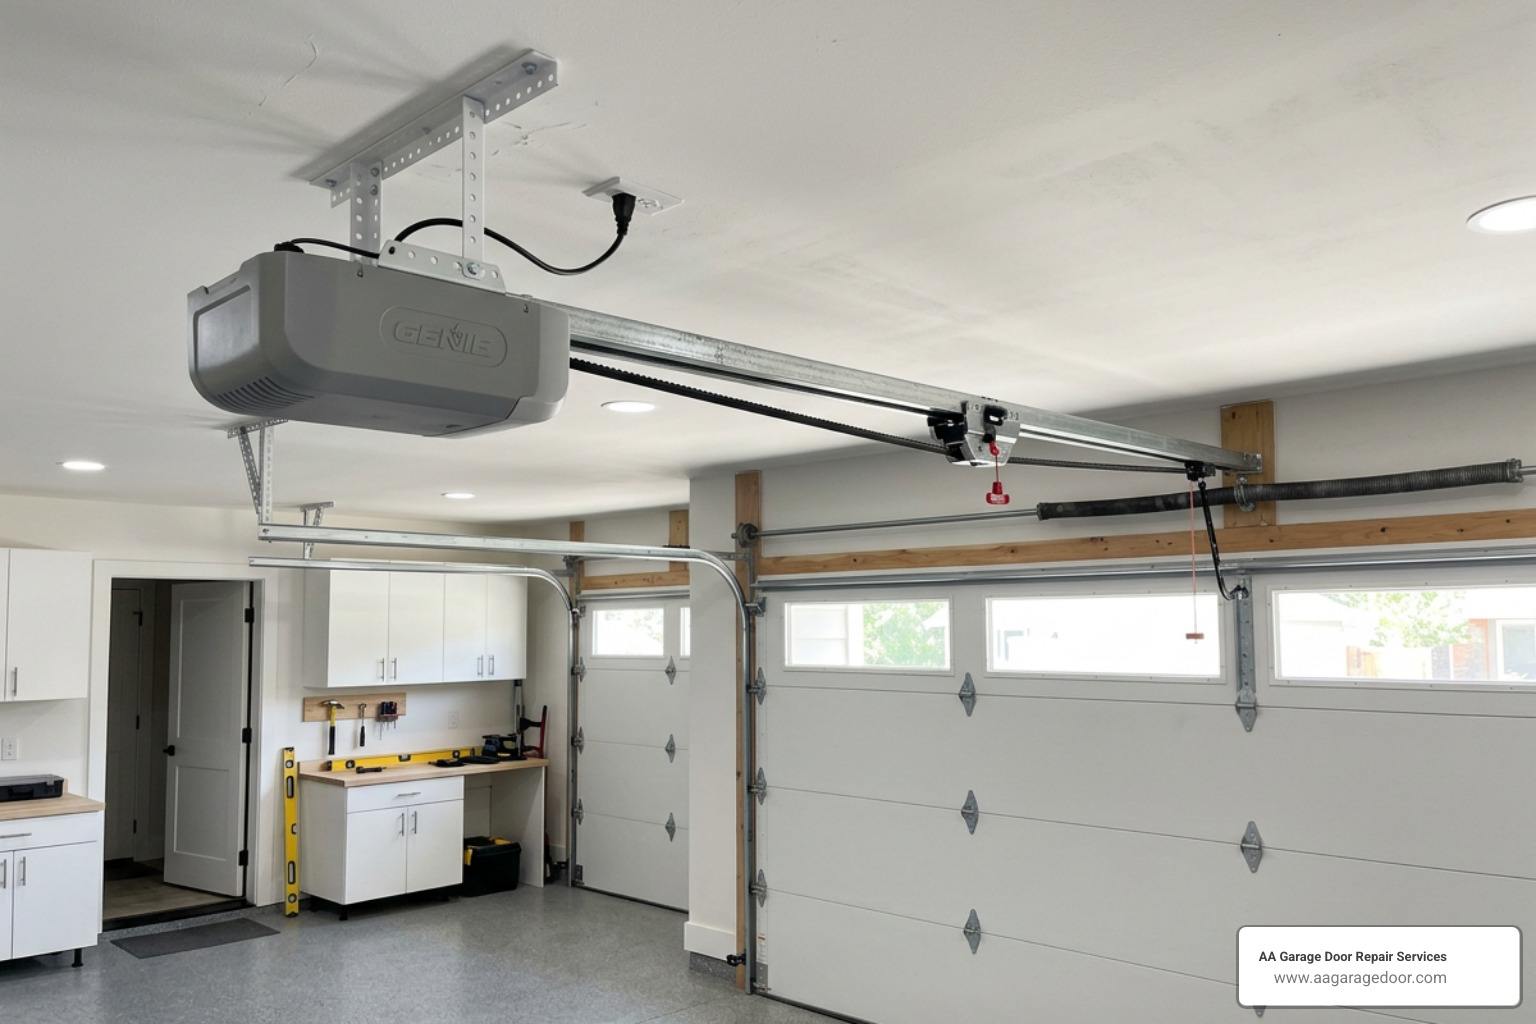
If your Genie Model 600 or 800 is behaving erratically, ignoring commands, or failing to save new settings, a full factory hard reset is the recommended solution. Follow these five official manufacturer steps to restore your unit to its factory defaults.
Step 1: Disconnect the Power
Locate the ceiling outlet powering your garage door opener. Unplug the power cord from the outlet. If your outlet is difficult to reach, switch off the corresponding breaker in your home’s electrical panel. Wait at least 30 seconds to allow the logic board’s capacitors to fully discharge before proceeding.
Step 2: Remove the Wall Console Wires
To prevent any interference or false signals during the reset process, locate the terminal strip on the back or side of the motor head. Find the wires connected to terminals 1 and 2 (which run directly to your wired wall console). Use a small screwdriver to loosen the terminal screws and gently pull the wires out.
Step 3: Clear the Wireless Devices
Plug the opener back into the ceiling outlet. Next, clear the RF receiver memory based on your model’s interface:
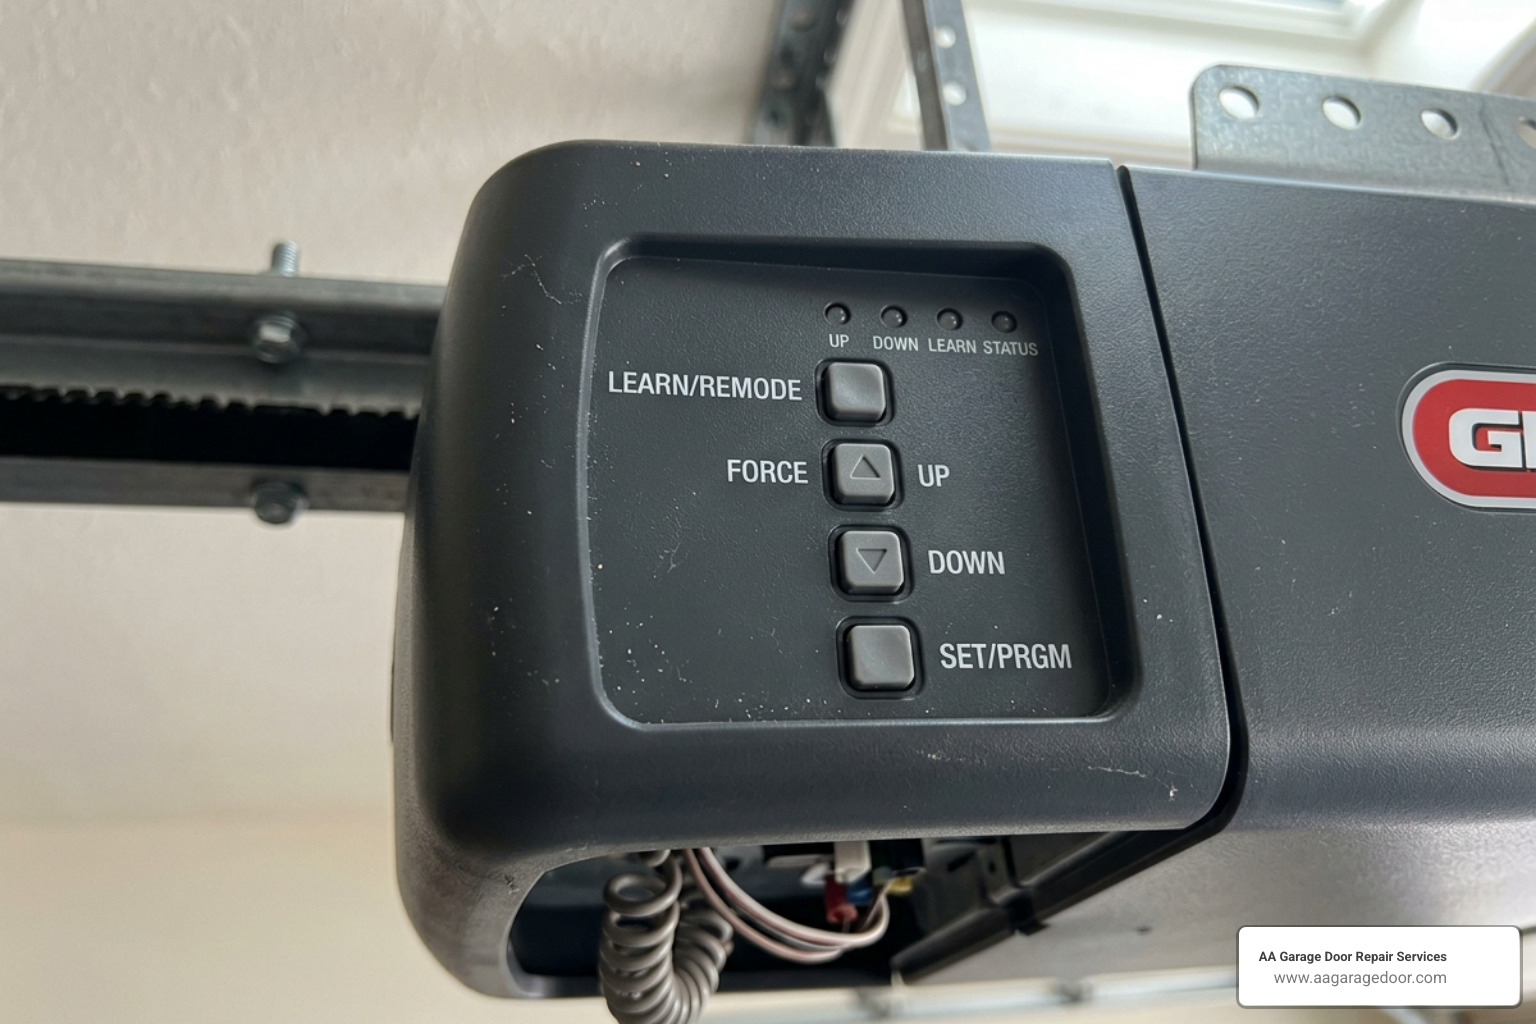
- For Intellicode II (Modern Units): Press and hold the square PRGM/SET button until the round LED turns blue, then release it. Next, press and hold the Up (+) and Down (-) buttons simultaneously until both LEDs flash blue and go out.
- For Intellicode I (Older Units): Press and hold the Learn Code button until the indicator light stops blinking and turns off completely.
For more details on clearing different receiver types, refer to this guide on How to Reset a Genie Garage Remote and Clear Motor Memory.
Step 4: Clear the Limit Settings
To wipe out the saved travel limits on Models 600/800, press and hold both the Up (+) and Down (-) arrow buttons at the same time. Keep them pressed for a full 10 seconds. The LED lights on the motor head will flash or change color to confirm that the travel limits have been successfully erased.
Step 5: Reconnect Wires and Reprogram
Now that the system is completely cleared, unplug the unit once more. Insert the wall console wires back into terminals 1 and 2, and tighten the screws. Plug the opener back in. Verify that the wall console shows a steady red light. You are now ready to set your new travel limits and sync your wireless devices. For a comprehensive look at the setup process, consult our step-by-step programming guide.
Setting Up and Down Travel Limits After a Reset
Once you perform a hard reset, your Genie opener has no memory of where the garage door should stop when opening or closing. You must manually set these travel limits before using your remotes.
Important Safety Rule: Never program your travel limits to force the door tightly against the garage floor. This puts extreme stress on the motor gear, rail, and door brackets, which can lead to premature mechanical failure.
To set your travel limits, refer to the official Genie programming manual or follow these steps:
- Enter Limit Programming Mode: Press and hold the square PRGM/SET button on the motor head until the round LED turns blue.
- Set the Down Limit: Press and hold the Down (-) arrow button until the door reaches the garage floor. The bottom rubber seal should be slightly compressed but not forced flat. Press the PRGM/SET button once to lock in this setting. The green LED will flash to confirm.
- Set the Up Limit: Press and hold the Up (+) arrow button until the door is fully open. Ensure the door stops at least 4 inches away from the physical motor head stop to prevent mechanical binding. Press the PRGM/SET button once to save. The red LED will flash.
- Automatic Force Control Calibration: Using your wired wall console, run the door through one complete, uninterrupted opening and closing cycle. The opener uses this initial run to measure the weight of your door and automatically calibrate its internal force controls.
To keep your system running smoothly, perform these checks as part of your regular garage door opener maintenance guide routine.
Testing the Contact Reverse Safety Feature
After any limit adjustment, you must test the automatic safety reverse system. Place a flat 2×4 board on the garage floor directly in the door’s path. Close the door using the wall console. The door must reverse direction within 2 seconds of making contact with the board. If it does not, stop using the door immediately and contact a professional technician.
Reprogramming Your Wireless Devices and Keypads
With your travel limits set, you can now pair your wireless accessories back to the receiver. You have a 30-second programming window for each step before the opener automatically times out.
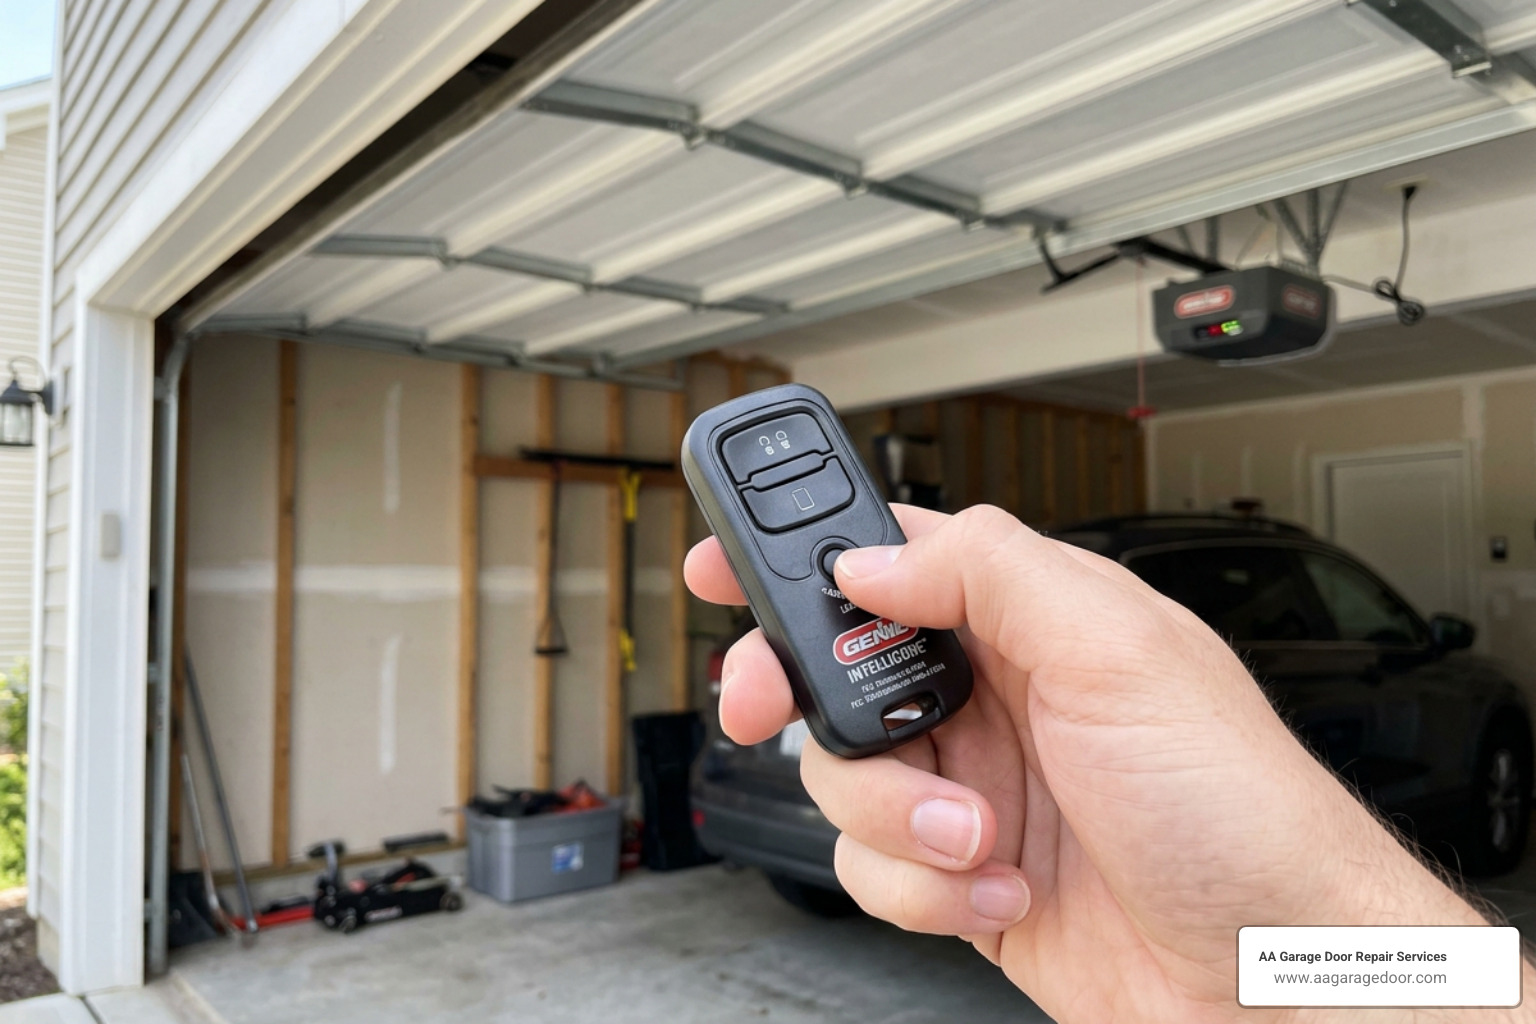
To avoid signal issues, stand at least 5 feet away from the motor head when programming a remote. If you are working on an Intellicode system, follow the steps detailed in How To Reset A Genie Intellicode Garage Door Opener or check our comprehensive garage door remote programming guide.
Step-by-Step: How to Reset Genie Garage Door Opener Wireless Accessories
Reprogramming Standard Remotes (G1T, G3T, etc.)
- Press and hold the square PRGM/SET button on your opener until the round LED turns blue, then release it. The long LED will blink purple.
- Press the button on your remote control once. The long purple LED on the opener will turn solid purple.
- Press the same remote button a second time. The opener LEDs will flash blue and turn off.
- Press the remote button a third time to test. The door should operate normally.
Resetting and Reprogramming a Wireless Keypad
If your wireless keypad is unresponsive or you have forgotten your PIN, you can reset it back to its factory default code (3-5-7):
- Open the keypad cover. Press and hold the Program and Up/Down buttons simultaneously for 5 seconds. The keypad backlight will blink and turn off to confirm the reset.
- To set a new PIN: Enter 3-5-7, press Program, enter your new 3-to-8 digit PIN, and press Program again.
- To pair the keypad to the opener: Press the PRGM/SET button on the motor head until the round LED turns blue. Enter your new PIN on the keypad and press the Up/Down button once every second until the opener LEDs flash blue and turn off.
Troubleshooting Common Issues After Resetting
Sometimes, a reset doesn’t go exactly as planned. Below is a quick troubleshooting reference table to help you identify and resolve common post-reset issues.
| Symptom | Probable Cause | Actionable Solution |
|---|---|---|
| Door reverses immediately before reaching the floor | Travel limits are set too low, or there is an obstruction. | Recalibrate the down travel limit. Ensure the bottom rubber seal is only slightly compressed. Check tracks for debris. |
| Opener requires constant pressure on wall button to close | Safe-T-Beam safety sensors are misaligned, dirty, or damaged. | Clean both sensor lenses with a soft cloth. Realign the sensors until one shows solid red and the other solid green. |
| Wall console has no red light after reconnecting wires | Wires are loose, broken, or connected to the wrong terminals. | Verify wires are securely inserted into terminals 1 and 2. If the light remains off, try swapping the wire positions. |
| Remotes fail to program or have extremely short range | Radio frequency (RF) interference or low remote battery. | Replace the CR2032 remote battery. Remove nearby LED or CFL lightbulbs from the opener, as they can cause severe RF interference. |
If you run into persistent errors or the motor head continues to blink red rapidly, consult the official online Genie troubleshooting guide for advanced diagnostics.
Frequently Asked Questions
How do I erase all programmed remotes from my Genie opener?
To erase all programmed remotes without affecting your travel limits, locate the programming buttons on your motor head. For newer Intellicode II models, press and hold the PRGM/SET button until the round LED turns blue, then release. Press and hold the Up (+) and Down (-) buttons together until both LEDs flash blue and go out. For older Intellicode I models, simply press and hold the Learn Code button until the red indicator light stops flashing and turns off.
Why is my garage door reversing before it closes?
If your door reverses before reaching the ground, it is usually triggered by a safety sensor issue or a travel limit set too far down. Check your Safe-T-Beam sensors at the bottom of your door tracks. One sensor should display a solid red light, and the other should display solid green. If either is blinking or off, realign them and clean the lenses. If the sensors are clear, your down travel limit is likely set too low, causing the opener to detect the floor as an obstruction.
What should I do if my wall console has no red light?
If your wall console is dark after a reset, check the connection at the motor head terminal strip. Ensure the wires are securely connected to terminals 1 and 2. If they are secure and the console still won’t light up, try swapping the two wires. If that fails, inspect the wire run for staples that may have pinched or cut the low-voltage wire. Your wall console will continue to operate the garage door opener normally even if the wireless memory has been cleared.
Conclusion
Resetting your Genie garage door opener is a highly effective way to clear out system glitches, secure your home after a lost remote, or restore normal operation after a major power surge. By following these steps, most homeowners can easily complete a reset and reprogram their system in under 15 minutes.
However, if your opener still refuses to cooperate after a reset, or if you suspect a deeper electrical or mechanical issue, it is always safest to call in a professional. Garage doors are the largest moving objects in your home, and working around high-tension springs and overhead assemblies carries real safety risks.
At AA Garage Door Repair Services, we have been serving homeowners across St. Paul, the Twin Cities metro area, and Western Wisconsin since 2001. We provide fast, reliable service with transparent pricing and a satisfaction guarantee.
If you need a hand getting your garage door opener back in perfect working order, please schedule professional garage door opener repair online. We are available 24/7 for emergency repairs!