Why Knowing How to Programme a Garage Door Opener Saves You Time, Money, and Frustration
Knowing how to programme your garage door opener is one of the most practical home skills you can have. Over 100 million garage doors are in use across the United States, and 66% of newly built single-family homes include a two-car garage — which means millions of homeowners deal with lost remotes, dead batteries, new vehicles, and power outages every year. Each of those situations calls for the same fix: reprogramming. If you are currently struggling with a malfunctioning system or simply need assistance with your initial setup at your home, securing reliable professional Twin Cities garage door repair services can quickly resolve the issue, but many minor reprogramming tasks can be handled on your own.
Here is the short answer for most modern openers:
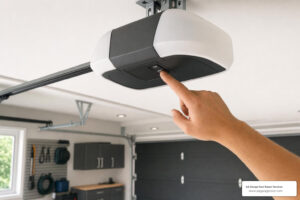
- Locate the Learn button on your opener motor unit (usually on the back or side panel)
- Press and hold the Learn button until the indicator light turns on (about 2 seconds)
- Press the remote button you want to program within 30 seconds
- Wait for confirmation — most openers will flash their lights or click twice
- Test the remote from inside and outside the garage
Most major brands — LiftMaster, Chamberlain, Genie, Craftsman, and Overhead Door — follow this same basic sequence. The differences come down to button colors, LED indicators, and whether your system uses rolling code technology or older dip switches.
If your opener is newer or WiFi-enabled, the process involves a mobile app instead. And if you drive a Ford, Chevy, or another vehicle with a built-in HomeLink system, there is a separate syncing process for that too.
This guide covers all of it — step by step, brand by brand.
Our team at AA Garage Door is also available if you’d rather have a professional handle the setup.
I’m David Sands, owner of AA Garage Door LLC, and I’ve been programming, installing, and troubleshooting garage door opener systems across Wisconsin and Minnesota since 2001. Over more than two decades of hands-on work — and as an authorized LiftMaster dealer — I’ve guided thousands of homeowners through exactly how to programme a garage door opener, from basic remote syncing to full smart home integration. Whether you’re a confident DIYer or just need to know where to start, this guide gives you the same advice I’d give a customer standing in their driveway.
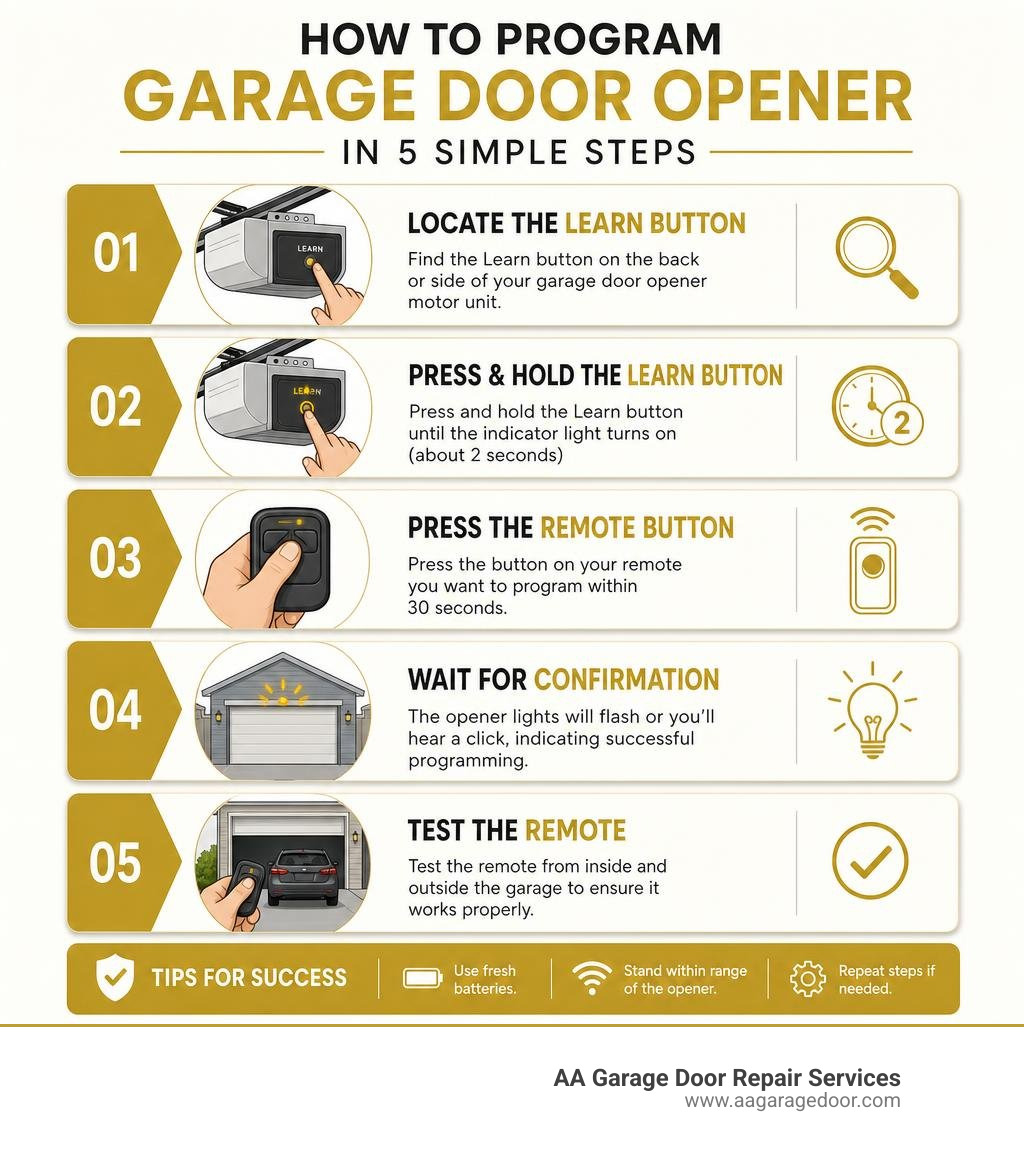
Simple guide to how to programme garage door opener:
Essential Safety Precautions and Pre-Programming Checklist
Before you grab your ladder and start pressing buttons on your garage door motor, you must prioritize physical safety. A garage door is the single largest and heaviest moving object in your home. When handled incorrectly, it can cause severe injury or property damage.
To ensure a safe programming environment, follow these baseline safety protocols:
- Clear the Path of Travel: Ensure that children, pets, vehicles, and tools are completely clear of the garage door’s path. During the programming process, the door may open or close unexpectedly.
- Use a Stable Ladder: When reaching the overhead motor unit, use a sturdy A-frame stepladder. Never stand on a bucket, chair, or the top step of the ladder.
- Avoid Electric Shock: Keep your hands dry and avoid touching exposed wiring on the motor unit. If you are retrofitting or hardwiring any smart accessories, always unplug the opener from its power source first.
- Do Not Override Safety Sensors: Ensure your infrared safety eyes (photoelectric sensors) are properly aligned and working. If these sensors are blocked or broken, the door will not close, and programming may fail.
- Set Limits on AC Power Only: If you are programming the travel limits on a newer model, do not attempt to set these limits while operating on battery backup power.
Once these safety measures are met, perform a quick monthly contact reverse test. Place a 1.5-inch high object (like a flat 2×4 piece of wood) on the garage floor directly under the door’s path. Close the door. If the door does not automatically reverse within two seconds of making contact with the wood, your opener’s force settings or travel limits need immediate adjustment. For a detailed breakdown of monthly care, consult our Garage Door Opener Maintenance Guide.
Step-by-Step: How to Programme Garage Door Opener Remotes Across Major Brands
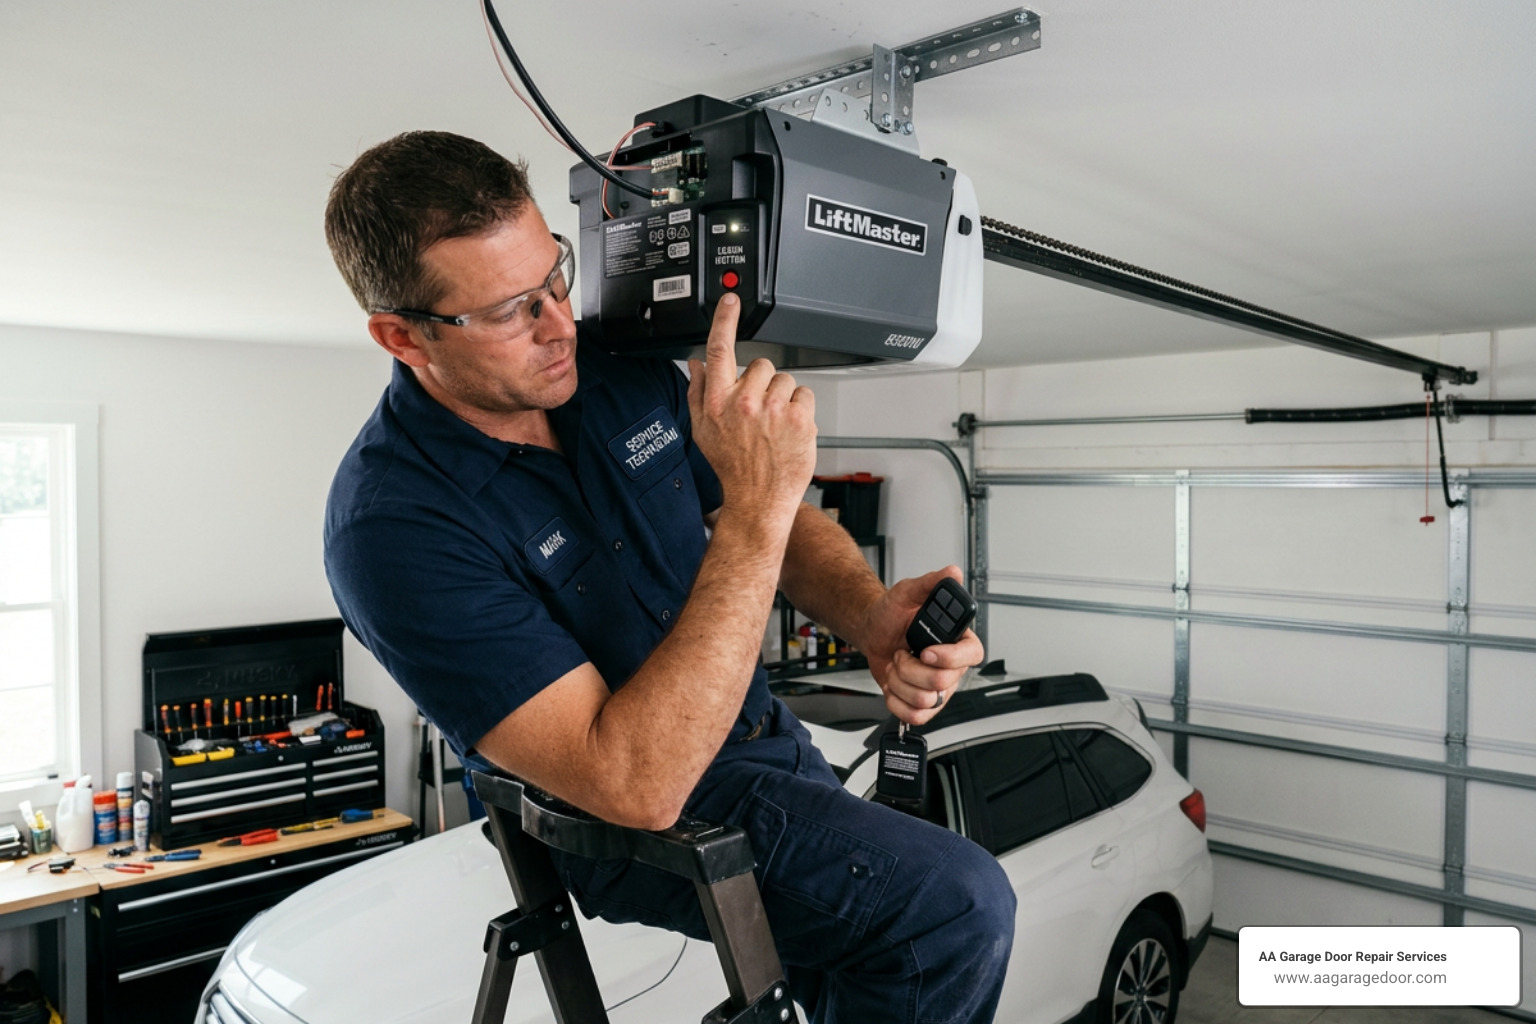
Modern garage door openers rely on high-security radio frequency (RF) signals to communicate. To prevent bad actors from intercepting your remote’s signal, modern systems manufactured after 1993 use rolling codes. A rolling code system (such as LiftMaster’s Security+ or Genie’s Intellicode) automatically changes the security code to one of billions of combinations every single time you press the remote button.
To sync these high-security remotes, you will need to access the motor’s physical Learn button. This button acts as a receiver switch, telling the motor’s computer brain to listen for and save the next RF signal it receives.
Below are the brand-specific instructions to walk you through this process. If you want to dive deeper into the mechanics of your remote, read our guide on How to Program a Garage Remote Control the Right Way.
Programming LiftMaster, Chamberlain, and Craftsman Remotes
LiftMaster, Chamberlain, and Craftsman are built by the same parent company (Chamberlain Group), meaning they share identical programming logic. The key to programming these models lies in the color of the Learn button, which is located on the back or side panel under the light lens.
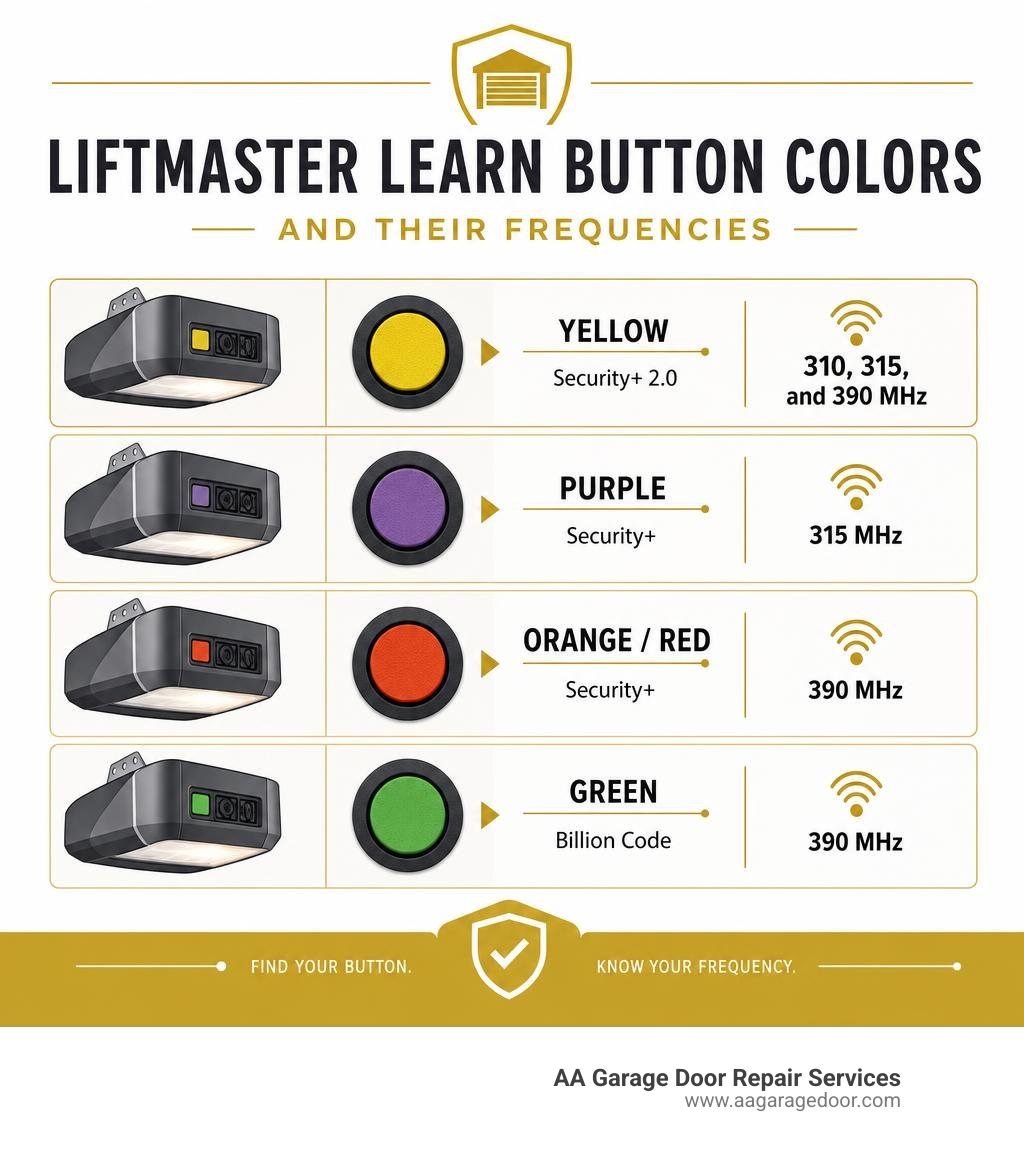
Identify your button color to determine your system’s frequency and protocol:
- Yellow Button: Security+ 2.0 (operating on 310, 315, and 390 MHz).
- Purple Button: Security+ 315 MHz.
- Orange/Red Button: Security+ 390 MHz.
- Green Button: Billion Code 390 MHz (older models).
Step-by-Step Programming Process:
- Locate the colored Learn button on your overhead motor unit.
- Press and immediately release the Learn button. Do not hold it down, as holding it for more than 6 seconds will erase all programmed remotes from the system’s memory.
- The indicator LED next to the Learn button will glow steadily for 30 seconds. This is your programming window.
- Within this 30-second window, press and hold the button on your hand-held remote control that you wish to use.
- Release the remote button when the motor unit’s light bulbs blink or you hear two audible clicks.
- Test your remote by pressing the programmed button to ensure the door opens or closes.
For a comprehensive look at matching compatible frequencies, see our Garage Door Opener Programming Guide.
Programming Genie and Overhead Door Remotes
Genie and Overhead Door openers utilize Intellicode rolling code encryption. Newer models, such as the Odyssey 1000, feature an advanced digital interface with a PRGM/SET button and LED indicators rather than a simple colored button.
Step-by-Step Programming Process:
- Locate the programming panel on your Genie motor unit. You will see a square PRGM button and two arrow keys.
- Press and hold the PRGM button for 2 to 3 seconds until the round LED lights up blue, then release. The long LED will begin flashing purple.
- Stand at least 5 feet away from the opener with your remote control.
- Slowly press and release the desired button on your remote control. The long LED on the motor will turn solid purple.
- Press the same remote button a second time. Both LEDs on the motor unit will flash blue and shut off, indicating successful pairing.
- Press the remote button a third time to operate the door.
If you are using an older Genie model with a simple “Learn Code” button, consult the official Genie Manual for legacy wiring diagrams.
How to Programme Garage Door Opener Keypads and Wall Controls
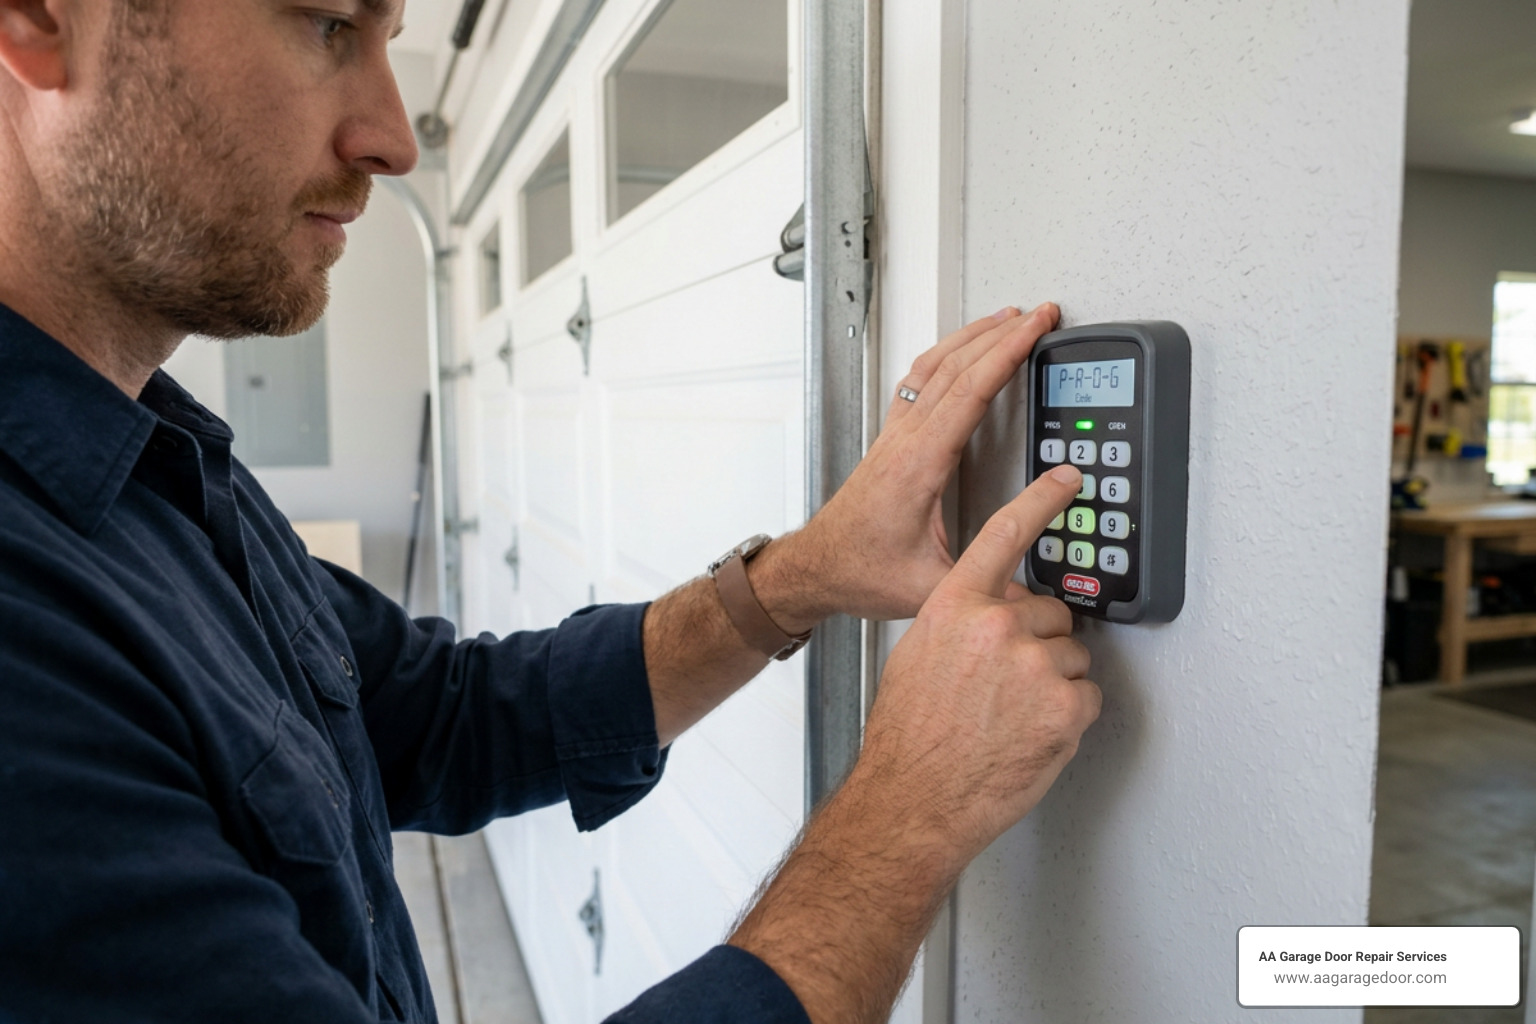
A wireless exterior keypad allows you to access your home without carrying a key or remote. Setting up a keypad follows a very similar logic, but requires an extra step to set your unique Personal Identification Number (PIN).
Step-by-Step Keypad Programming Process:
- Access your overhead motor unit and press the Learn button (or PRGM button on Genie models) until the indicator light glows.
- Within 30 seconds, enter your chosen 4-digit PIN on the wireless keypad.
- Press and hold the ENTER button on the keypad.
- Release the button when the motor light bulb blinks or the indicator light on the keypad flashes.
- Test the keypad by entering your PIN and pressing ENTER.
The keypad remains active for 15 seconds after a successful PIN entry, allowing you to stop or reverse the door instantly by pressing any button. If you run into issues, check out our Garage Keypad Programming Guide for advanced troubleshooting steps.
How to Programme Garage Door Opener Systems to HomeLink in Your Vehicle
Many modern Ford, Chevrolet, GMC, and RAM vehicles feature built-in HomeLink systems, which consist of three buttons integrated into the visor or overhead console. This system replaces clunky physical remotes.
Step-by-Step HomeLink Programming Process:
- Clear Previous Codes: Press and hold the first and third HomeLink buttons simultaneously for about 20 seconds. Release them only when the indicator light changes from a solid glow to a rapid flash. Do not skip this step, as it clears out old programming and prevents signal conflicts.
- Train the Vehicle: Hold your hand-held garage remote 2 to 3 inches away from the HomeLink buttons. Press and hold the desired HomeLink button and your hand-held remote button at the exact same time.
- Verify Signal Capture: Keep holding both buttons until the HomeLink indicator light changes from a slow blink to a rapid flash. This indicates your vehicle has successfully cloned the remote’s frequency.
- Pair with the Opener Motor: Go to your garage door opener motor and press the Learn button.
- Complete the Sync: Within 30 seconds, return to your vehicle and press the programmed HomeLink button for 2 full seconds, then release it. Repeat this press-and-release sequence a second time (and occasionally a third time, depending on the car brand). The opener light will flash to confirm pairing.
To cross-reference your vehicle’s compatibility with universal systems, review our Universal Garage Door Opener Codes Guide.
Programming Modern Smart and WiFi Garage Door Openers
If your garage door opener has built-in WiFi (look for the “myQ” or “Aladdin Connect” logo on the chassis), you can control and monitor your door from anywhere in the world using your smartphone.
Setting Up a myQ-Enabled Opener (Chamberlain/LiftMaster):
- Download the free myQ app from the Apple App Store or Google Play Store and register an account.
- Ensure your smartphone is connected to your home’s 2.4 GHz WiFi network. (Smart openers generally do not support 5 GHz networks due to the need for longer range through garage walls).
- Power on your garage opener. If you have a smart wall control panel, press and hold the light button or navigate to the menu to turn on WiFi Setup Mode.
- In the myQ app, tap the + icon to add a new device and select “Garage Door Opener.”
- Follow the app prompts to scan the MyQ serial number barcode (located on the motor’s label).
- Grant the app permission to connect to your opener’s temporary local WiFi network, then select your home’s WiFi network and enter your password.
- Name your garage door (e.g., “Main Garage”) and run a test open/close cycle through the app.
If your opener is older but mechanically sound, you don’t need to replace the whole unit to make it smart. You can easily add WiFi control, real-time alerts, and voice commands using a retrofit smart hub. For a full breakdown of compatibility and installation steps, check out The Garage Guide’s 2026 Retrofit Guide.
Integrating DIY Smart Home Solutions and Local Control
For advanced smart home enthusiasts who prefer local control over cloud-based subscriptions, open-source options offer maximum flexibility. You can build local controllers using platforms like Home Assistant, ESP32 microcontrollers, or a Raspberry Pi Pico W.
These DIY setups work by wiring a low-voltage relay in parallel with your physical wall button terminals. When the relay is triggered, it creates a temporary short-circuit (contact closure) that emulates a manual button press.
- ESP32 HomeKit Setup: Using the HomeSpan library, you can build a native Apple HomeKit accessory for under $22. This local solution completely bypasses third-party cloud servers, ensuring your data stays private. To build your own, follow Lumley’s ESP32 HomeKit Guide.
- Raspberry Pi Pico W: You can configure a Pico W to run a local web server using MicroPython, allowing you to trigger active-low 12V control signals via N-channel MOSFETs. This is ideal for custom smart home dashboards. Read the complete assembly walkthrough in the Core Electronics Raspberry Pi Pico W Tutorial.
- OpenGarage Firmware: If you want a pre-built open-source board that natively supports LiftMaster Security+ 1.0 and 2.0 communication protocols, OpenGarage is an exceptional choice. It features built-in ultrasonic distance sensors to monitor whether a car is parked in the bay. You can find detailed wiring and configuration instructions in the User Manual – OpenGarage Documentation.
Troubleshooting Common Programming and Signal Interference Issues
Sometimes, despite following every step perfectly, your remote or keypad simply refuses to sync. Here are the most common culprits and how to solve them:
1. Weak Remote Signal
If your remote only works when you are standing right next to the motor unit, your battery is likely dying. Replace the CR2032 or CR2016 coin-cell battery inside the remote. Additionally, check the thin antenna wire hanging from the motor unit. Ensure it is not cut, bent, or tucked inside the metal chassis. Straighten the antenna and let it point directly downward for optimal RF reception.
2. Frequency Interference
LED light bulbs are notorious for emitting electromagnetic interference (EMI) that can completely block garage door remote signals. If you recently installed standard household LED bulbs in your opener’s light sockets, replace them with specialized, shielded garage door LED bulbs or standard incandescent bulbs.
3. Lockout Mode Activated
If your wall console’s “Lock” button was accidentally pressed, the receiver will reject all incoming remote signals. To disable this, press and hold the Lock button on your physical wall control panel for 2 to 3 seconds until the indicator light stops flashing.
For a deeper dive into resolving persistent programming loop errors, check out our guide on How to Reprogram Garage Door Opener.
Frequently Asked Questions about Garage Door Programming
Why is my garage door opener not responding to the programmed remote?
This issue is usually caused by a dead remote battery, radio frequency interference (often from LED light bulbs), an antenna wire tucked inside the motor casing, or an active “Lock” mode on your wall control panel. Ensure your wall panel’s lock feature is turned off and verify that your remote’s frequency matches your opener’s brand and model year.
How do I clear all programmed codes from my garage door opener?
To perform a complete factory reset and clear all remotes, keypads, and smart links from your opener’s memory, press and hold the Learn button on the motor unit for approximately 6 to 10 seconds. The indicator light next to the button will turn on and then turn off, signaling that the memory has been wiped clean. For step-by-step instructions on resetting specific models, view our Garage Door Opener Codes Complete Guide.
Can I program a universal remote to an older garage door opener?
Yes, but compatibility depends on the year your opener was manufactured. If your opener was built before 1993, it likely uses manual dip switches (a row of 9 to 12 small switches) rather than a digital Learn button. You can program a compatible universal remote by opening both the remote and the receiver cases and flipping the switches to match the exact same pattern. However, for modern security and safety reasons, we highly recommend replacing pre-1993 models that lack infrared safety sensors.
Need Professional Help? Contact the Twin Cities Experts
While learning how to programme garage door opener systems is a highly rewarding DIY project, some tricky configurations, mechanical issues, or complex smart home setups are best left to the professionals.
At AA Garage Door Repair Services, we have been serving homeowners across the St. Paul/Twin Cities metro area and Western Wisconsin since 2001. We provide fast, reliable, and transparent 24/7 emergency service with a 100% satisfaction guarantee.
Whether you need a quick programming adjustment in St. Paul, MN, Baldwin, WI, Woodbury, MN, or Hudson, WI, our experienced local technicians are always ready to help.
For professional service or to explore our high-quality range of residential and commercial Garage Door Openers, please schedule an appointment online!