What to Check First When Your Garage Door Won’t Open
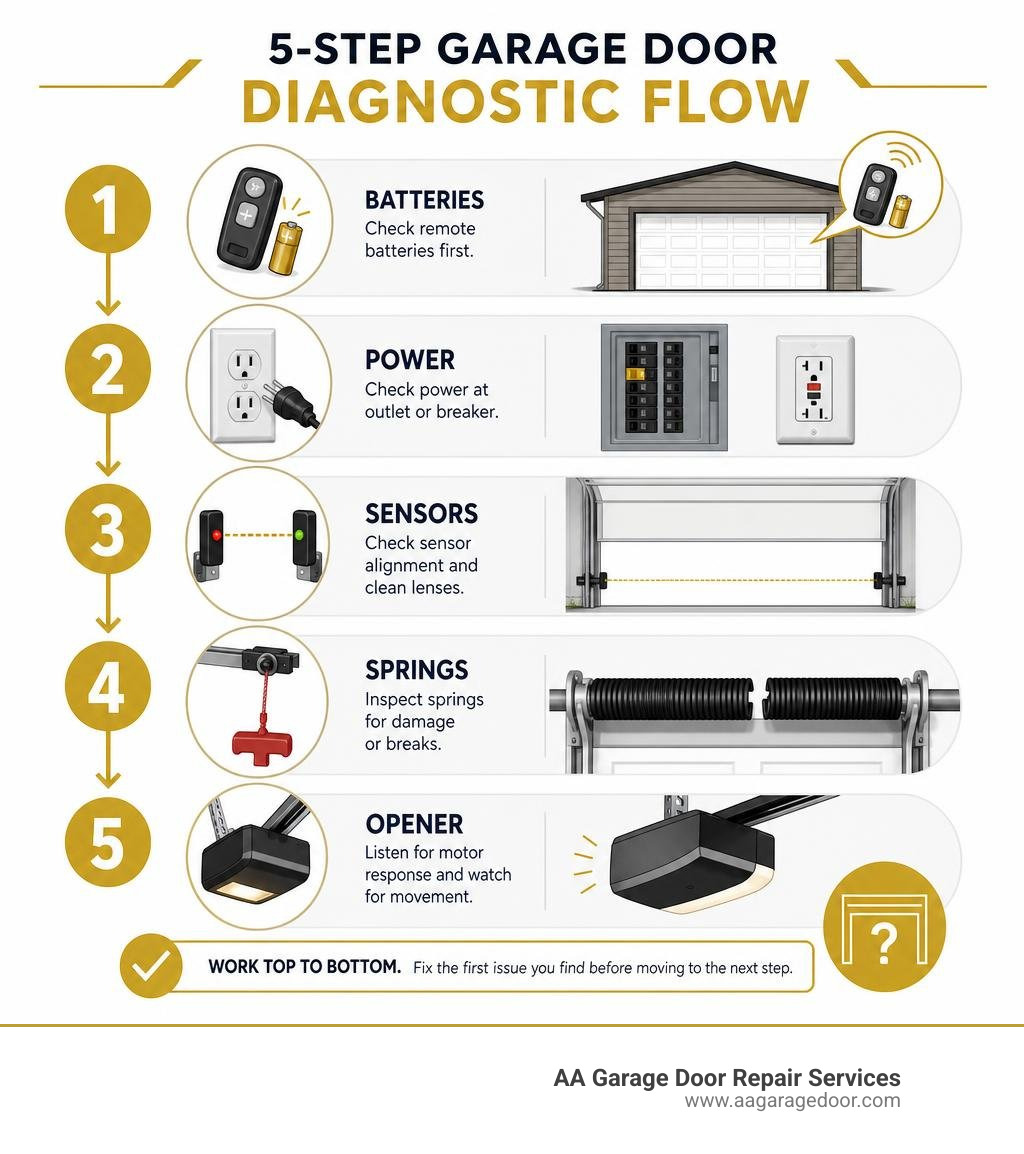
Garage door won’t open? Here are the most common causes and what to check first:
- Dead remote batteries — the #1 cause; replace them first
- Tripped circuit breaker or GFCI outlet — check your breaker panel
- Misaligned or dirty safety sensors — clean lenses and check alignment
- Manual lock or vacation mode engaged — check the wall console
- Broken torsion or extension spring — listen for a loud bang; look for a gap in the spring coil
- Disconnected emergency release trolley — the red cord may have been pulled accidentally
- Stripped opener gears — motor hums but door doesn’t move
- Door frozen to the ground — common in Twin Cities winters
These eight issues account for the vast majority of garage door failures. Most of the simple ones take under five minutes to check. If you are stuck in your driveway, contacting a professional team at (651) 702-1420 for local garage door services is the fastest way to resolve the issue safely.
Few things derail a morning faster than pressing your remote and getting nothing. Or worse — the motor runs, the chain moves, and the door just sits there. Whether your door is completely unresponsive or only opens a few inches before stopping, the cause is almost always one of a handful of well-known problems.
The good news: roughly 80% of opener failures come down to dead batteries, a tripped breaker, misaligned sensors, or an accidentally engaged lock — all things you can check yourself in minutes. The rest involve mechanical issues like broken springs or damaged tracks that require a professional.
This guide walks you through every likely cause, in the right order, so you can stop guessing and start fixing — or know exactly when to call for professional garage door repair.
I’m David Sands, owner of AA Garage Door LLC, and I’ve been diagnosing garage doors that won’t open across Wisconsin and Minnesota for over 23 years. In that time, I’ve seen every failure mode covered in this guide — and I’ll show you exactly how to work through them safely.
Glossary for Garage door won’t open:
When your garage door is completely unresponsive, you should always start with the simplest, zero-cost diagnostic steps. We recommend a systematic “two-minute check” to rule out power supply issues, control lockouts, and simple human errors before assuming there is a major mechanical failure.
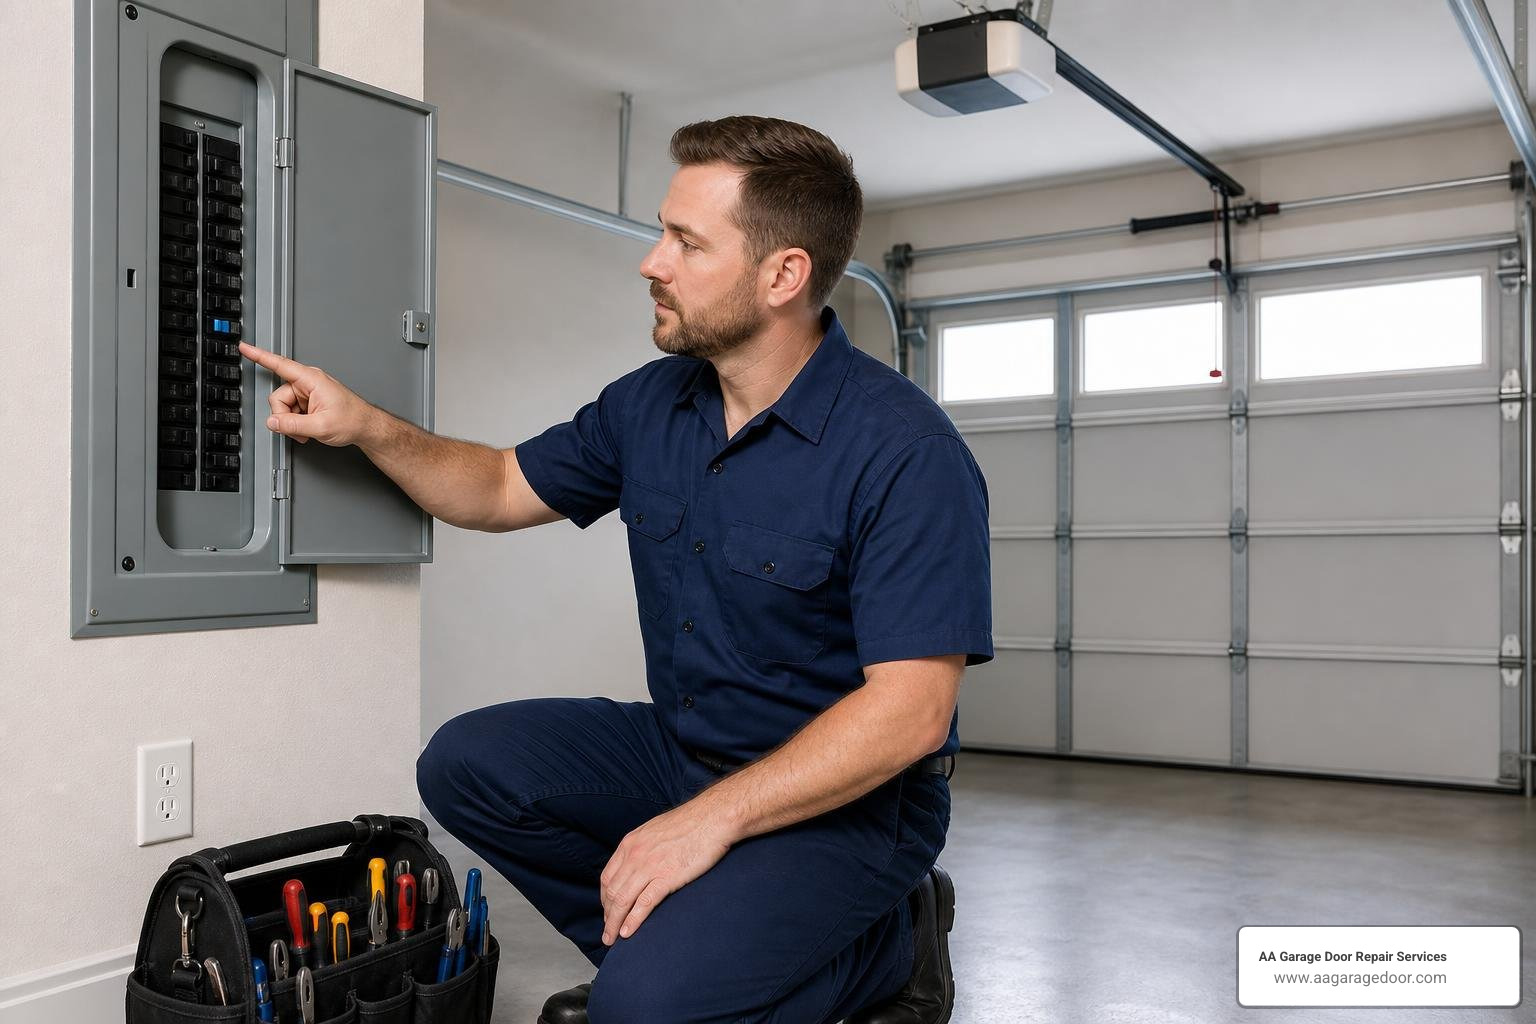
First, check the power supply. Garage door openers require a reliable connection to a 120V household outlet. If the motor unit’s overhead lights are completely dark and the wall console does not light up, the opener has likely lost power. Inspect the outlet by plugging in a small household lamp to see if it receives electricity.
If the outlet is dead, check your home’s main electrical panel for a tripped circuit breaker. Additionally, garages often share circuits with GFCI (Ground Fault Circuit Interrupter) outlets located in the garage, bathrooms, or outdoor areas. A tripped GFCI outlet elsewhere in your home can cut power directly to your garage ceiling outlet. Resetting the GFCI button or flipping the breaker fully off and then back on often restores power immediately.
Next, check the physical locks and the wall console settings. Many homeowners are surprised to find that their garage door won’t open simply because the physical slide lock on the door panel was accidentally engaged. If the motor runs but struggles or immediately reverses after moving an inch, check the interior side of the door to ensure the manual slide lock is fully disengaged.
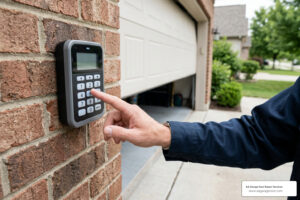
Similarly, modern wall consoles feature a “Vacation” or “Lock” switch. When this mode is active, the wall button will still work, but all remote controls and wireless keypads are blocked. You can typically deactivate this mode by holding down the lock button on the wall console for three to five seconds until the indicator light stops blinking.
If the opener has power and is unlocked, but still won’t respond to the remote, the issue is likely dead transmitter batteries. Remote control batteries typically last one to two years. Before scheduling professional repairs, try replacing the remote’s battery (usually a CR 2032 coin cell) and testing the wall button to see if the door operates normally.
Troubleshooting the Opener vs. the Door Itself
To fix a stuck door efficiently, you must first isolate the problem. You need to determine if the failure lies within the electric opener’s motor and electronics, or within the physical door’s tracks, rollers, and springs.
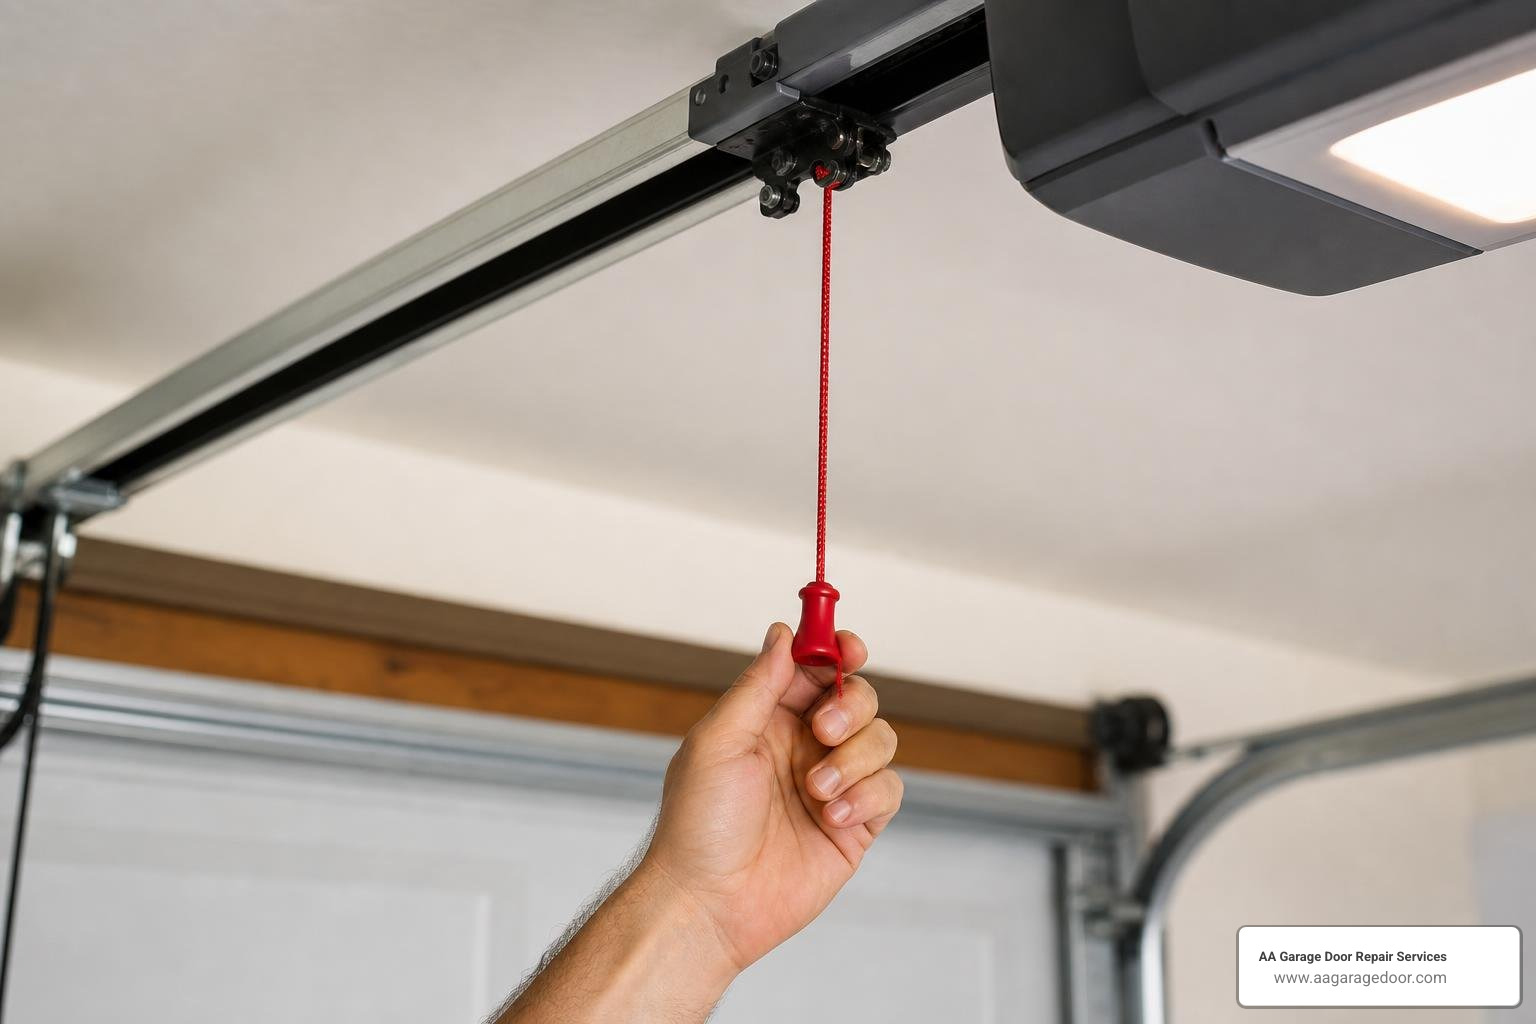
The most effective way to isolate the issue is to pull the red emergency release cord. This hanging cord is connected to the trolley carriage on the opener rail. Pulling this cord down and back toward the motor unit disengages the opener’s drive system from the door itself, allowing you to operate the door manually.
Once the door is disconnected, lift it by hand. A standard residential garage door weighs between 150 and 400 pounds, but when properly balanced by the springs, it should feel light enough to lift easily with one hand.
Raise the door halfway and let go. If the door is balanced, it should stay in place or drift only slightly. If the door feels incredibly heavy, drops rapidly, or binds in the tracks, you have a physical door or spring problem. If the door rolls up smoothly and easily by hand, your physical door is in great shape, and the problem lies within your opener unit. For step-by-step instructions on resolving motor-related failures, refer to our Emergency Garage Door Opener Repair Guide.
Why the remote fails but the wall button works when the garage door won’t open
If your garage door opens perfectly when you press the wall button inside the garage, but remains completely dead when you click your remote from the driveway, you are dealing with a signal, programming, or battery issue.
First, replace the transmitter battery. A weakening CR 2032 battery can still light up the remote’s tiny LED indicator while lacking the strength to transmit a strong radio signal to the opener’s receiver.
If a fresh battery does not solve the problem, you may be experiencing radio frequency (RF) interference. This is a very common issue that can be diagnosed using the Garage Door Opener Not Working? Troubleshooting Guide | The Garage Guide.
One of the most frequent sources of RF interference is standard household LED light bulbs installed inside the opener motor housing. Many cheap LED bulbs emit electromagnetic signals that match the frequency of garage door remotes, effectively “blinding” the opener’s receiver. If your remote only works when you are standing right next to the motor unit, remove any standard LED bulbs from the opener and replace them with specialized, shielded garage-door-compatible LED bulbs or traditional incandescent bulbs.
Why the opener runs but the garage door won’t open
If you press your remote, hear the electric motor humming or whirring overhead, but the garage door does not move at all, the mechanical connection between the motor and the door has been severed.
First, check the emergency release trolley. If someone recently pulled the red emergency release cord, the carriage may simply be disconnected from the drive chain or belt. To re-engage the trolley, pull the red cord forward (toward the garage door) and run the opener motor. The trolley should slide along the rail until it clicks firmly back into the drive carriage.
If the trolley is fully engaged but the door still won’t move while the motor hums, the internal drive gears are likely stripped. Most modern garage door openers use a nylon drive gear assembly inside the main chassis. Over 10 to 15 years of standard operation, this plastic gear naturally wears down, especially if the door is heavy or out of balance.
When these gears strip, they can no longer turn the drive sprocket. You will often hear a distinct grinding or humming noise, and you may find small white plastic shavings accumulated on the floor directly beneath the motor unit. This is a classic sign of gear failure, which is detailed further in our guide on 10 Reasons Your Garage Door Isn’t Working Properly.
Common Mechanical Failures That Prevent Operation
When a garage door suffers a mechanical failure, it physically cannot move, regardless of how powerful the opener motor is. Operating a door with severe mechanical damage can quickly burn out the opener motor, strip the gears, or cause the door to fall, leading to expensive structural damage.
| Issue Category | Common Symptoms | Primary Root Causes | Recommended Action |
|---|---|---|---|
| Mechanical | Door feels extremely heavy; loud bang heard; door is crooked or jammed in tracks | Broken torsion/extension springs; snapped lift cables; seized rollers; bent tracks | Discontinue use immediately; seek professional repair |
| Electrical | Motor unit is completely dead; wall console unlit; remotes do not respond | Tripped circuit breaker; tripped GFCI outlet; loose power cord; dead remote batteries | Reset breaker/GFCI; replace remote batteries; check power connections |
| Safety System | Door opens fully but reverses immediately when closing; lights flash on motor | Misaligned photo eyes; dirty sensor lenses; direct sunlight blinding the receiver | Clean lenses; realign sensors until LEDs are solid; install sun shields |
Physical blockages and track misalignment are common culprits. Over time, horizontal and vertical tracks can become bent due to accidental impacts (such as backing a vehicle or lawnmower into the track) or loose mounting brackets. If the track is out of alignment, the rollers will bind, causing the opener’s safety force settings to trigger and reverse the door.
Additionally, rollers can seize up if they lack proper lubrication. Steel rollers with unshielded ball bearings are highly susceptible to dirt, road salt, and rust, which can cause them to lock up entirely and drag along the track rather than roll.
Broken Torsion and Extension Springs
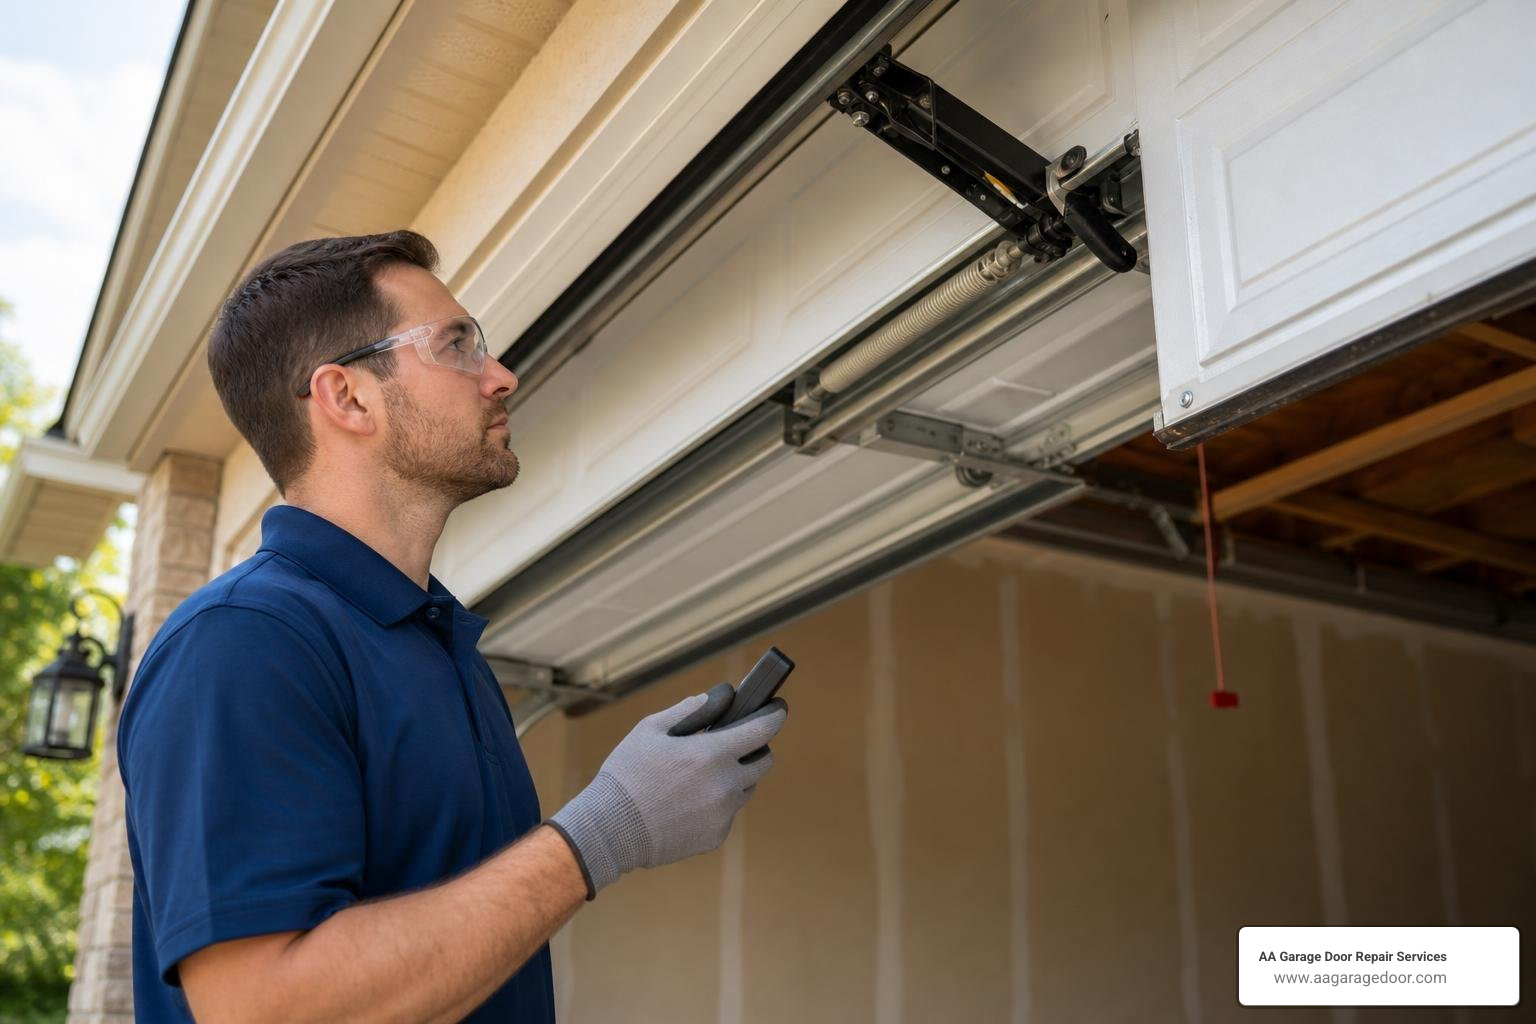
Garage door springs do the actual heavy lifting of the door, not the opener motor. Torsion springs (mounted on a metal shaft above the door opening) and extension springs (mounted along the horizontal tracks on the ceiling) act as a counterbalance to the door’s physical weight.
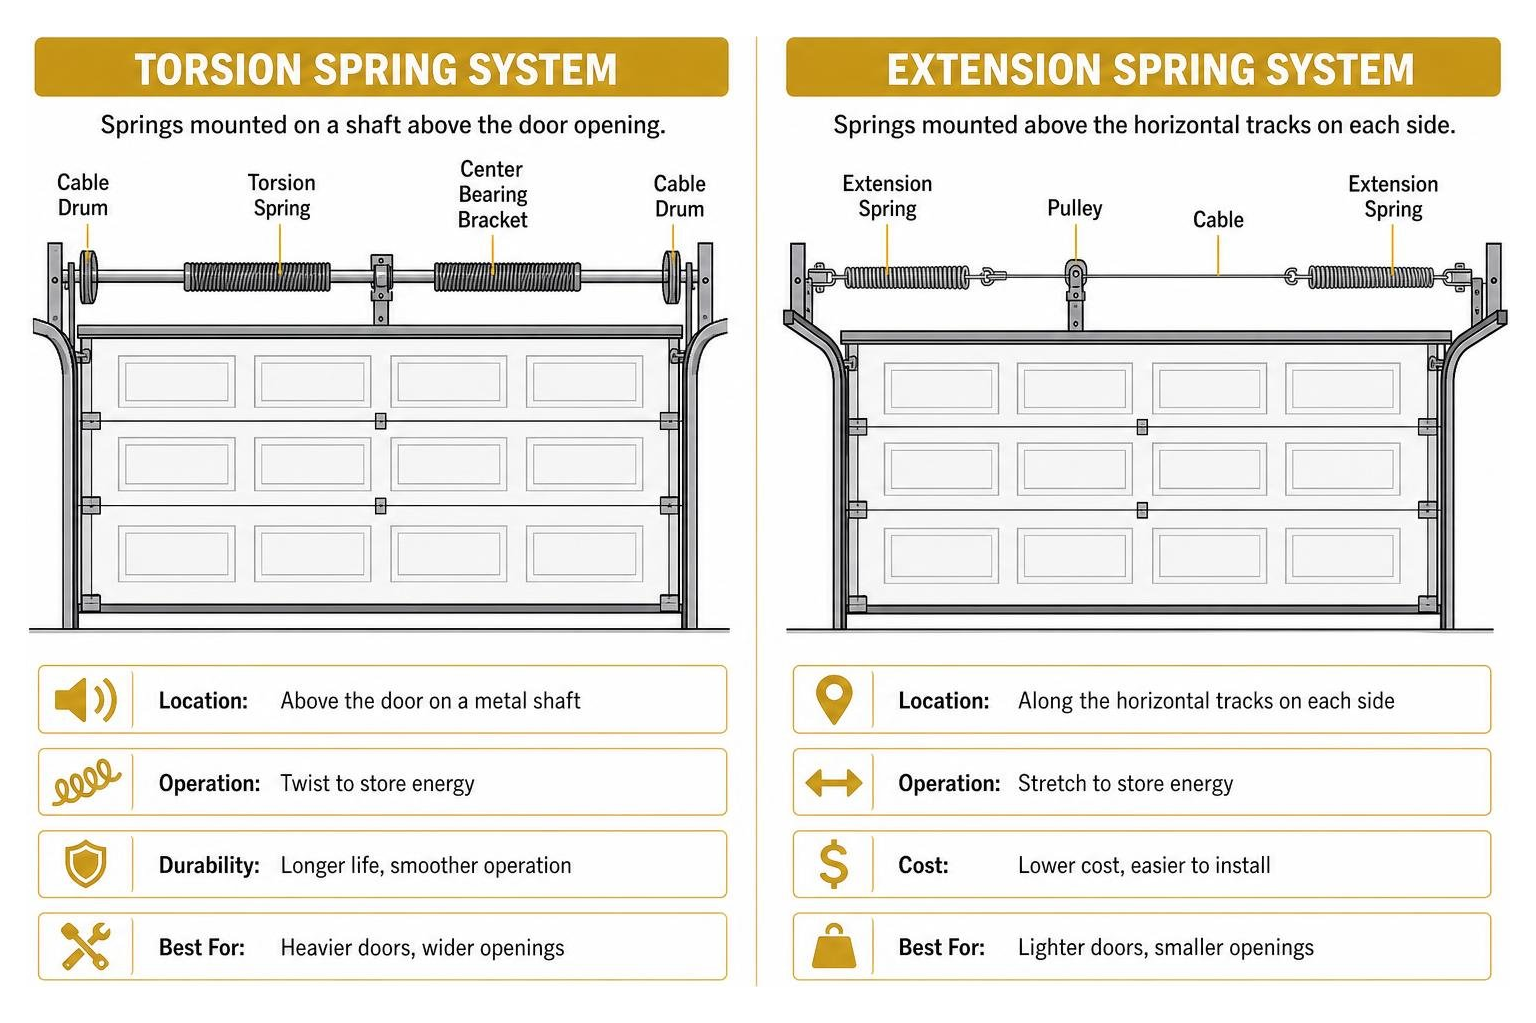
Garage door springs have a limited cycle life, typically lasting between 5,000 and 10,000 cycles. A single cycle consists of the door opening and closing once. Depending on daily usage, a standard spring will last roughly 5 to 10 years. In cold climates like Minnesota and Western Wisconsin, extreme thermal stress can shorten this lifespan significantly, causing a spring to snap prematurely.
When a torsion spring breaks, it releases all of its wound tension instantly, creating a loud, gunshot-like bang that can echo throughout the entire house. Once a spring is broken, you will see a clear, visible gap of two to three inches in the coil above the door.
Never attempt to operate a garage door with a broken spring. Running the opener under these conditions will quickly burn out the motor, as it is forced to lift the full, uncounterbalanced weight of the door. For safe, professional replacement, contact a specialist for Broken Spring Garage Door Repair.
Snapped or Slipped Lift Cables
Working in tandem with your garage door springs are the steel lift cables. These cables are attached to the bottom brackets at the lower corners of the door, running up to the cable drums at the ends of the torsion shaft. Because they carry the full tension of the spring system, these cables are under extreme mechanical load.
Over time, moisture, road salt tracked in by vehicles, and lack of lubrication can cause steel cables to rust, fray, and eventually snap. If a cable snaps or slips off its drum, the door will lose its lift support on one side. This causes the door to become crooked, jamming the rollers in the tracks and wedging the door halfway.
If you notice a loose, frayed, or completely disconnected cable, do not attempt to pull on it or adjust the bottom brackets. The bottom brackets hold the cable tension and can cause severe injury if loosened under load. For a safe resolution, consult our Cable Garage Door Repair Complete Guide.
How to Fix Misaligned or Dirty Safety Sensors
Since 1993, federal law (under the UL 325 safety standard) has required all residential garage door openers sold in the United States to feature infrared safety sensors (photo eyes). These sensors are mounted six inches off the garage floor on both sides of the door track.
The safety system consists of an emitting sensor (which projects an invisible infrared beam) and a receiving sensor. If this beam is broken or interrupted while the door is closing, the opener will immediately stop and reverse the door back to the fully open position. This is a crucial safety feature, but it is also one of the most common reasons a door refuses to close.
If your garage door opens perfectly but refuses to close unless you hold down the wall button continuously, your safety sensors are likely dirty, misaligned, or blocked. You can find detailed steps to resolve this in the guide Why Won’t Your Garage Open? – Garage.com.
First, check the LED indicator lights on both sensors. Typically, the sending sensor has an amber or yellow LED that remains solid, while the receiving sensor has a green LED. If either light is blinking or completely dark, the sensors are out of alignment or blocked.
To resolve this:
- Clean the lenses: Wipe away any dirt, cobwebs, or dust from both sensor lenses using a soft, dry microfiber cloth.
- Clear obstructions: Ensure there are no physical objects (such as rakes, storage bins, or garden hoses) blocking the path between the sensors.
- Align the sensors: Loosen the wingnuts holding the sensor brackets in place. Gently slide and rotate the sensors until both the green and amber LEDs glow steadily without flickering. Once aligned, tighten the wingnuts securely.
- Address sunlight interference: Direct, bright afternoon sunlight can occasionally blind the receiving sensor, causing it to “think” the infrared beam has been broken. You can easily solve this by sliding a small cardboard tube (like a toilet paper roll) over the receiving sensor to act as a sun shield.
Frequently Asked Questions About Stuck Garage Doors
Why does my garage door open a few inches and then stop?
If your garage door opens only six to twelve inches and then stops completely, the opener is likely detecting excessive resistance and triggering its safety reverse mechanism. This issue is frequently caused by a broken torsion spring, an out-of-balance door, or incorrect force and travel limit settings.
Additionally, Chamberlain and LiftMaster openers utilize an internal RPM sensor to track the speed and distance of the motor. If the RPM sensor fails or becomes dirty, the opener cannot verify that the door is moving safely, causing it to stop early.
You can diagnose this by checking the LED diagnostic indicator light on the overhead motor unit. A five-blink pattern on Chamberlain or LiftMaster openers typically indicates an issue with the RPM sensor or a travel limit calibration error.
How do I open my garage door manually from the outside?
If you experience a power outage or an opener failure while locked outside of your garage, you can still gain manual access if your garage door is equipped with an emergency key-release lock. This lock is typically installed in the top center of the garage door’s top panel.
To open the door manually from the outside:
- Insert the key into the exterior lock cylinder and turn it to release the lock tumbler.
- Pull the lock cylinder out of the door. This will pull an attached steel cable that runs directly to the opener’s emergency release lever inside.
- Once the cable is pulled, the trolley will disengage from the opener rail.
- Grasp the handle at the bottom of the garage door and lift it manually to open the garage.
Why won’t my garage door open in cold weather?
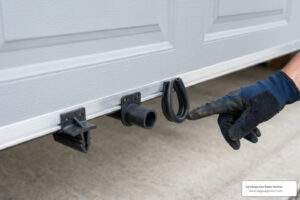
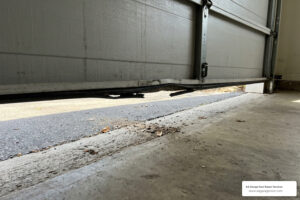
In St. Paul, Woodbury, Baldwin, and Hudson, sub-zero winter temperatures present unique challenges for garage doors. The most common cold-weather issue is the bottom rubber weather seal freezing directly to the concrete driveway. If ice has sealed the door to the ground, pressing the remote can tear the rubber seal or burn out the opener motor.
To free a frozen door, never force it open using the motor. Instead, pour warm (not boiling) water along the bottom rubber seal to melt the ice bond, then gently lift the door by hand. Once open, wipe the concrete dry and apply a silicone-based lubricant to the rubber seal to prevent ice from bonding in the future.
Additionally, freezing temperatures contract metal tracks and cause standard grease to become thick and gummy, increasing rolling resistance. We recommend using a specialized silicone or white lithium spray lubricant on all rollers, hinges, and springs before winter arrives.
Conclusion and Professional Repair Services
While many basic power, sensor, and battery issues can be resolved in minutes with simple DIY troubleshooting, complex mechanical failures require specialized tools, training, and experience. Attempting to repair high-tension components like torsion springs, lift cables, or bottom brackets without the proper equipment carries a severe risk of physical injury and property damage.
At AA Garage Door Repair Services, we have been providing fast, reliable, and professional garage door solutions across St. Paul, MN, and Western WI since 2001. Whether you are dealing with a broken spring in Baldwin, WI, a misaligned track in Woodbury, MN, or need emergency assistance in Hudson, WI, our team is ready to help.
We offer comprehensive services, including:
- Fast, reliable 24/7 emergency repair services
- Professional Apple Valley Garage Door Repair and local Twin Cities service
- High-quality Garage Door Replacement Services with transparent, upfront pricing
Don’t let a stuck garage door ruin your day. Contact the local experts at AA Garage Door Repair Services today at (651) 702-1420 to schedule your professional tune-up or emergency repair.