Why Getting Garage Door Seal Types Right Saves You Money Every Month
Garage door seal types vary more than most homeowners realize — and picking the wrong one means drafts, water damage, and higher energy bills every single winter. If you want to secure your home against the elements, partnering with a trusted local company for garage door repair services is the most effective way to eliminate drafts and protect your property.
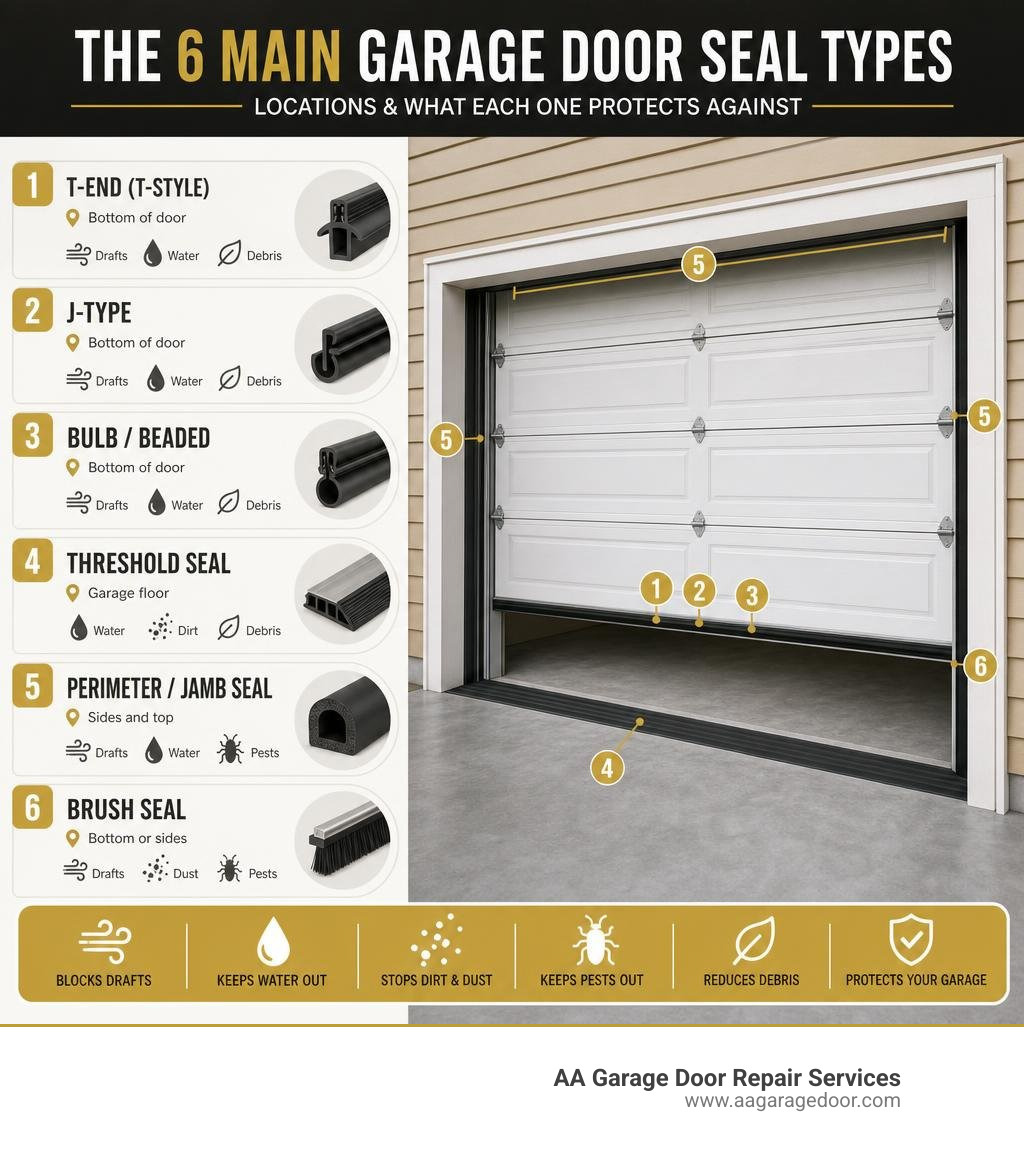
Here is a quick look at the main types so you can find what you need fast:
| Seal Type | Location | Best For |
|---|---|---|
| T-End (T-Style) | Bottom of door | Most modern metal doors with dual-channel retainer |
| J-Type | Bottom of door | Single-channel retainers; easier DIY install |
| Bulb / Beaded | Bottom of door | Brand-specific doors (Wayne Dalton, Clopay) |
| Threshold Seal | Garage floor | Uneven slabs, sloped driveways, water intrusion |
| Perimeter / Jamb Seal | Sides and top | Drafts around the door frame |
| Brush Seal | Bottom or sides | Pest control, dust, uneven or rough surfaces |
Air leaks around doors and windows account for up to 30% of a home’s heating and cooling loss, according to the U.S. Department of Energy. For Minnesota and Wisconsin homeowners, where temperatures regularly drop well below freezing, a failing garage door seal is not just uncomfortable — it is expensive.
The problem is that most people do not realize how many seal types exist until they are standing in the hardware store holding a worn-out strip, with no idea what to buy. As one DIYer put it after cutting off his old seal and finding nothing at his local big-box store to replace it: “I learned today my garage door lower seal is of the style you cannot easily find at the big box stores.” That kind of surprise is exactly what this guide is here to prevent.
If you are dealing with a drafty, leaking, or damaged door right now, our team offers professional garage door repairs across the Twin Cities and surrounding areas — call us at 651-455-1743.
I’m David Sands, owner of AA Garage Door LLC, and I’ve been diagnosing and fixing seal failures across Wisconsin and Minnesota for over 23 years. In that time, I’ve seen every garage door seal type fail in every way imaginable — and I’ll walk you through exactly how to choose the right one.
At AA Garage Door Repair Services, we have helped thousands of homeowners find the perfect fit. Whether you are dealing with a drafty door in Woodbury, MN, or a frozen track in Baldwin, WI, we provide the ultimate garage door repair services to keep your home warm and protected.
Understanding the Primary Garage Door Seal Types
To properly weatherproof your garage, you must think of it as a complete envelope. Many homeowners make the mistake of only replacing the bottom seal, leaving massive gaps along the sides and top of the door. To achieve full weather protection, we use a simple diagnostic framework: the “four gaps, three seals” rule.
While a sectional garage door has four potential air-leak zones (the bottom, the two sides, the top, and the joints between individual panels), modern doors feature interlocking panel designs that block drafts naturally. This means you only need to purchase and maintain three types of seals:
- Bottom Seals (Astragals): Mounted directly to the bottom of the door to compress against the floor.
- Perimeter Seals (Jamb and Header Weatherstripping): Installed on the frame to seal the sides and top of the door.
- Threshold Seals: Mounted directly to the concrete floor to act as a physical barrier or dam.
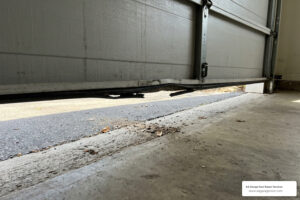
To figure out which of these seals has failed on your door, you can perform what we call the “Daylight Gap Test.” Wait for a bright, sunny afternoon, head inside your garage, close the door completely, and turn off all the lights. Give your eyes about 30 seconds to adjust.
If you see beams of light spilling in around the edges, your perimeter or bottom seals have failed. You can read more about this diagnostic method in the Best Garage Door Seals & Weatherstripping 2026 guide.
To test the physical condition of your existing bottom seal, perform a quick “thumb-press test.” Walk up to the seal and press it with your thumb. If the material feels stiff, chalky, or stays flattened instead of instantly springing back, its compression memory is gone.
Even if there are no visible rips, a hardened seal cannot conform to your concrete floor, rendering it useless. To understand how these different layers work together, check out our Garage Door Bottom Seal Complete Guide.
Bottom Seal Profiles: T-End, J-Type, Bulb, and Beaded
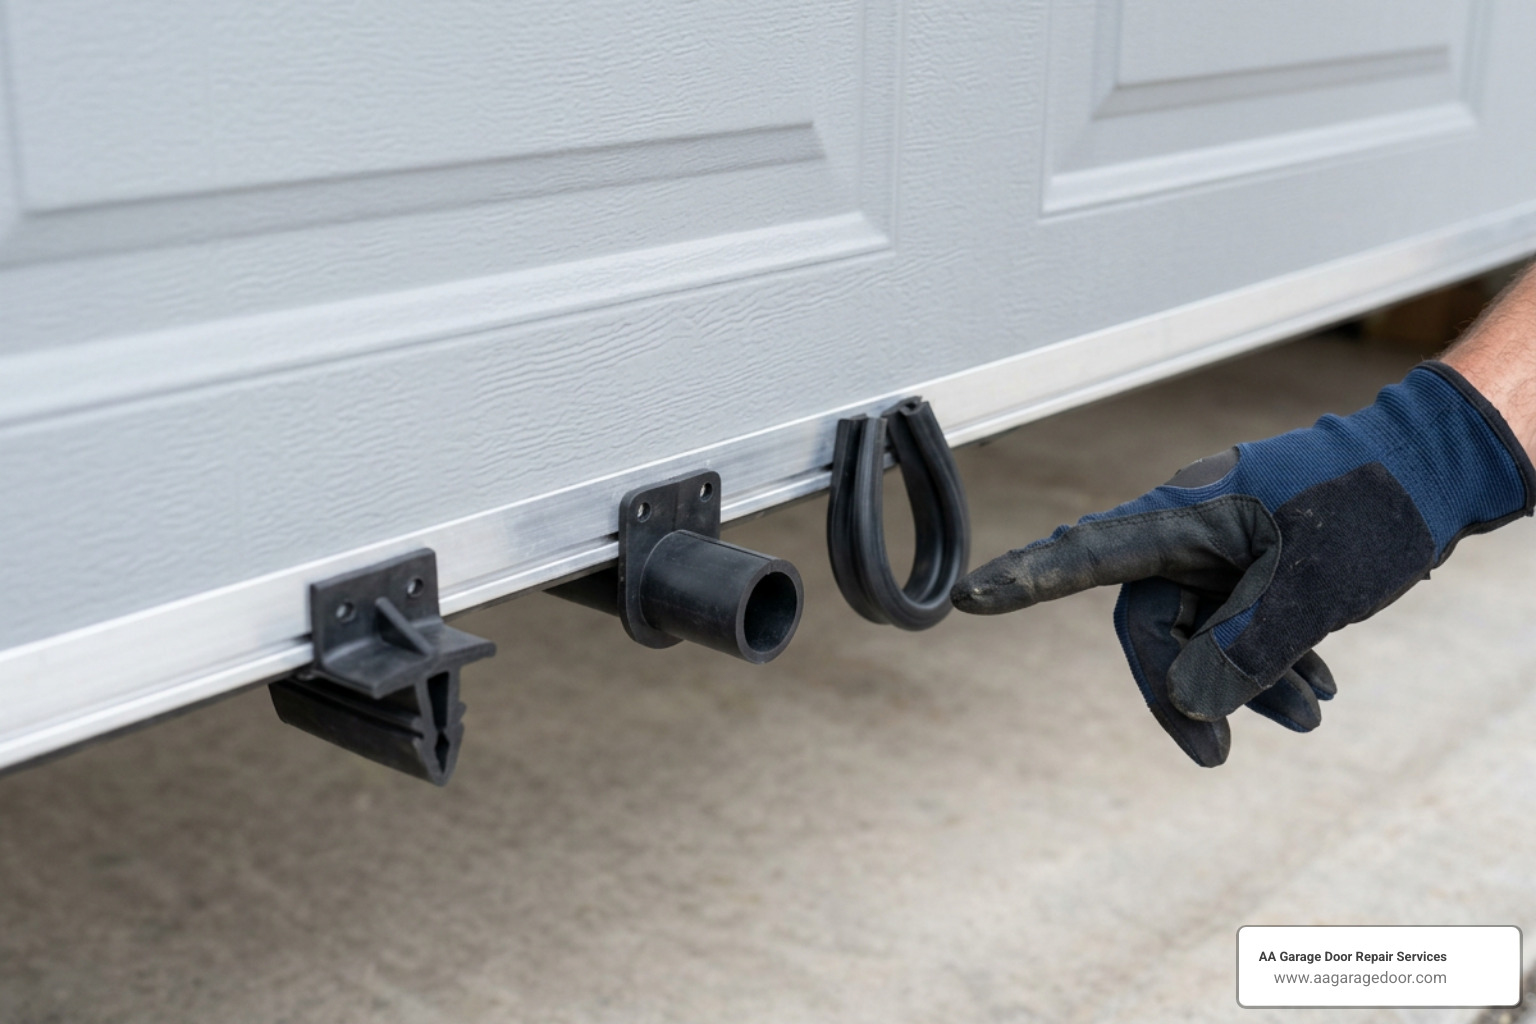
The most confusing part of buying a replacement bottom seal is matching the physical profile of the seal to the track (or retainer) mounted on the bottom of your garage door.
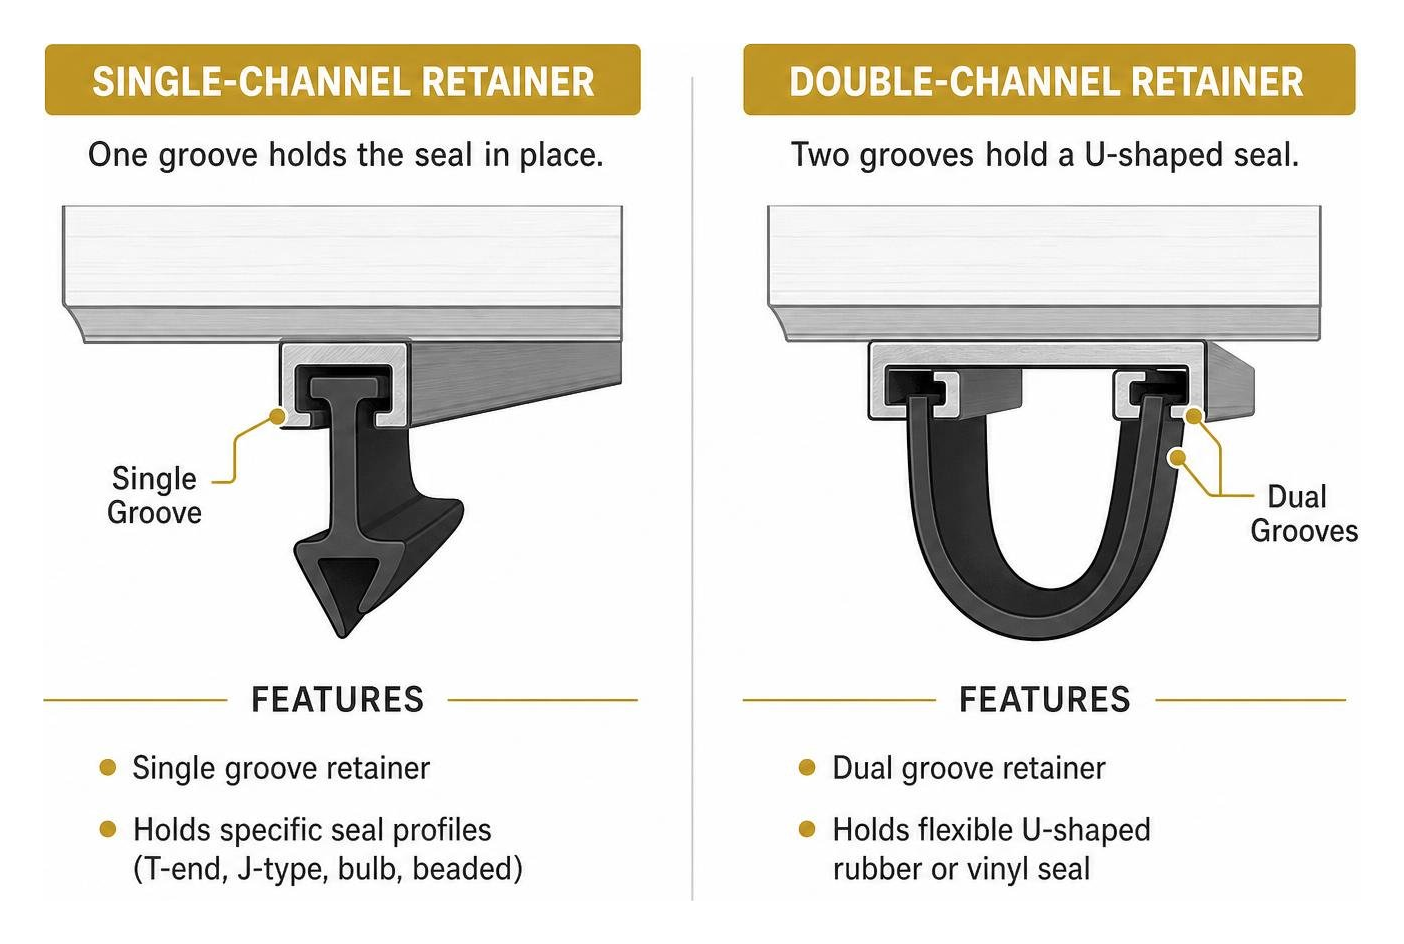
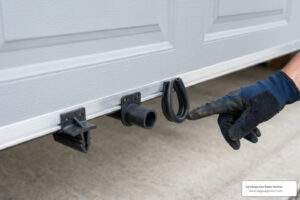
As shown in the diagram above, bottom retainers generally fall into two categories: single-channel and double-channel systems. Single-channel retainers feature a single groove that holds a specific shape, while double-channel systems use two parallel tracks to slide a flexible U-shaped rubber or vinyl piece into place.
To make your selection easier, here is a quick breakdown of the most common bottom seal profiles:
| Profile Name | Attachment Style | Typical Dimensions | Best Use Case |
|---|---|---|---|
| T-End (T-Style) | Double-channel retainer | 1/4″ or 5/16″ T-ends | Modern residential steel doors |
| J-Type | Single-channel retainer | Forms two “J” shapes | Quick DIY replacements on single-track doors |
| Beaded | Single-channel circular track | 3/16″ to 7/32″ bead | Brand-specific models (older Clopay or Raynor) |
| Bulb / P-Bulb | Single-channel “P” track | 1″ to 1.5″ bulb | Overhead Door brand systems |
Choosing the wrong profile means the seal will either slide right out of the track or be physically impossible to pull through the channel. You can read more about matching these shapes in the Garage Door Seals-A Buyer’s Guide.
Standard T-End and J-Type Garage Door Seal Types
The standard T-End seal is the undisputed workhorse of the industry. It is designed for double-channel aluminum retainers. When slid into the two parallel tracks, the flat rubber band bends into a robust “U” shape, creating an air-filled cushion that compresses tightly against the concrete floor.
When buying a T-style seal, you must measure the width of the “T” portion that slides into the track. The industry standards are 1/4-inch and 5/16-inch. Purchasing a 5/16-inch seal for a 1/4-inch track is a classic DIY mistake that ends in frustration and torn rubber.
J-Type seals, on the other hand, are designed for single-channel retainers. When installed, the seal loops up on both sides to form two distinct “J” shapes. These are highly flexible and popular for straightforward, light-duty residential applications. If you are ready to tackle this project, our guide on how to Replace Rubber on Bottom of Garage Door provides step-by-step guidance.
Bulb and Beaded Garage Door Seal Types
Bulb and beaded seals are highly specialized, often proprietary profiles. Beaded seals feature a round, bead-like edge (usually between 3/16-inch and 7/32-inch in diameter) that slides into a circular groove. These are incredibly common on older residential doors manufactured by Clopay and Raynor.
Bulb seals are completely circular or teardrop-shaped. They are designed to compress flat under the weight of the door, making them excellent for older, slightly uneven concrete floors.
A specific variation is the P-Bulb seal, which features a flat “T” shape on one side and a circular bulb on the other, forming a “P” profile. These are engineered specifically for Overhead Door brand systems. If your home features one of these unique designs, check out our resource on Garage Door Rubber Replacement to find the exact match.
Material Durability: EPDM Rubber vs. Vinyl vs. Silicone
Selecting the right profile is only half the battle; you also need to choose the right material. The material you select directly dictates how your seal handles the brutal, sub-zero winters of St. Paul, MN, and Hudson, WI.
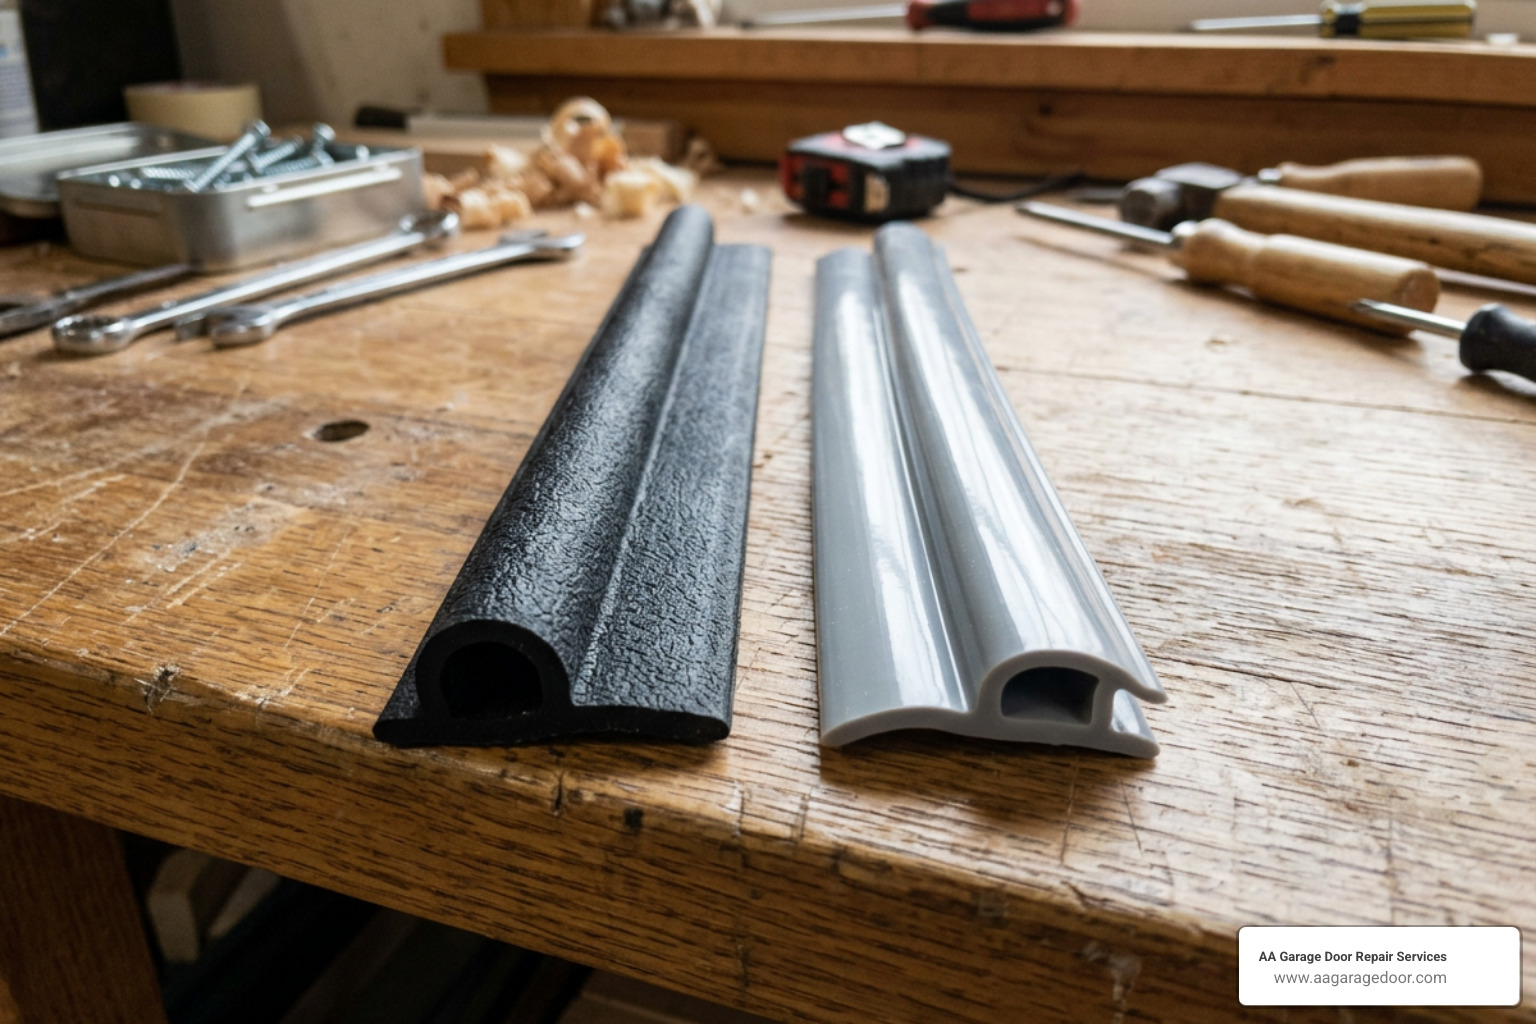
PVC / Vinyl Seals (The Budget Option)
Vinyl is highly resistant to UV rays and moisture, making it a great choice for climates with intense, direct sunlight. However, vinyl has a major weakness: extreme cold.
When temperatures drop below freezing, vinyl stiffens, becomes brittle, and loses its ability to compress. If your door closes on a small piece of ice or a stray pebble in the dead of winter, a frozen vinyl seal is highly likely to crack or split. Vinyl seals typically last between 2 and 4 years.
EPDM Synthetic Rubber (The Industry Standard)
Ethylene-propylene-diene monomer (EPDM) rubber is the absolute best all-around material for residential garage doors. EPDM remains incredibly flexible in temperatures ranging from -60°F to 250°F.
It does not crack in the freezing cold, resists cracking from ozone exposure, and maintains its compression memory for years. An EPDM seal will easily last 5 to 7 years, making it the most cost-effective choice for Midwestern homeowners. Learn more about upgrading to EPDM in our guide on Garage Door Rubber Seal Replacement.
Silicone (The Premium Choice)
Silicone is the ultimate high-performance material, remaining pliable down to -80°F and resisting temperatures up to 400°F. It has virtually zero compression set, meaning it will rebound to its original shape even after being crushed under a heavy steel door for months.
While silicone is more expensive and harder to find in standard retail stores, its 6-to-8-year lifespan and unmatched cold-weather performance make it an exceptional investment for attached, heated garages.
Solving Special Problems: Uneven Floors and Pest Control
Even the highest-quality bottom seal cannot solve every problem on its own. If your garage floor has settled unevenly over the decades, or if local field mice are treating your garage as their personal winter resort, you need specialized solutions.
Floor-Mounted Threshold Seals
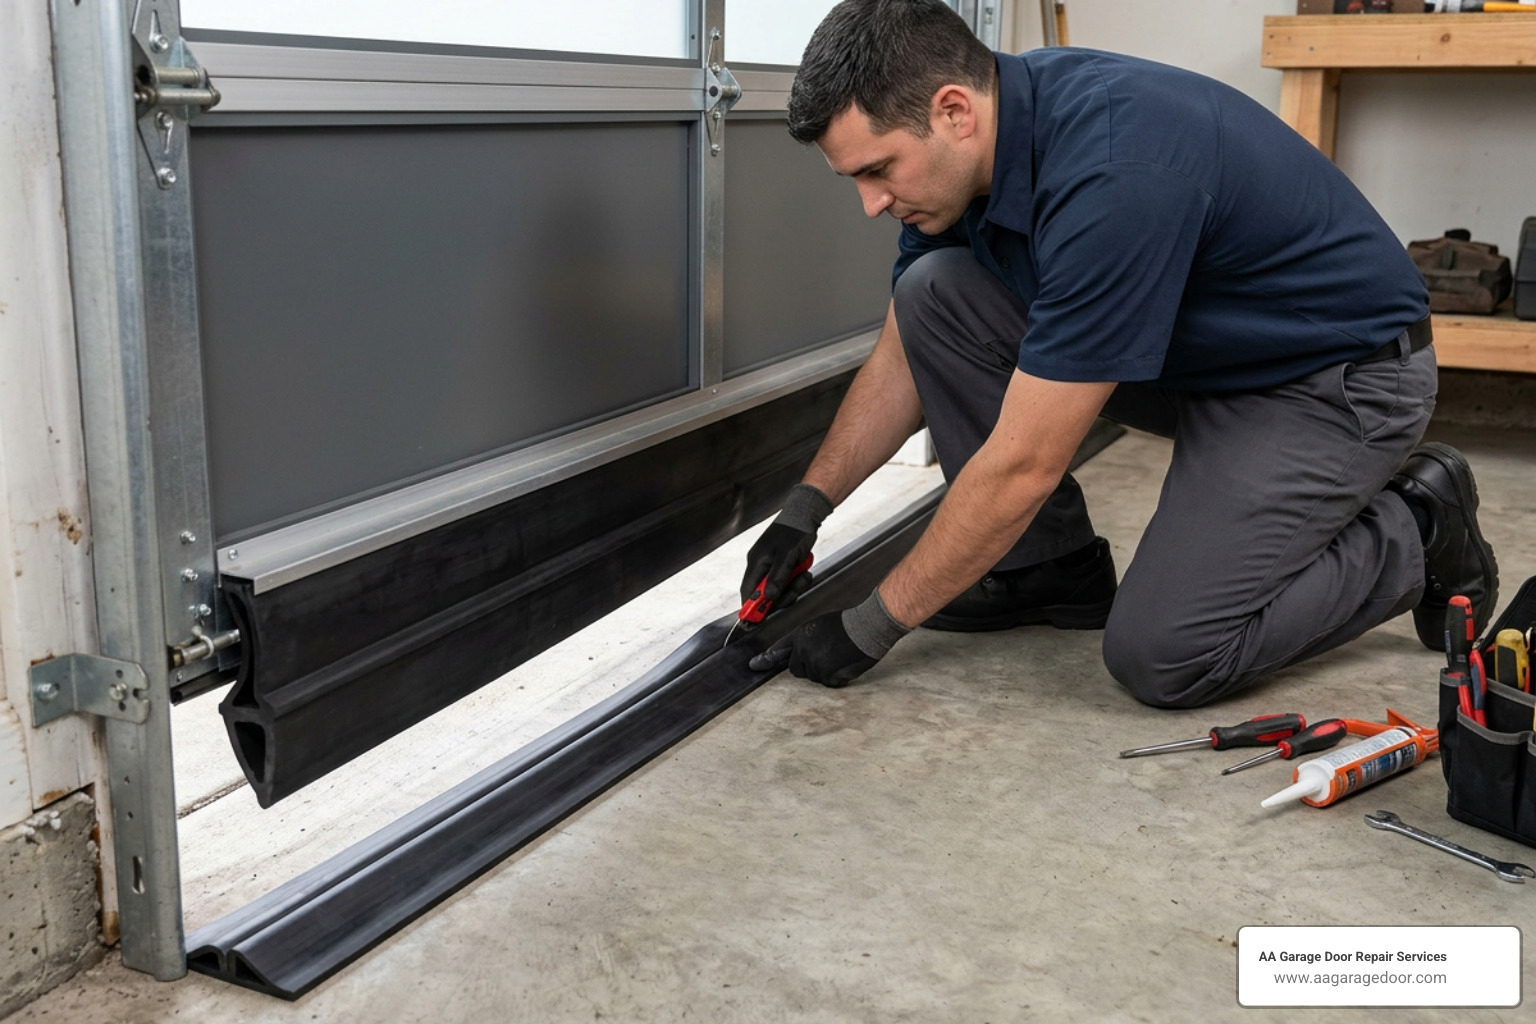
If your driveway slopes downward toward your garage, heavy rain and melting snow can pool against the door and seep inside. A threshold seal is a heavy-duty EPDM or PVC strip that is glued directly to the concrete floor using a polyurethane adhesive.
It acts as a physical dam, blocking water from washing underneath the door. When paired with a standard bottom U-seal, it creates a highly effective “belt-and-suspenders” barrier.
Note: Threshold seals must only be installed when outdoor temperatures are above 50°F to allow the adhesive to cure properly.
Brush Seals
Traditional rubber and vinyl seals struggle on rough, brushed concrete or irregular stone surfaces. In these scenarios, we recommend brush seals. Composed of thousands of tightly packed nylon or polypropylene bristles held in an aluminum retainer, brush seals conform perfectly to highly irregular surfaces without creating mechanical friction.
While they do not block standing water, they are incredibly effective at stopping wind-blown dust, leaves, and drafts.
Rodent-Proof Seals
Mice and rats can easily chew through standard vinyl or rubber bottom seals in a matter of minutes. To stop them, we install rodent-proof seals (such as Xcluder). These specialty seals feature an outer layer of heavy-duty EPDM rubber wrapped around an inner core of stainless steel wool and poly fibers.
Pests physically cannot chew through the steel mesh, keeping your garage completely rodent-free. For a deeper dive into these advanced systems, read our guide on Garage Door Weather Stripping Replacement.
DIY Step-by-Step Bottom Seal Replacement Guide
Replacing a garage door bottom seal is a highly manageable DIY project that can save you a significant amount of money. Here is our professional, step-by-step guide to getting the job done right:
Tools and Materials Needed:
- New EPDM or silicone bottom seal (ordered 2 inches longer than your door width)
- Utility knife or heavy-duty shears
- Flathead screwdriver and needle-nose pliers
- Wire brush or stiff rag
- Silicone-based spray lubricant (never use petroleum-based lubricants like WD-40, as they degrade rubber)
- Crimping pliers or a hammer
Step 1: Prep and Safety
Unplug your electric garage door opener or pull the red emergency release cord to put the door in manual mode. Manually lift the door to a comfortable working height (usually chest level) and secure it in place by placing vice grips or C-clamps on the tracks directly beneath the bottom rollers.
Step 2: Remove the Old Seal
Look at the ends of your bottom retainer track. If the metal ends are pinched or crimped shut, use your flathead screwdriver and pliers to gently pry them open. Once the track is open, grab one end of the old seal and slide it out of the channel. If the old seal is hardened or stuck, you can use your utility knife to carefully slice it into smaller, manageable sections and pull them out.
Step 3: Clean and Prep the Track
Over the years, dirt, salt, and rust build up inside the retainer channel, creating massive friction. If you try to slide a new rubber seal into a dirty track, it will bind up and tear. Run a wire brush or a damp rag through the channel to clear out all debris. Once clean, spray a generous amount of silicone lubricant along the entire length of the retainer track.
Step 4: Install the New Seal
Feeding a new seal is much easier with two people: one person to guide the rubber into the tracks, and another to pull it along the door. Slide the T-ends or beads of the new seal into the retainer channels. Slowly work the seal across the width of the door.
David’s Pro Tip: To prevent “corner bunching” — where the seal warps and rubs against the vinyl side trim — stuff the first 4 inches of each end of the hollow U-seal with a small piece of foam backer rod, pipe insulation, or bubble wrap. This keeps the ends perfectly round and structurally sound.
Step 5: Trim and Crimp
Leave about 1 to 2 inches of excess seal sticking out on both ends. Fold this extra material back into the hollow center of the U-seal to create a clean, finished edge. Finally, take your pliers or a hammer and gently squeeze the ends of the aluminum retainer channels to lock the new seal in place.
Step 6: Opener Down-Force Calibration
This is the step that most DIY guides completely overlook! A brand-new, thick EPDM seal is much stiffer than your old, flattened seal. When your garage door closes, this extra thickness can cause the door to reverse automatically because the opener thinks it has hit an obstacle.
If this happens, you will need to recalibrate your opener’s “Down Force” or “Travel Limit” settings. Refer to your opener’s manual to adjust these limits, and always perform a safety reversal test using a flat 2×4 wood block afterward to ensure the door reverses safely on contact. For more seasonal maintenance tips, refer to our Garage Door Maintenance Complete Guide.
Frequently Asked Questions About Garage Door Seals
How do I know which bottom seal profile my garage door uses?
To identify your seal profile, look closely at the bottom edge of your door. If there is no metal track and the rubber is nailed directly to the wood, you have a wood door seal.
If there is an aluminum track, look at the cross-section of the channel slot. A single channel with a round groove requires a beaded seal. Two parallel channels require a T-end seal. To be absolutely sure, cut a small 1-inch sample piece off your old, damaged seal and bring it to a local specialty store, or match it against manufacturer diagrams online.
Can I install a different seal type if my original is discontinued?
Yes! If your garage door model has been discontinued and you cannot find a matching proprietary seal (such as an old P-bulb or beaded profile), you do not need to replace the entire door.
You can purchase a universal bottom retainer conversion kit. These kits include a new aluminum track that screws directly into the bottom of your door, converting it to a standard double-channel system. Once installed, you can easily use widely available, inexpensive T-end EPDM seals.
How often should I replace my garage door weatherstripping?
As a general rule of thumb:
- Bottom U-seals should be replaced every 3 to 5 years, depending on weather exposure and usage.
- Perimeter jamb and header seals typically last 5 to 10 years because they experience less physical friction and impact.
- Floor-mounted threshold seals can last 5 to 8 years under heavy vehicle traffic, provided the adhesive bond remains intact.
If you notice drafts, water pooling, visible cracking, or light leaks during the Daylight Gap Test, it is time for a replacement.
Conclusion
Choosing the right garage door seal types and materials is one of the easiest, most cost-effective ways to protect your home, lower your energy bills, and keep your garage comfortable year-round. While a DIY installation is completely doable with a little patience and the right silicone spray, matching proprietary tracks and calibrating opener limits can sometimes be a headache.
If you would rather leave it to the professionals, our team at AA Garage Door Repair Services is here to help. Since 2001, we have provided fast, reliable, and transparent garage door solutions backed by local expertise and a satisfaction guarantee.
We proudly serve homeowners across the Twin Cities, MN, and Western WI, with convenient locations in:
- St. Paul, MN
- Woodbury, MN
- Baldwin, WI
- Hudson, WI
Whether you need a quick seal replacement, a retainer track conversion, or a comprehensive Apple Valley garage door repair, we have you covered.
Contact our friendly team today to schedule your service or request a transparent estimate — we are available 24/7 to keep your home safe, warm, and secure!