Why That Gap Under Your Garage Door Is a Bigger Problem Than You Think
A gap under garage door openings is one of the most common — and most overlooked — home maintenance issues. It might look minor, but even a gap smaller than an inch can let in cold drafts, rainwater, leaves, insects, rodents, and dirt. In Minnesota winters, that gap also means your heating system is working overtime. If you need professional assistance, you can rely on the experts at AA Garage Door Repair Services to restore your home’s security and energy efficiency.
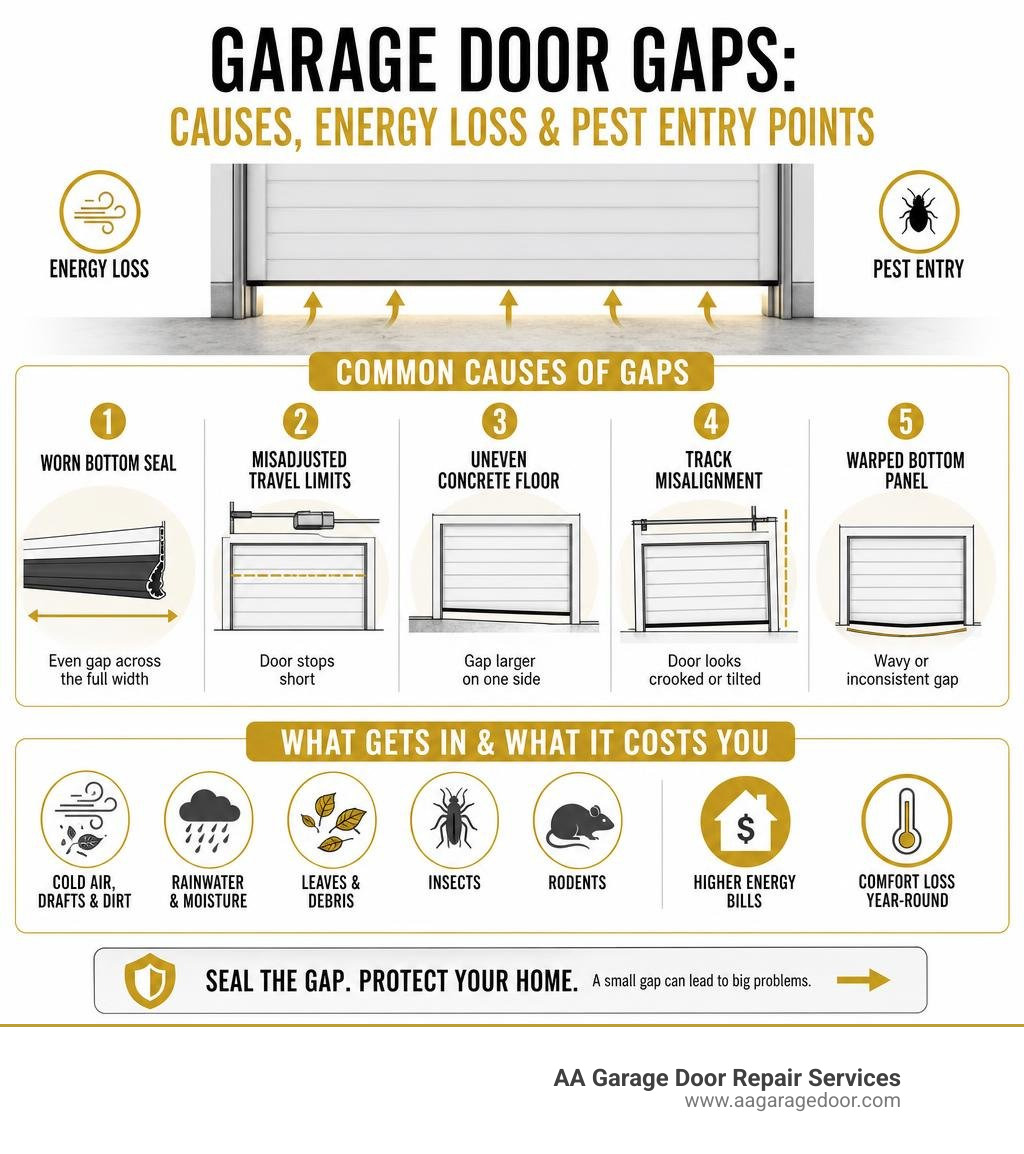
Here’s a quick summary of the most common causes and fixes:
| Cause | What You’ll See | Quick Fix |
|---|---|---|
| Worn bottom seal | Even gap across full width | Replace the bottom seal ($15–$40 DIY) |
| Misadjusted travel limits | Uniform gap, door stops short | Adjust close limit on opener |
| Uneven concrete floor | Gap larger on one side | Threshold seal or floor leveling |
| Track misalignment | Door looks crooked or tilted | Professional track adjustment |
| Warped bottom panel | Wavy or inconsistent gap | Panel repair or reinforcement |
If you just want the short answer: most uniform gaps are caused by a worn bottom seal or a misadjusted opener travel limit — both of which are inexpensive DIY fixes. Uneven gaps usually point to a structural or mechanical issue that may need a closer look.
As a garage door repair homeowner yourself, you’ve likely noticed how fast Wisconsin and Minnesota weather accelerates this kind of wear. Temperature swings of 50+ degrees in a single day — common here in the Twin Cities — are hard on rubber seals, metal tracks, and concrete alike.
I’m David Sands, owner of AA Garage Door LLC, and in over 23 years of servicing garage doors across Wisconsin and Minnesota, diagnosing and fixing a gap under garage door openings is one of the most frequent calls we get. In this guide, I’ll walk you through exactly how to identify what’s causing your gap and how to fix it — from a simple seal swap to long-term concrete solutions.
Diagnosing the Gap Under Your Garage Door
Before you rush to the local hardware store or call us for a professional tune-up, you need to play detective. Diagnosing the root cause of the gap under garage door panels ensures you don’t waste time and money on the wrong fix.
At AA Garage Door Repair Services, we recommend starting with a simple, three-step visual inspection:
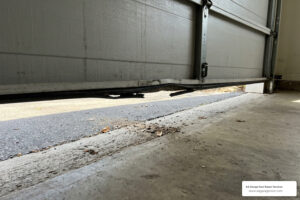
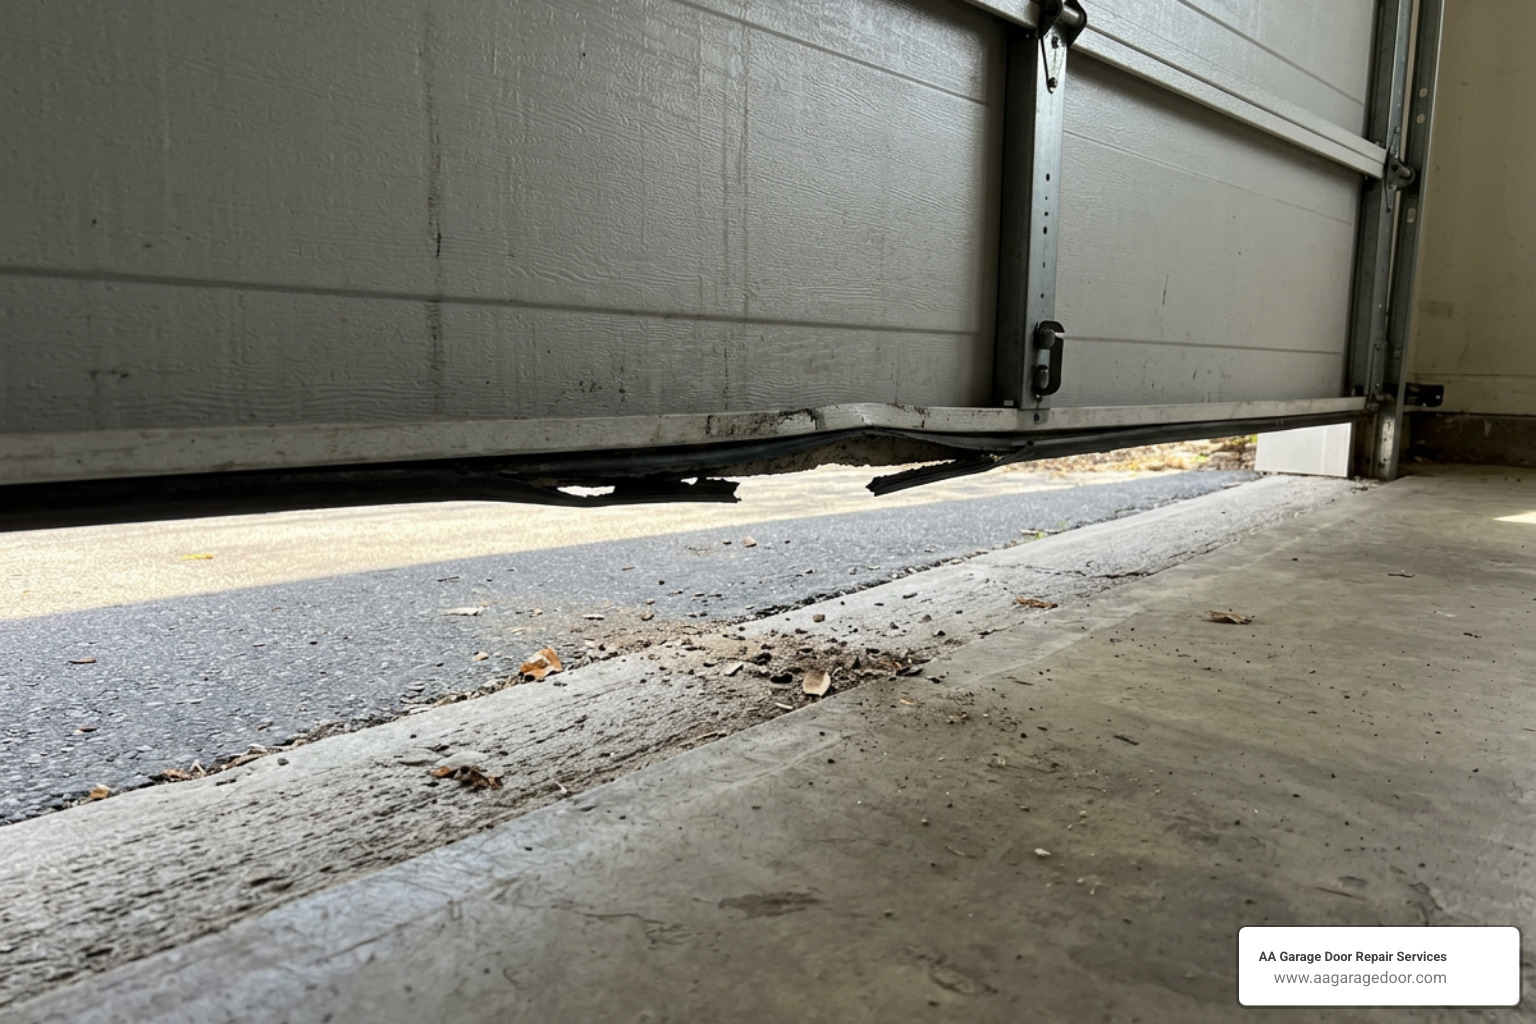
- The Daylight Test: Close your garage door completely during the day, turn off the garage lights, and look at the bottom of the door. Note where the light is escaping. Is it a uniform sliver across the entire floor? Or is it a gaping triangular void in one corner?
- The Carpenter’s Level Test: Place a long carpenter’s level directly on the concrete floor underneath the path of the door. This will immediately tell you if your concrete has settled, cracked, or sloped over time.
- The Manual Operation Test: Disconnect your garage door opener by pulling the red emergency release cord. Manually lower the door. Does it feel heavy, jerky, or crooked? If it doesn’t rest naturally flush with the floor, you might be dealing with a mechanical issue rather than a worn-out seal.
To understand how your door interacts with the floor, check out our garage door bottom seal guide to learn more about the anatomy of bottom weatherstripping.
Is a Worn Seal Causing the Gap Under Garage Door?
The most common culprit behind a uniform gap is a worn-out weather seal (also known as a bottom gasket or astragal). In our harsh Upper Midwest climate, rubber and vinyl seals are subjected to intense freeze-thaw cycles, road salt, and summer heat. Over time, the material loses its elasticity, flattens out, cracks, or even tears away entirely.
If you notice that the gap is consistent from left to right, but you can feel cold air rushing in, inspect the rubber. If it feels brittle, stiff, or looks compressed like a pancake, it is no longer doing its job. You can easily replace rubber on bottom of garage door rails to restore that airtight seal.
Spotting an Uneven Concrete Floor
Concrete is incredibly strong, but it is not immutable. In places like St. Paul, MN, and Baldwin, WI, frost heave is a major issue. During the winter, moisture in the soil beneath your garage floor freezes and expands, lifting sections of the concrete. In the spring, this soil thaws and settles, often leaving the concrete floor cracked, sloped, or uneven.
If your daylight test reveals a gap that is larger on one side than the other, or if it dips in the middle, your concrete floor has likely settled. Standard rubber seals are designed to compress slightly, but they cannot conform to a floor transition that drops more than a quarter of an inch. For highly uneven floors, you can learn more about specialized solutions in this guide on How to Fix The Gap Under The Garage Door.
Recognizing Mechanical and Alignment Issues
Sometimes, the gap has absolutely nothing to do with the floor or the rubber seal. Instead, the door itself is physically prevented from closing properly. Mechanical issues can range from minor track misalignments to dangerous spring failures:
- Track Misalignment: If a vertical track gets bumped by a trash bin or a storage rack, it can warp or shift. This causes the door to bind, sit crookedly, or leave a gap on one side.
- Spring and Cable Tension: Garage doors rely on high-tension springs and lift cables to balance their weight. If a cable slips or a spring loses tension unevenly, the door will hang crookedly.
- Travel Limit Settings: Modern automatic openers have internal limits that dictate exactly how far down the motor should push the door. If these settings are thrown off (often after a power outage), the door will stop a few inches short of the floor.
If your door is struggling to close or reversing immediately after hitting the ground, refer to our comprehensive garage door not closing guide to troubleshoot the mechanical system safely.
Quick and Cheap Fixes for a Uniform Gap Under Garage Door
If your diagnostic tests revealed a uniform gap caused by a flattened seal or a minor opener miscalculation, you are in luck! These are highly accessible, low-cost DIY projects that you can complete in an afternoon.
Adjusting the Opener Travel Limits
If your garage door is in perfect mechanical shape and your floor is level, but the door stops consistently one or two inches short of the ground, your opener’s travel limits need a quick adjustment.
Every automatic opener has limit controls—either physical screws on the side of the motor unit or digital buttons on newer models. By turning the “down” or “close” limit screw in small, quarter-turn increments, you tell the motor to push the door slightly further down.
Safety Tip: After making an adjustment, always test the door’s safety reversal system. Place a 2×4 block of wood flat on the floor under the door path. When the door closes and strikes the wood, it must immediately reverse. If it tries to crush the wood, your force settings are too high, which poses a serious safety hazard.
Replacing the Bottom Weather Seal
Replacing a worn-out bottom weather seal is one of the most satisfying and cost-effective DIY projects you can tackle. Material kits typically cost between $15 and $40 at local hardware stores, whereas professional installation usually ranges from $100 to $200.
Most modern steel garage doors feature an aluminum bottom retainer with a “U-shape” track. The rubber or vinyl seal slides into this track, forming a bulb that compresses against the concrete floor.
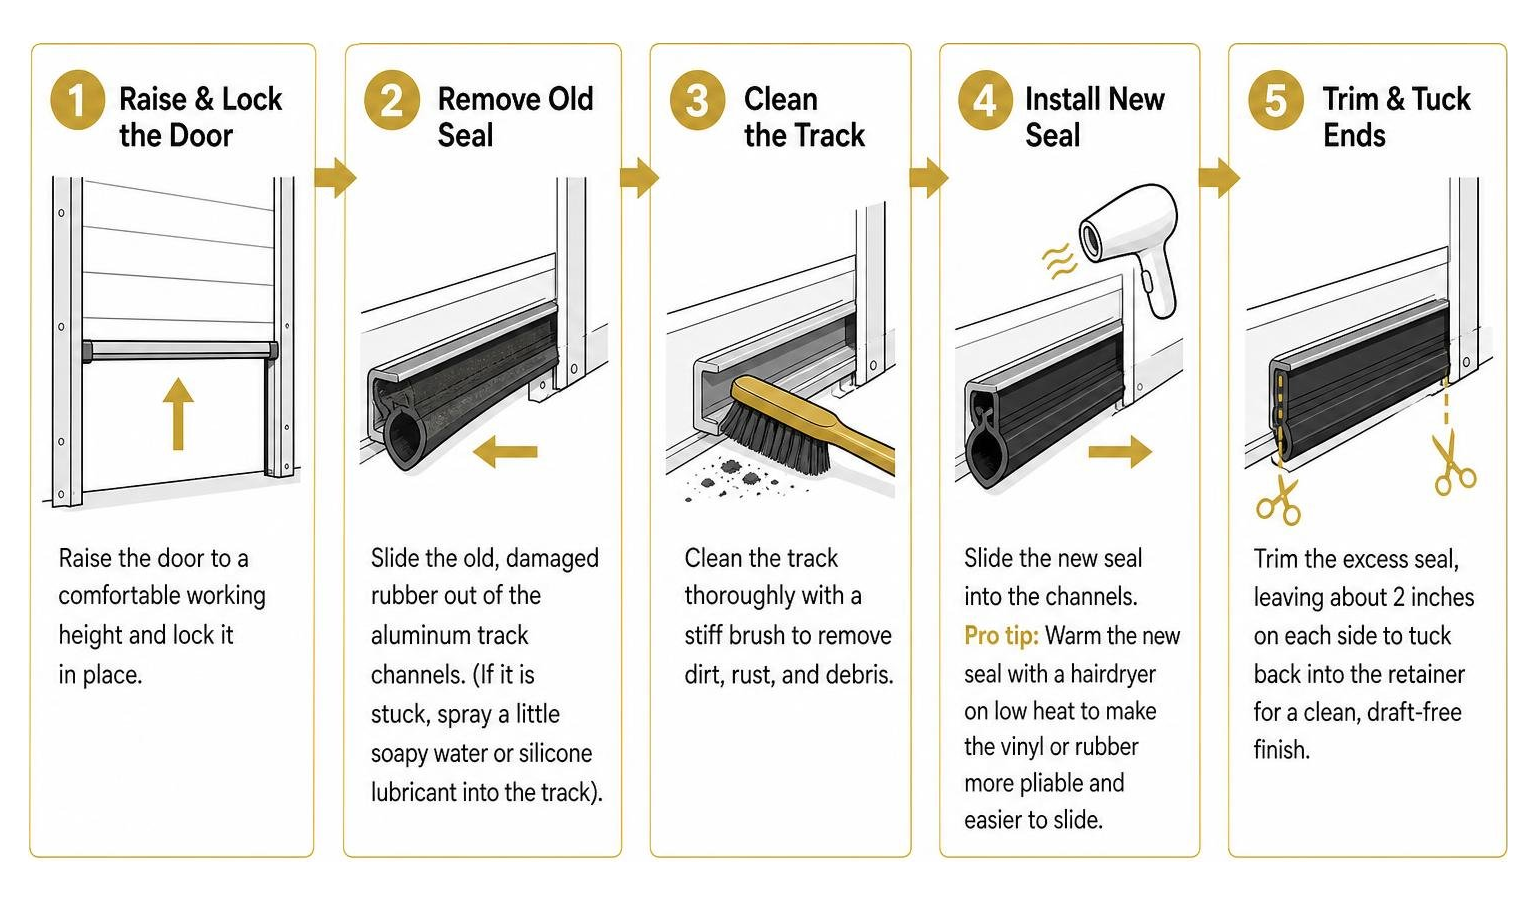
To complete a garage door rubber replacement yourself:
- Raise the door to a comfortable working height and lock it in place.
- Slide the old, damaged rubber out of the aluminum track channels. (If it is stuck, spray a little soapy water or silicone lubricant into the track).
- Clean the track thoroughly with a stiff brush to remove dirt, rust, and debris.
- Slide the new seal into the channels. Pro tip: Warm the new seal with a hairdryer on low heat to make the vinyl or rubber more pliable and easier to slide.
- Trim the excess seal, leaving about 2 inches on each side to tuck back into the retainer for a clean, draft-free finish.
For step-by-step guidance on choosing the right materials, consult our garage door weather stripping replacement walkthrough.
How to Measure and Choose the Right Garage Door Seal
Not all garage door seals are created equal. Buying the wrong size or profile will result in a poor seal, or worse, put unnecessary strain on your garage door opener’s motor.
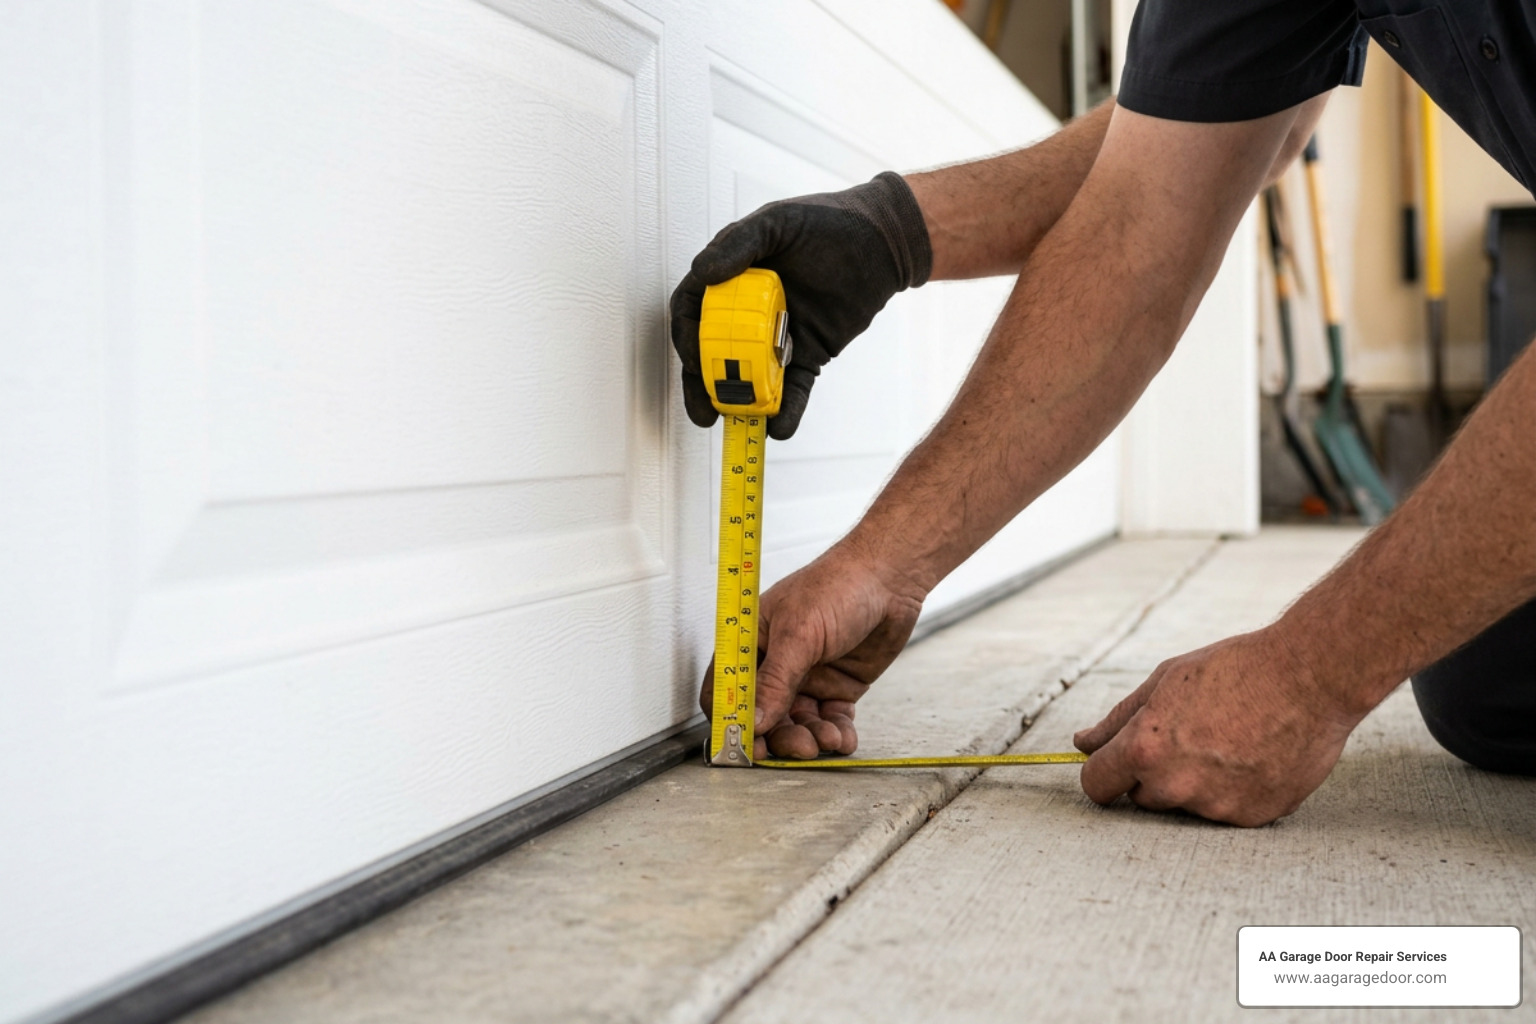
To choose the perfect seal, grab a tape measure and document the following:
- Door Width: Measure the exact width of your garage door. Standard residential doors are typically 8, 9, 16, or 18 feet wide. Always buy a seal that is at least 2 to 3 inches longer than your door width so you have room to trim and tuck.
- Gap Height: Measure the height of the largest gap when the door is closed.
- Retainer Type: Inspect the bottom of your door. Does it have a single channel, a double “T-channel,” or a bead-style track? T-end seals are the most common and versatile.
If you have an older wood door without a track, you will need a nail-on barrier seal. For more tips on measuring and prep work, check out this helpful guide on How to Remove the Gap at the Bottom of Your Garage door.
Bottom Seal vs. Floor Threshold Seal
When dealing with a stubborn gap under garage door panels, you have two primary product types to choose from: door-mounted seals and floor-mounted threshold seals.
- Bottom Seals (Door-Mounted): These attach directly to the bottom of the garage door. They move up and down with the door. They are excellent for keeping out drafts and dust on relatively level floors. However, they have a limited compression range and cannot block heavy pooling water or compensate for major concrete dips.
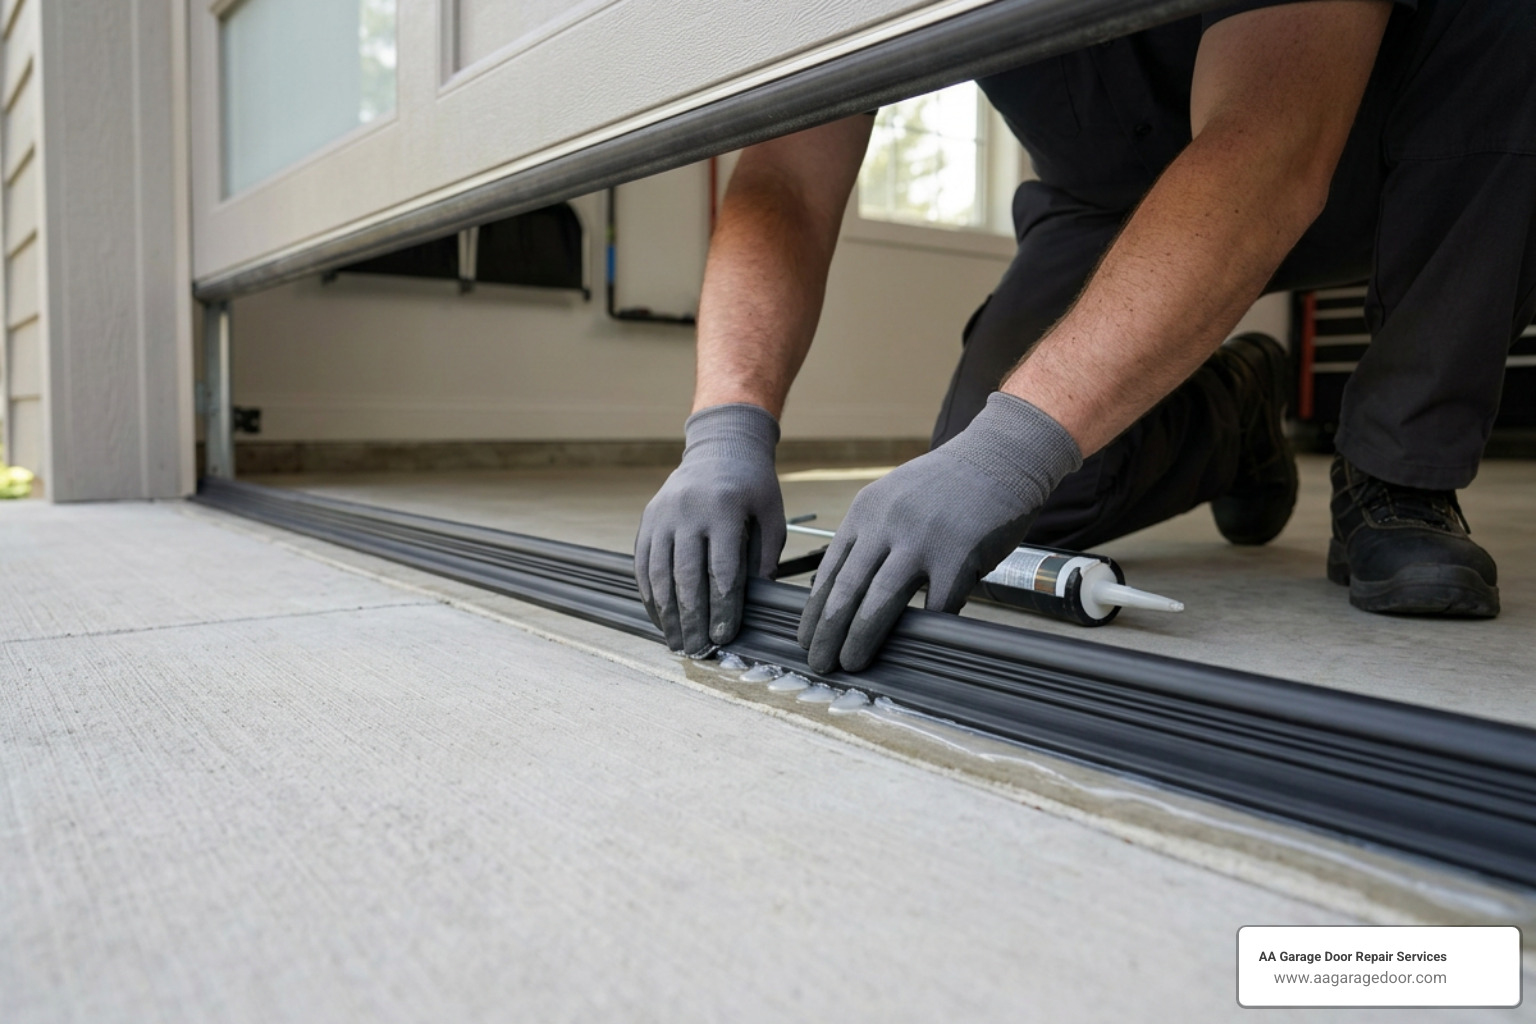
- Floor-Threshold Seals (Floor-Mounted): These are heavy-duty thermoplastic vinyl or rubber ramps that are glued directly to the concrete floor using a high-strength adhesive. The garage door closes tightly against the front lip of the threshold. Specialized kits, like those from GaraDry, range from 1/2″ to 2″ in height. They act as a physical flood barrier, making them incredibly effective at blocking driving rain, melting snow, and leaves. Another premium option is the SnirtStopper, which features an insulated foam core to prevent the door from freezing to the concrete during sub-zero Minnesota winters.
If you are looking to maximize your garage’s thermal performance and protect your belongings from winter drafts, consider upgrading to insulated garage doors to complement your new sealing system.
Long-Term Solutions for Uneven Concrete Floors
If your garage floor has settled significantly, simply putting a thicker rubber seal on the bottom of the door is a temporary band-aid. Over time, the uneven stress can warp your door panels, bend your tracks, or snap your lift cables.
Temporary Solutions for an Uneven Gap Under Garage Door
If you are dealing with a shifting foundation but aren’t ready to invest in professional concrete repair just yet, there are a few temporary workarounds to keep the elements out:
- Oversized Loop Seals: You can install an extra-large U-shaped rubber seal (up to 6 inches wide) to fill uneven gaps up to 1.5 inches.
- Asphalt Cold-Patch: For minor dips on the outer edges of the driveway transition, some homeowners use cold-patch asphalt to build up the low side of the floor. However, this is prone to crumbling under the weight of vehicles over time.
- Custom Wood Wedges: You can fashion a temporary barrier using pressure-treated lumber cut to match the slope of the floor. However, wood coming into direct contact with wet concrete is prone to rot and must be sealed carefully.
Be cautious when using temporary fixes. If the door closes unevenly and binds in the tracks, it can easily slip out of alignment. If this happens, consult our garage door off track complete guide to prevent further damage.
Permanent Concrete and Threshold Modifications
For a permanent, professional fix to an uneven floor, you have a few structural options:
- Polyjacking (Concrete Leveling): This process involves drilling small holes into the sunken concrete slab and injecting a high-density polyurethane foam beneath it. The foam expands, lifting the concrete back to its original, level position. This is highly effective, fast, and costs a fraction of repouring concrete.
- Cutting and Repouring: If the concrete is severely cracked and spalling, the best option is to cut out a 1-foot-wide section centered on the door path, pour a level concrete strip (often called a “weatherlip”), and ensure the downward slope to the driveway begins only after clearing the door’s path.
- Heavy-Duty Aluminum Thresholds: In commercial spaces or high-traffic residential garages, installing an aluminum threshold can bridge the gap while supporting loads of up to 50 tons.
For more insights into handling weatherstripping challenges in cold northern climates, read about Garage Door Weatherstripping in Minnesota.
Frequently Asked Questions About Garage Door Gaps
Can I use expanding foam to fill the gap under my garage door?
No, you should never use standard expanding foam or caulk to fill a gap under garage door panels. Expanding foam is rigid; it will crumble immediately when the door closes on it, mess up your door’s balance, and look highly unprofessional. Furthermore, standard foam acts as an “appetizer” for mice and rats, who will easily chew right through it to gain entry into your warm garage.
Why is my garage door gap larger on one side than the other?
An uneven gap is typically caused by one of three issues: an uneven concrete floor (due to settling or frost heave), track misalignment (where one vertical track sits higher or further back than the other), or uneven cable tension. If one of your lift cables has stretched or slipped, the door will hang crookedly. This should be adjusted by a professional to prevent the cable from snapping unexpectedly.
How often should I replace my garage door bottom seal?
In the Twin Cities and Western Wisconsin, we recommend replacing your bottom rubber seal every 3 to 5 years. The extreme temperature swings—ranging from sub-zero winter lows to humid summer highs—combined with road salt exposure, accelerate the degradation of vinyl and rubber. Regularly inspecting the seal for cracks and stiffness will help you catch leaks before they cause water damage.
Conclusion
A gap under garage door openings is more than just an eyesore; it’s a direct gateway for freezing drafts, pests, and water damage. While many small, uniform gaps can be easily resolved with a DIY seal replacement or a quick opener travel limit adjustment, uneven gaps often point to underlying track misalignments, cable tension issues, or settled concrete.
At AA Garage Door Repair Services, we’ve been helping homeowners across St. Paul, MN, Baldwin, WI, Woodbury, MN, and Hudson, WI, keep their garages warm, safe, and dry since 2001. Whether you need a simple weatherstripping upgrade, a professional track alignment, or a complete system tune-up, our team is ready to help with fast, reliable, and transparent service.
For more tips on keeping your system running smoothly year-round, read our garage door maintenance complete guide.
If you live in the Apple Valley area and need local assistance, visit our Apple Valley garage door repair page. Ready to evict the drafts and critters for good? Contact us today to schedule your service!