Why a Garage Door Remote Will Open Door But Not Close It (And How to Fix It Fast)
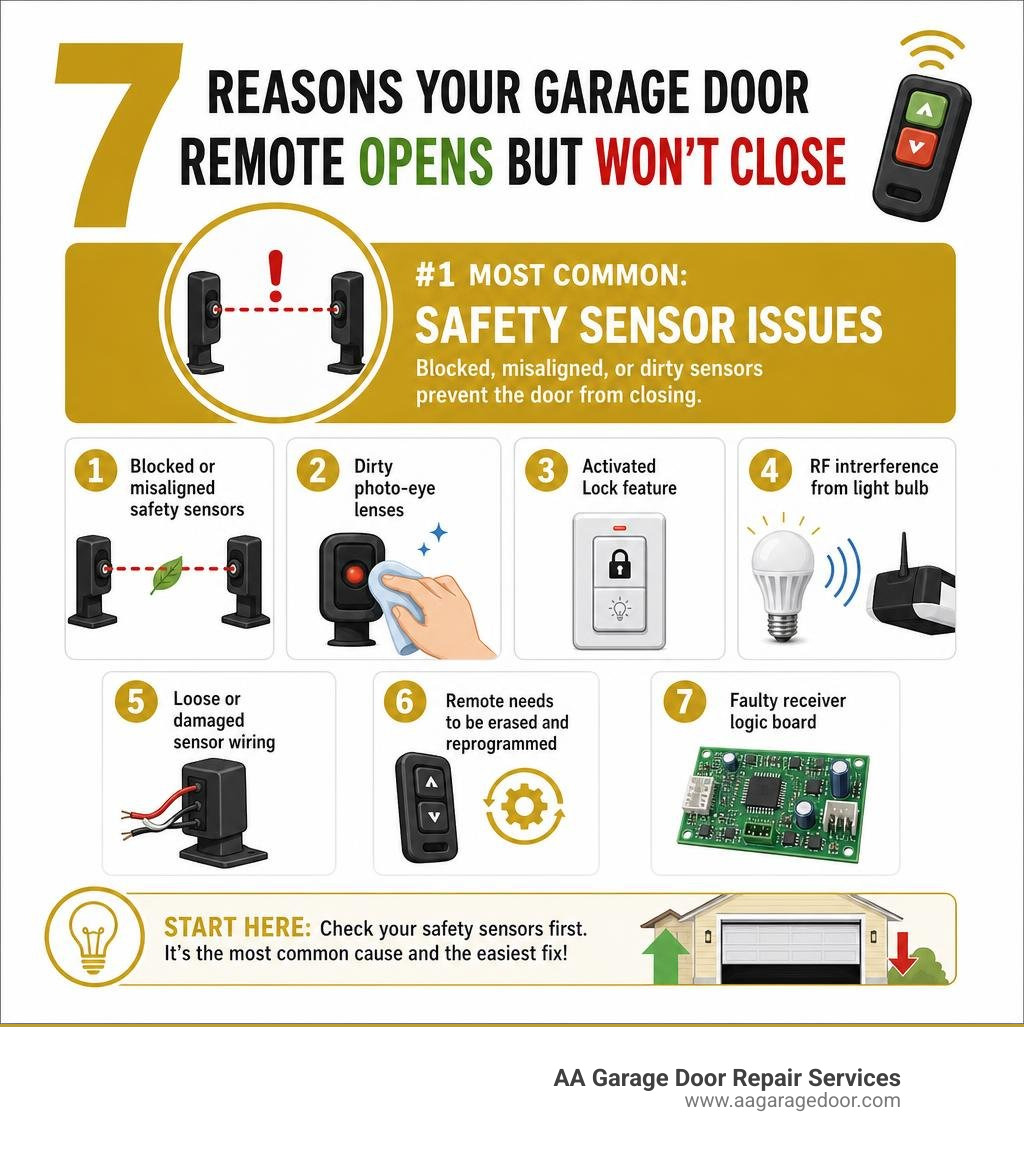
If your garage door remote will open door but not close it, the problem almost always comes down to one of these causes:
- Blocked or misaligned safety sensors — the most common cause by far
- Dirty photo-eye lenses — dust, cobwebs, or ice blocking the infrared beam
- Activated Lock feature on the wall control panel
- RF interference from an LED or CFL light bulb in the opener unit
- Loose or damaged sensor wiring at the motor head or sensor brackets
- Remote needs to be erased and reprogrammed
- Faulty receiver logic board inside the opener motor
The fix is usually free and takes under 10 minutes. If you need expert help, you can contact AA Garage Door Repair Services for assistance. Start with the safety sensors — they account for the vast majority of one-way remote failures.
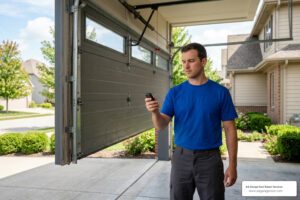
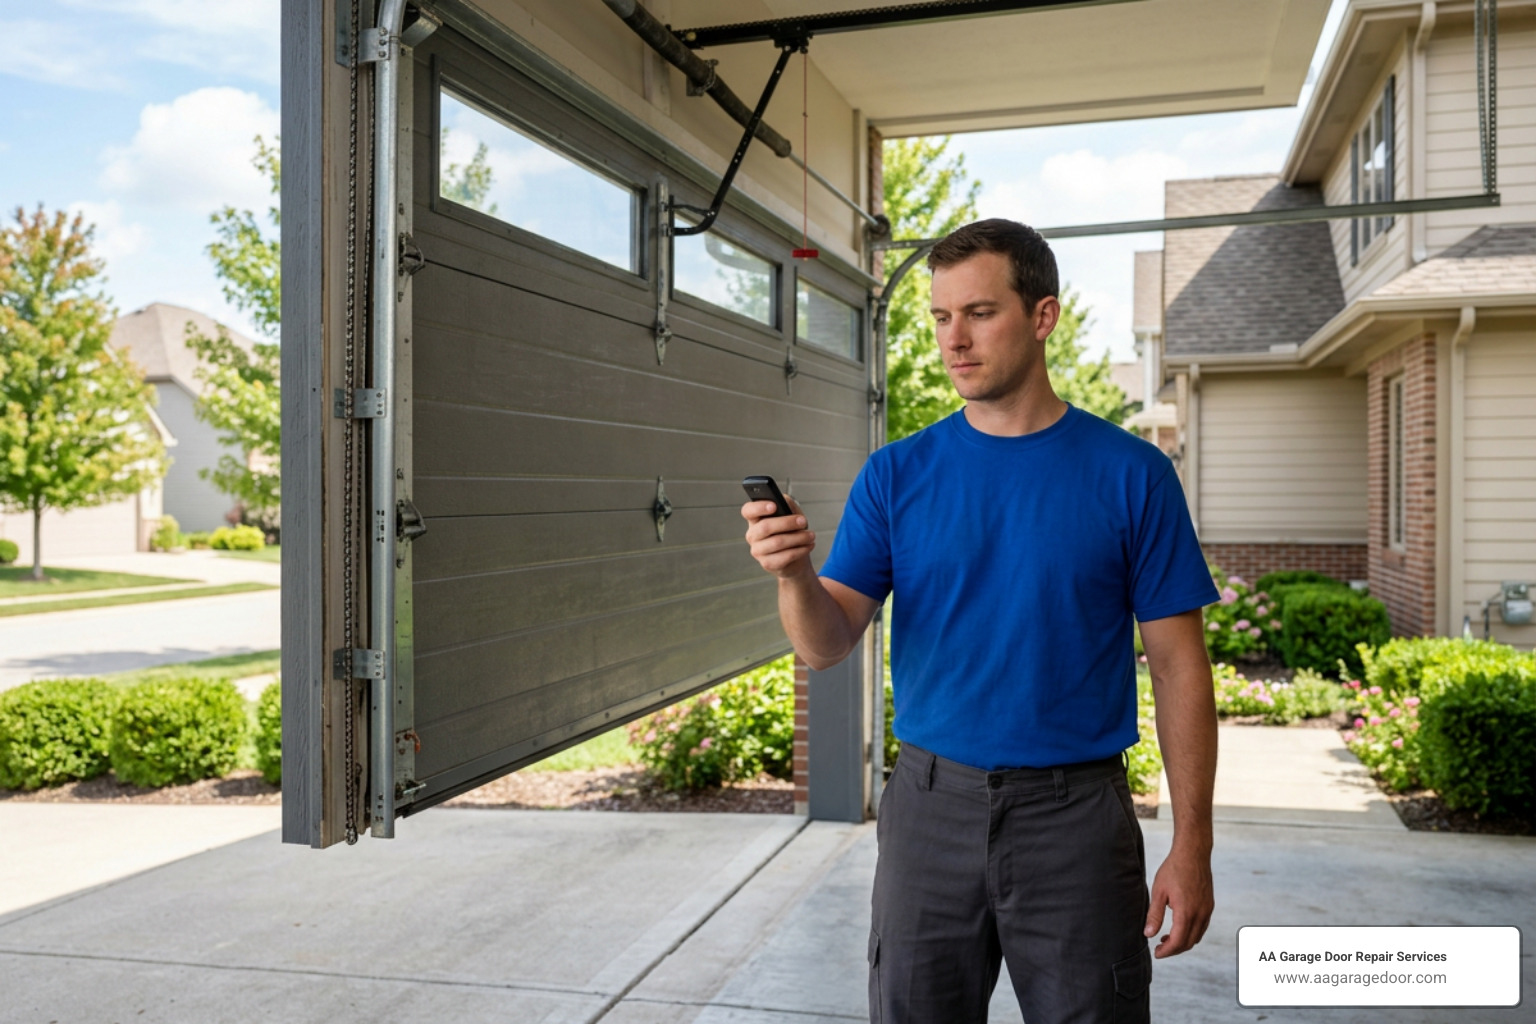
You back the car out, press the button to close the door, and nothing happens. Or the door starts moving and immediately reverses. But when you walk back inside and hold the wall button down, the door closes just fine.
That difference — remote failing but wall button working — is actually a critical clue. It tells you the motor and door are functioning correctly. The opener’s safety system is blocking the remote’s close command.
Federal law has required photoelectric safety sensors on all residential garage door openers manufactured since 1993. These sensors project an invisible infrared beam across the base of the door. If anything interrupts that beam — a leaf, a cobweb, a misaligned bracket — the opener refuses to close automatically. It’s a safety feature, not a malfunction. But when the sensors are dirty or slightly off-angle, they trigger that same block even when nothing is actually in the way.
Our professional garage door repair team sees this exact issue multiple times every week, especially after harsh Minnesota winters shift sensor brackets out of alignment.
I’m David Sands, owner of AA Garage Door LLC, and over 23 years of diagnosing cases where a garage door remote will open door but not close it across the Twin Cities and Western Wisconsin, I’ve found that 80% of these calls are resolved with a simple sensor fix — no parts, no service call needed.
Why Your Garage Door Remote Will Open Door But Not Close It
To understand why your remote works in one direction but not the other, you have to look at how garage door openers process safety signals. Opening a garage door poses virtually zero crushing risk to people, pets, or vehicles. Because of this, the safety reversing system is completely inactive when the door is traveling upward. Your remote sends a signal, the logic board processes it, and the door glides open without checking for obstructions.
However, the closing cycle is a completely different story. Under federal safety regulations mandated by the Consumer Product Safety Commission (CPSC), every residential garage door opener must feature an active entrapment protection system during the downward cycle. This is where your photo-eye safety sensors come into play.
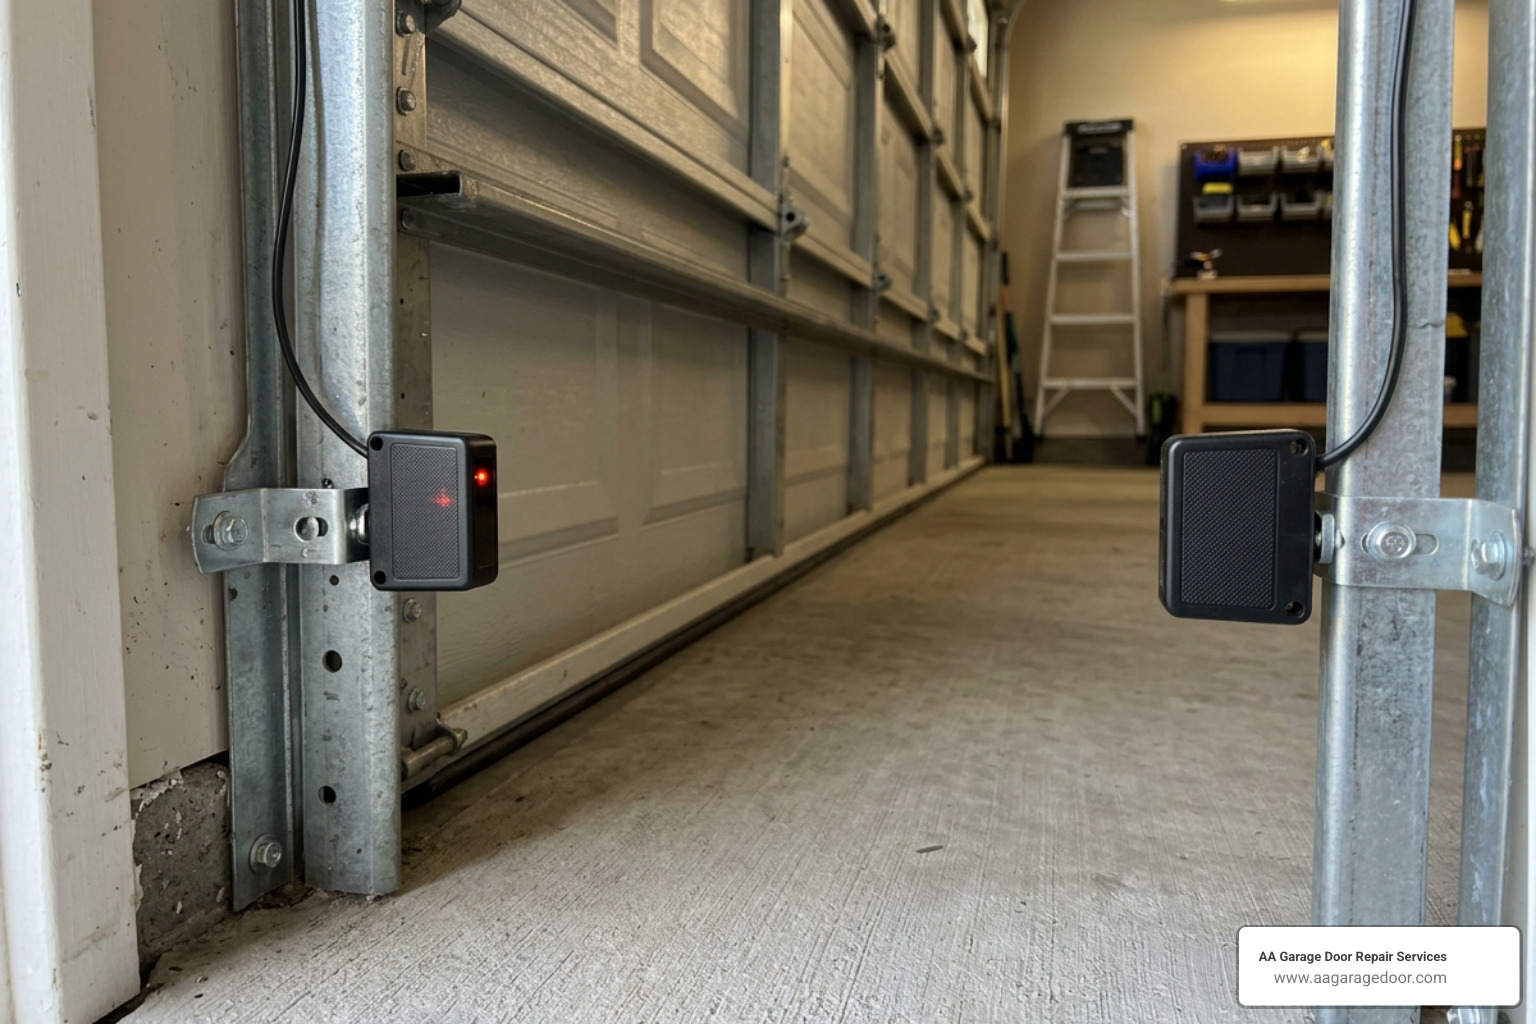
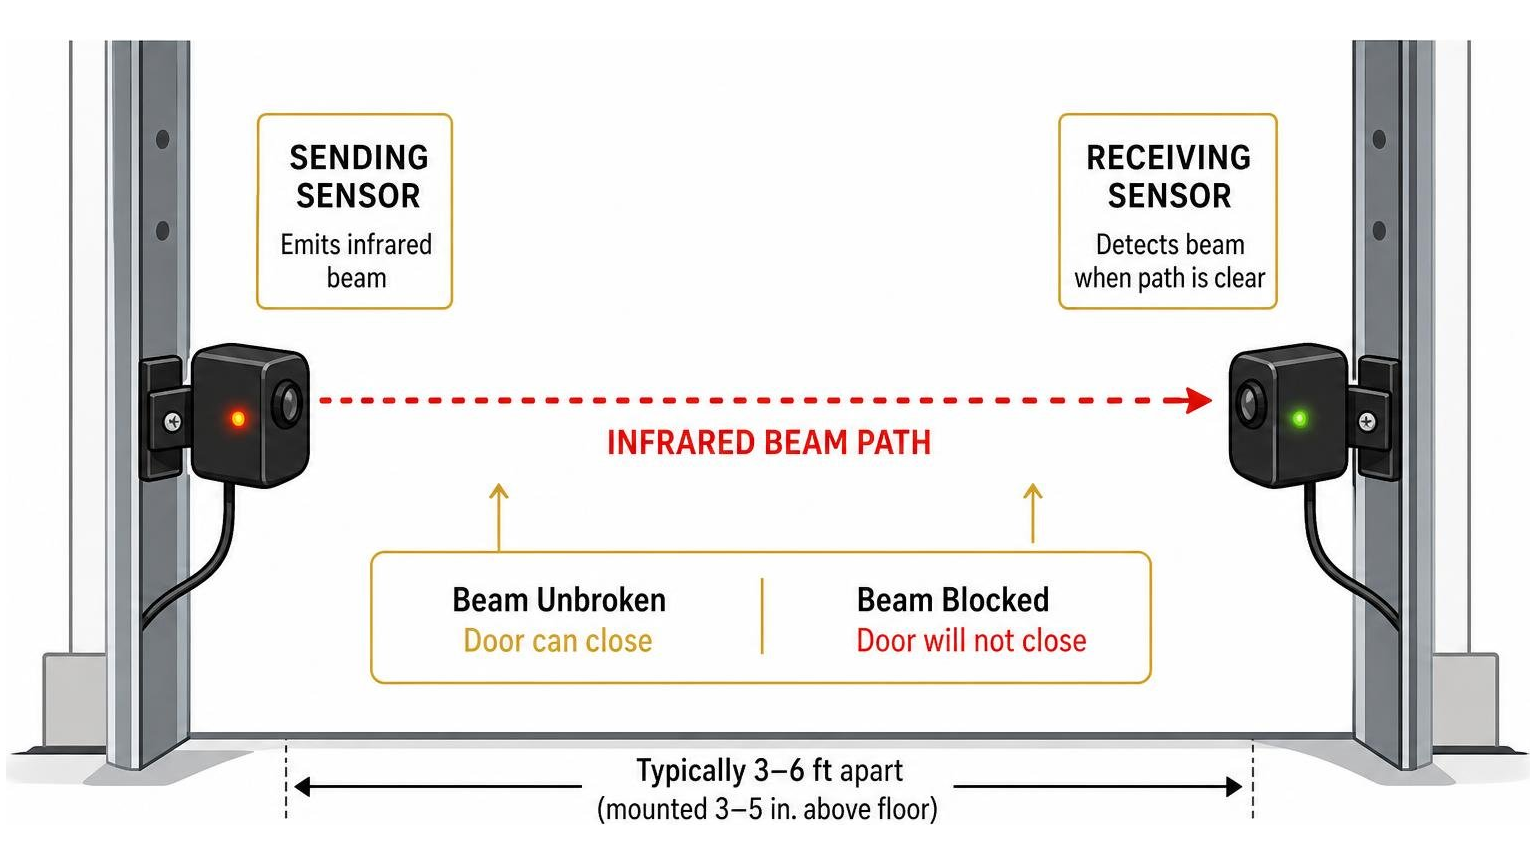
These safety sensors consist of a sending eye (which projects an invisible infrared light beam) and a receiving eye. If that beam is broken, or if the opener thinks it is broken due to a system glitch, the motor is legally programmed to refuse any automatic close commands.
This explains the classic symptom: Why does my garage door open with remote but not close? The remote sends a wireless close command, but the logic board immediately blocks it because it is not receiving a clear “all-safe” signal from the photo-eyes. To protect your family and property, the door will only close if you bypass this system manually. For more details on these vital systems, read our guide on Garage Door Safety.
Diagnosing Why the Garage Door Remote Will Open Door But Not Close It
Before you start tearing apart your remote or buying replacement parts, you need to run a quick diagnostic test to isolate the problem. The easiest way to do this is by using the hardwired wall button inside your garage.
Walk over to your wall control panel and try to close the door. If the door refuses to close with a single tap of the wall button, but closes successfully when you press and hold the wall button down continuously, you have confirmed a safety sensor fault.
This manual safety override works because the wall button is hardwired directly to the opener. Holding the button down forces the system to close the door because it assumes you are standing there physically watching the path to ensure it is clear. Because a wireless remote cannot offer this visual guarantee, the safety override is blocked on all hand-held transmitters. If your door exhibits this behavior, check out our Garage Door Not Closing Guide for deeper diagnostic strategies.
Electrical and Signal Issues: When the Garage Door Remote Will Open Door But Not Close It
If the wall button override does not work, or if the door refuses to close even when holding the button down, you are likely dealing with an electrical or signal routing issue.
The safety sensors communicate with the main motor unit via low-voltage wiring. If these wires are severed, pinched by a mounting staple, or loose at the terminal screws, the receiver logic board will assume an obstruction is present. Additionally, a physical short circuit in either the wall control wiring or the sensor circuit can mimic a blocked beam. To understand how these components interact under the hood, refer to our Garage Door Opener Circuit Complete Guide.
Step-by-Step Guide to Troubleshooting Safety Sensors
Since safety sensors are the primary culprit behind one-way remote failures, troubleshooting them is your best starting point.
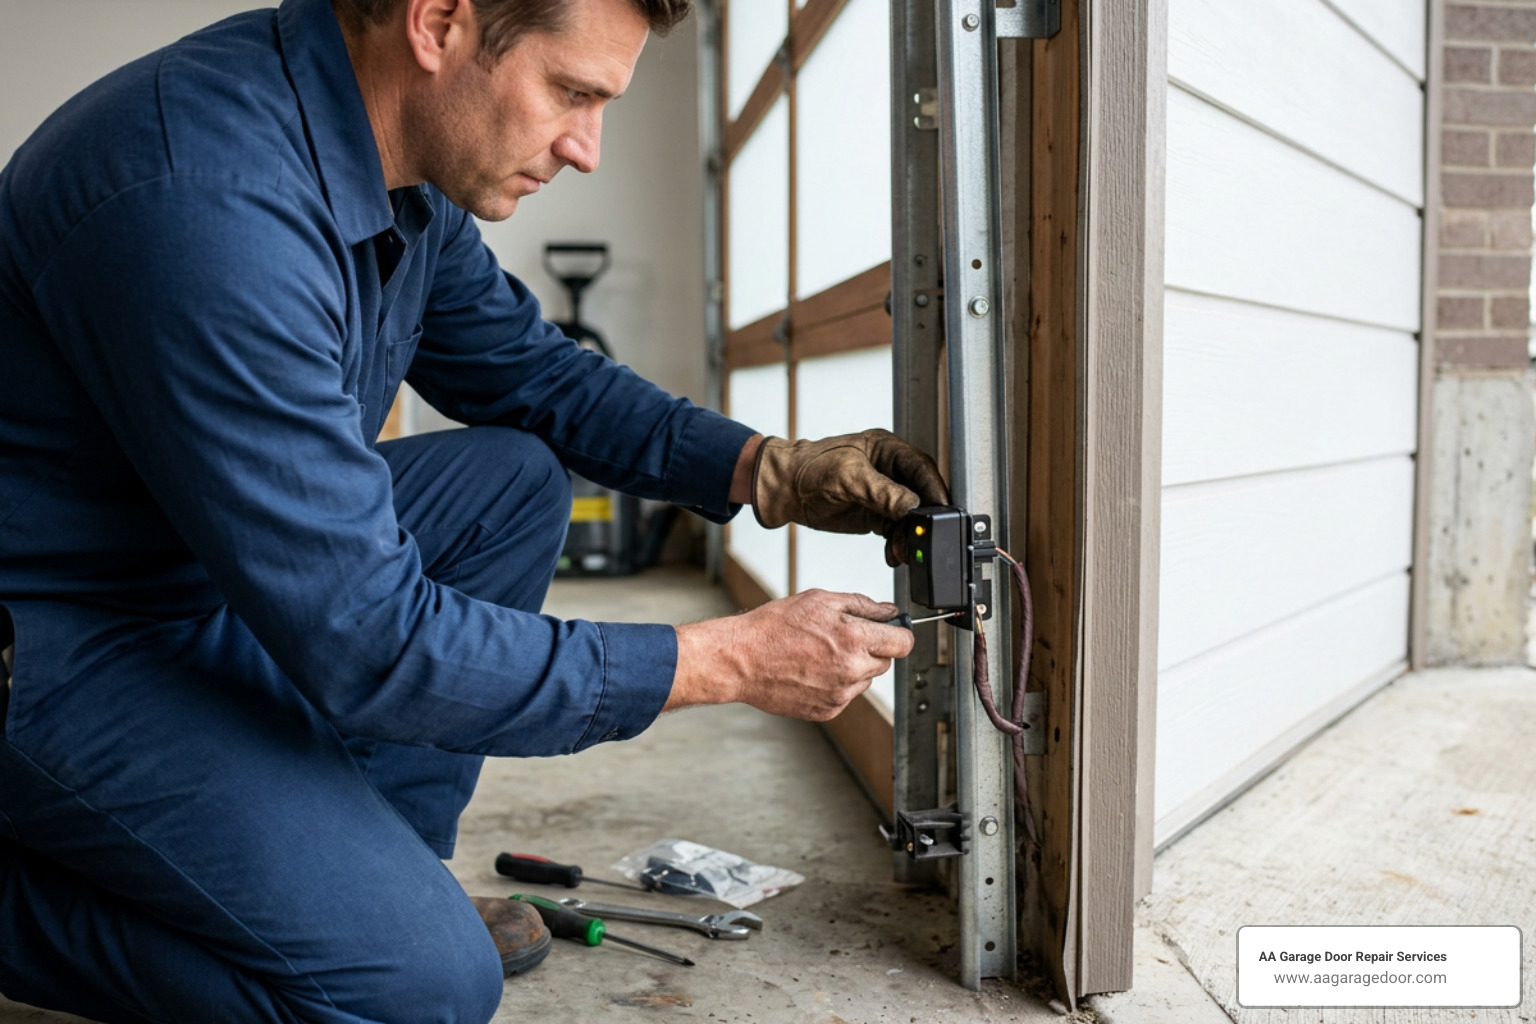
Both the sending and receiving sensors feature small LED indicator lights designed to help you diagnose their status. On most major brands like LiftMaster, Chamberlain, and Craftsman, one sensor (the sender) will have a solid amber or red light, while the other (the receiver) will have a green light. If either of these lights is blinking, flickering, or completely dark, your sensors are either dirty, misaligned, or suffering from a wiring fault.
To quickly resolve these issues, consult our guide on Garage Door Sensor Troubles. You can also use the reference table below to identify your sensor’s health.
| Sending LED Status | Receiving LED Status | System Meaning | Required Action |
|---|---|---|---|
| Solid Amber/Red | Solid Green | Sensors aligned, path clear | No action needed; check for RF interference |
| Solid Amber/Red | Blinking Green | Sensors misaligned or dirty | Clean lenses and adjust brackets |
| Blinking Amber/Red | Off / Blinking Green | Loose wiring or severe misalignment | Check sender wiring and physical alignment |
| Off | Off | No power to sensor circuit | Check opener power source and low-voltage wires |
Cleaning and Aligning the Photo-Eyes
Over time, garage door tracks collect dust, dirt, and moisture. Because the safety sensors are mounted just 3 to 5 inches off the floor, they are highly susceptible to getting dirty or bumped out of place.
- Clean the Lenses: Grab a soft microfiber cloth and gently wipe the glass lenses on both photo-eyes. Remove any accumulated dust, spiderwebs, mud, or winter road salt.
- Loosen the Brackets: If the receiving LED is still blinking, loosen the wing-nut or screw holding the sensor bracket to the garage door track.
- Align the Sensors: Slowly adjust the angle of the sensor by hand. Watch the receiving LED light. The moment it turns solid and stops blinking, the sensors are perfectly aligned. Tighten the wing-nut back down, taking care not to twist the bracket out of place as you tighten it.
- Beat the Sun: In St. Paul and Western Wisconsin, the low angle of the setting sun during autumn and winter can shine directly into the receiving sensor lens. This “blinds” the photo-eye, causing intermittent closing failures only at certain times of the day. You can build a quick DIY sun shield by sliding a small cardboard toilet paper roll over the receiving sensor to block the glare.
Inspecting Sensor Wiring and Connections
If the LED lights remain dark even after physical alignment, you must inspect the low-voltage wires running from the sensors up to the overhead motor unit.
- Look for pinched wires where insulation staples secure the cords to the walls or ceiling.
- Check the back of the overhead motor unit to ensure the white and grey sensor wires are firmly inserted into their quick-connect terminals.
- Search for chewed wires near the floor. Mice and other pests frequently chew through these thin wires during cold Minnesota winters. If you find a break, strip the wire ends, splice them back together, and wrap the connection securely with electrical tape.
Checking the Wall Control Panel and Lock Features
If your safety sensors are glowing solid and the wall button works perfectly, but your hand-held remotes are completely ignored when you try to close the door, you might have accidentally locked yourself out.
Most multi-function wall control panels feature a “Lock” or “Vacation” button. When activated, this security feature blocks the overhead receiver logic board from accepting wireless signals from hand-held remotes. However, it still allows the hardwired wall button and exterior keypads to operate the door normally.
To determine if this is your issue, look closely at the wall control panel. If the indicator light behind the main push bar is flashing rapidly, the Lock feature is turned on. To deactivate it, press and hold the LOCK button on your wall panel for 2 to 5 seconds. The flashing light should turn solid, indicating that wireless remote commands have been restored.
For a complete breakdown of how these wall controls interact with your transmitters, read our Garage Door Opener Remote Complete Guide. You can also find brand-specific lockout behaviors in this Liftmaster Garage Door Remote Will Open But Not Close? Troubleshooting & Fix Guide.
Eliminating Radio Frequency (RF) and LED Bulb Interference
One of the most surprising reasons a garage door remote will open door but not close it is the light bulb installed inside the overhead motor unit.
Standard household LED and CFL light bulbs emit minor electromagnetic radiation. Cheap, unshielded bulbs often leak radio frequency (RF) interference in the 30 to 300 MHz range. Because most modern garage door remotes operate on standard frequencies of 315 MHz or 390 MHz, this electromagnetic noise can easily jam the remote’s wireless signal.
This creates a highly confusing symptom:
- You arrive home, press your remote, and the door opens perfectly because the opener’s light bulb is currently turned off.
- Once the door opens, the overhead light bulb automatically switches on.
- You back out of your garage, press the remote to close the door, and nothing happens because the illuminated bulb is actively jamming the receiver’s antenna.
To test for this, simply remove the light bulb from your opener motor and try closing the door with your remote. If the remote works instantly, you have found your culprit. Replace the bulb with a specialized, shielded LED bulb labeled specifically as “garage door compatible.” For more signal diagnostic tips, check out Garage Door Opener Not Working? Troubleshooting Guide.
Erasing and Reprogramming Your Garage Door Remotes
If you have ruled out sensor alignment, lockouts, and light bulb interference, your remote transmitter may have lost its programming or suffered a logic glitch. Over time, power surges or minor electrical fluctuations can desynchronize the rolling codes between your remote and the receiver.
To fix this, you should perform a complete memory clear and reprogram your remotes.
- Locate the LEARN button on the back or side of your overhead motor unit (it is typically red, orange, green, yellow, or purple).
- Press and hold the LEARN button for approximately 6 to 10 seconds, or until the indicator LED next to it turns off. This erases all programmed remotes, keypads, and smart-car links from the opener’s memory.
- To reprogram, press and release the LEARN button once. The indicator light will glow steadily for 30 seconds.
- Within that 30-second window, press and hold the button on your hand-held remote control. The overhead light bulb on the opener will flash twice, or you will hear two clicks, indicating that the remote has successfully paired.
If you own a Wayne Dalton motor (such as a Quantum, Classic Drive, or Prodrive model), clearing the memory requires holding the physical PROGRAM SWITCH button down for 10 seconds. A successful reset is confirmed when both the status light and the overhead light bulb flash 3 times.
For detailed, step-by-step instructions on pairing various brands, refer to our Garage Door Opener Programming Guide or view our inventory of compatible Garage Door Remotes.
Frequently Asked Questions about Garage Door Closing Issues
Why does my garage door only close when I hold the wall button down?
This is a built-in safety override feature. When you hold the wall button down continuously, the opener’s logic board bypasses the photo-eye safety sensors. It allows the door to close because you are physically standing inside the garage, verifying that the path is clear. If the door only closes this way, your safety sensors are either blocked, dirty, misaligned, or suffering from a broken wire.
Can a dying remote battery cause the door to open but not close?
Yes. A dying coin-cell battery (typically a 3V CR2032) produces a weaker wireless signal. This weak signal might have enough strength to open the door when you are close to the garage, but fail to close it from the driveway when minor RF interference is present. Additionally, freezing temperatures in Minnesota and Wisconsin can cause a rapid voltage drop in alkaline batteries overnight. Switching to high-quality lithium batteries resolves this temperature-sensitive range reduction. We recommend replacing your remote batteries once a year.
What are the signs of a faulty logic board in the opener?
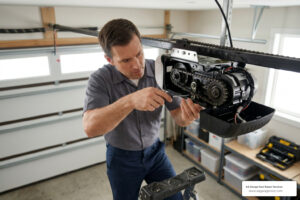
If your remote functions intermittently, loses its programming codes overnight, or fails to respond even after you have cleared the memory, replaced the batteries, and aligned the sensors, your receiver logic board may be failing. Look for physical signs of damage, such as burnt solder joints or swollen capacitors on the circuit board inside the motor housing. If your opener is more than 10 to 15 years old and needs a new logic board, it is often more cost-effective to replace the entire unit. For professional diagnostic assistance, check out our Garage Door Opener Repair services.
Conclusion
A garage door that refuses to close with the remote is an incredibly frustrating inconvenience, but it is rarely a sign of a catastrophic mechanical failure. By systematically checking your safety sensors, verifying your wall panel’s lock status, eliminating light bulb interference, and reprogramming your transmitters, you can resolve the issue yourself in just a few minutes.
However, if you have run through these troubleshooting steps and your door still refuses to close, it is time to call in the experts.
At AA Garage Door Repair Services, we have been providing fast, reliable, and honest garage door solutions across St. Paul, the Twin Cities metro area, and Western Wisconsin since 2001. Whether you need a simple sensor adjustment in Woodbury, MN, a remote replacement in Hudson, WI, or emergency service in Baldwin, WI, our local technicians are ready to help. We offer 24/7 emergency services, transparent upfront pricing, and a 100% satisfaction guarantee.
Don’t spend another day manually overriding your garage door. You can visit our Garage Door Repair Near Me page to schedule your service online. To keep your system operating flawlessly year-round, don’t forget to check out our seasonal Garage Door Opener Maintenance Guide.