Why Garage Door Track Adjustment Matters
Garage door track adjustment is a critical maintenance task that resolves common issues like grinding noises, uneven movement, and doors that stick or bind. When garage door tracks become misaligned—even by a small amount—the entire system struggles, putting extra strain on the opener motor and risking damage to door panels and hardware. Proper alignment is fundamental to the safe and efficient operation of your door, a core principle of the comprehensive garage door services we provide. This adjustment ensures the longevity of your system and prevents more costly repairs.
Quick Answer: How to Adjust Garage Door Tracks
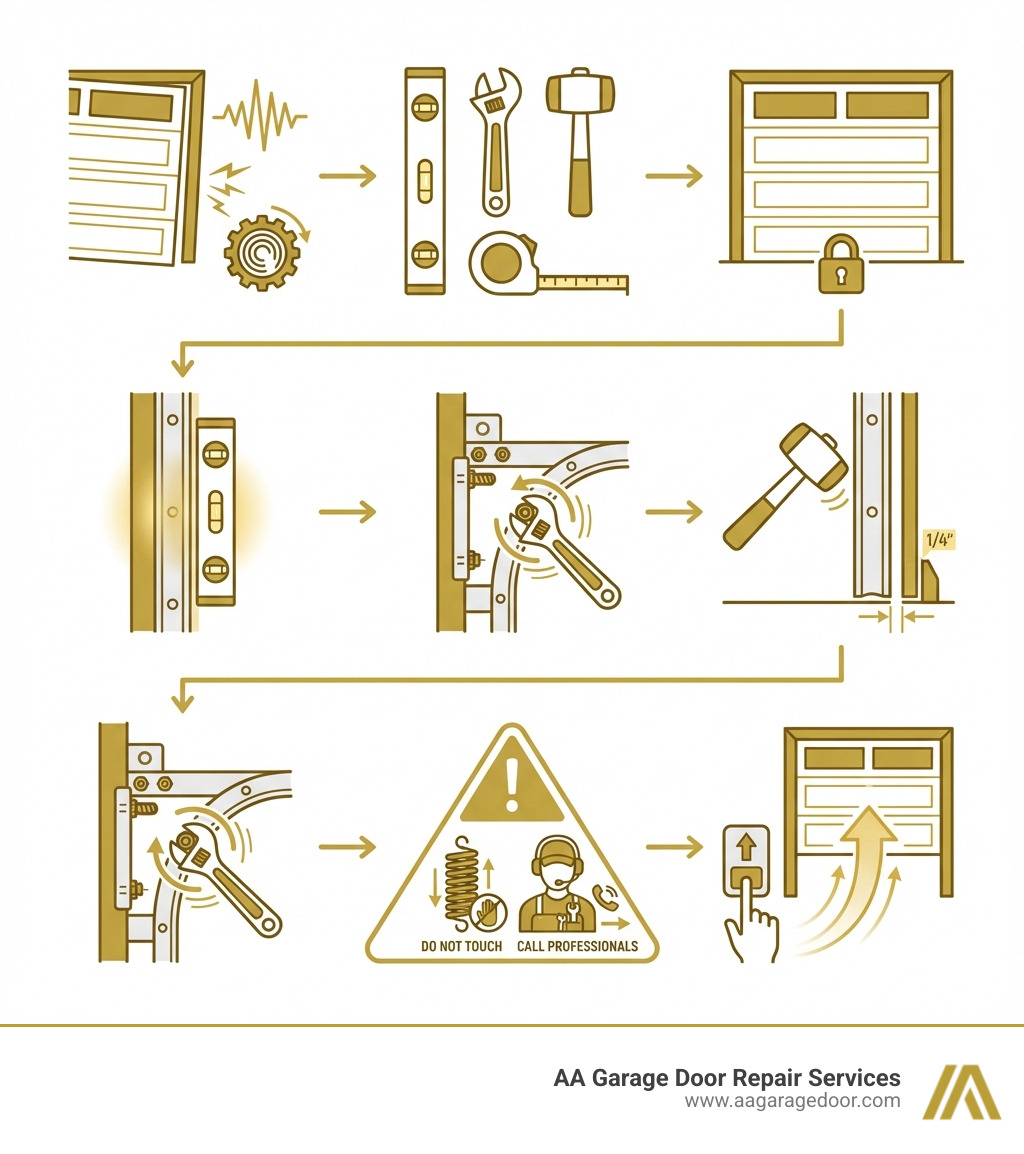
- Close and lock the door to release spring tension
- Loosen the track mounting bolts slightly (don’t remove them)
- Check alignment with a level—tracks should be perfectly vertical
- Tap tracks gently with a rubber mallet to adjust position
- Maintain a 1/4-inch gap between door and stop molding
- Retighten all bolts securely and test door operation
Common causes of track misalignment include accidental vehicle impacts, loose hardware from years of vibration, temperature fluctuations causing metal expansion and contraction, and even your home’s foundation settling over time. According to industry data, track alignment issues are among the most frequent garage door problems homeowners face, yet many can be resolved with basic tools and careful adjustment.
The good news? Most minor track alignment issues can be fixed by homeowners in under an hour. The key is knowing what to look for and understanding the proper adjustment techniques. However, severely bent tracks, broken rollers, or issues involving springs and cables require professional garage door repair services to ensure safety.
I’m David Sands, owner of AA Garage Door LLC, and I’ve been helping Twin Cities homeowners with garage door track adjustment and repairs since 2001. Over two decades of hands-on experience has taught me that proper track alignment is the foundation of a smoothly operating garage door system, and I’ve guided countless customers through both DIY adjustments and professional repairs.
Key Garage door track adjustment vocabulary:
Is Your Garage Door Crying for Help? Signs of Misalignment
A garage door that isn’t moving smoothly isn’t just a minor inconvenience; it’s a clear signal that something is amiss with its tracks. Misaligned tracks are a common problem that can escalate quickly if ignored. They often stem from factors like accidental impacts (we’ve all had those close calls with the car!), loose hardware vibrating free over time, or even the natural settling of your home’s foundation. Ignoring these early warning signs can lead to more severe problems, including a completely stuck or off-track door. Our goal is to help you catch these issues early, preventing costly repairs and ensuring your garage door operates safely and efficiently.
Here are the common signs that your garage door tracks are in need of adjustment:
- Grinding or Scraping Noises: If your garage door sounds like a rusty robot trying to sing, or if you hear metal-on-metal sounds as it operates, it’s a strong indicator of misaligned tracks. These noises often mean the rollers are rubbing against the track or the track itself is out of alignment, creating friction where there shouldn’t be any.
- Uneven Movement: Does your garage door appear to shake, shudder, or lift higher on one side than the other? This uneven motion suggests that the tracks are not guiding the door uniformly, causing it to bind or drag. An off-balance or crooked door is not only unsightly but also puts undue stress on the entire system.
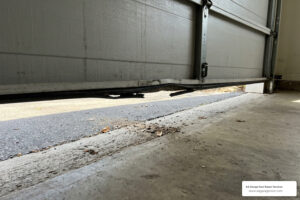
- Visible Gaps: When your garage door is closed, check for light peeking through between the door edge and the weather molding. Visible gaps are a tell-tale sign that the tracks are pulled away from the door opening, compromising your garage’s insulation and security. A uniform gap is crucial for proper sealing.
- Binding or Sticking: If the door stops or struggles to move at certain points during its travel, it’s likely binding within the tracks. This can make the door hard to open and close, requiring excessive force from the opener or manual effort. This resistance indicates that the rollers are encountering obstructions or the track width is inconsistent.
- Bent or Damaged Tracks: Sometimes, the problem is visibly obvious. Look for dents, bends, or warping in the metal tracks themselves. Even minor damage can prevent rollers from gliding smoothly, leading to serious operational issues. Track damage can occur from impacts or simply from wear and tear over time.
Recognizing these signs early is the first step toward a smooth-running garage door. A well-aligned track system is vital for the longevity and safety of your entire garage door setup.
Before You Begin: Gather Your Tools and Prioritize Safety
Before we dive into the nitty-gritty of garage door track adjustment, it’s crucial to talk about safety. This isn’t just a friendly suggestion; it’s absolutely paramount. A garage door is a heavy piece of equipment, and its springs are under immense tension, capable of causing serious injury if mishandled. We always emphasize safety first for any DIY garage door project.
Always perform adjustments with the garage door in the closed and locked position. This releases the tension from the spring system, making it much safer to work on the tracks. If you have an automatic opener, always disconnect the power supply to prevent accidental operation during your work. A simple unplug from the outlet is usually sufficient. Wearing protective clothing, including long-sleeved shirts, thick pants, and heavy-duty gloves, is also a smart move to prevent cuts or scrapes from sharp metal edges. For more comprehensive advice, refer to our Garage door safety tips.
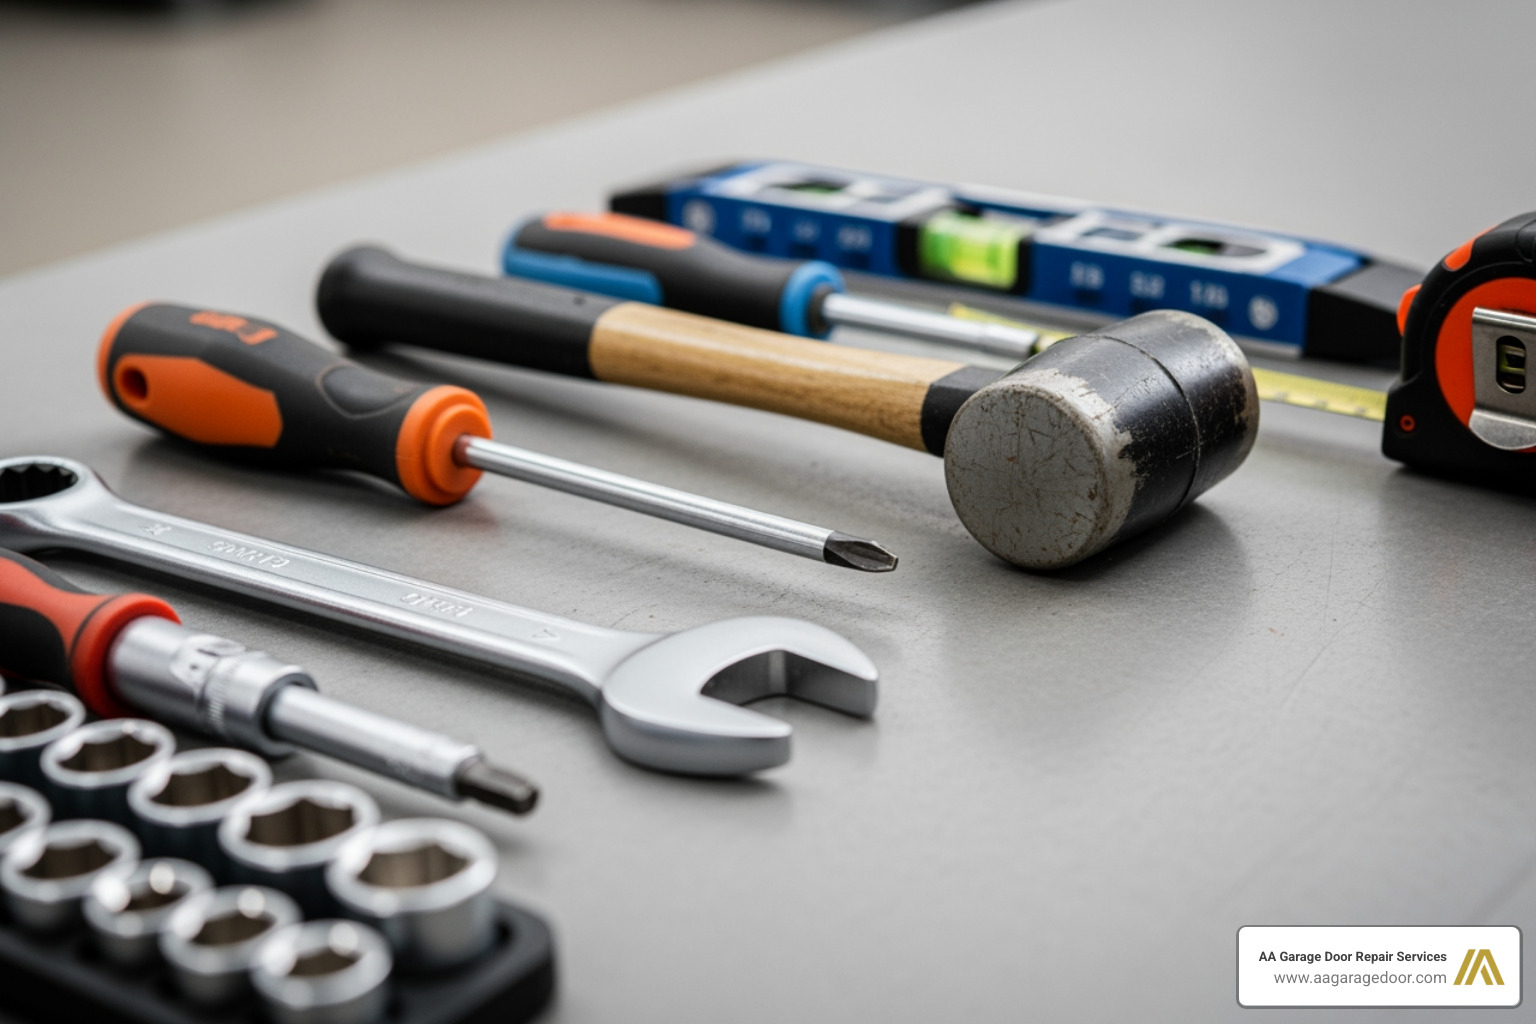
Now, let’s gather our arsenal of tools. You won’t need a massive workshop, but having the right equipment makes the job much easier and more precise:
- Screwdriver (Phillips and Flathead): Essential for loosening and tightening various screws on track brackets.
- Wrench or Socket Set: For handling bolts that secure the tracks to the wall and brackets. A good adjustable wrench can work, but a socket set offers better grip and leverage.
- Rubber Mallet: Your best friend for gently tapping misaligned tracks back into position without causing further damage. If you don’t have one, a hammer with a wood block can serve as a makeshift alternative.
- Spirit Level: Absolutely critical for confirming that your tracks are perfectly vertical (plumb) and that horizontal tracks have the correct slope. A spirit level ensures accuracy.
- Tape Measure: For verifying consistent gaps and track spacing.
- Pliers: Useful for gently straightening minor bends in the track or adjusting small components.
- Safety Glasses: Protect your eyes from debris, especially when tapping metal.
Having these tools laid out and ready will streamline your garage door track adjustment process and help you maintain focus on the task at hand. A little preparation goes a long way in ensuring both safety and success.
A Step-by-Step Guide to Garage Door Track Adjustment
Adjusting your garage door tracks might sound intimidating, but with our step-by-step guide, you’ll find it’s a manageable DIY project. The entire system relies on two main components: the vertical tracks that run up the wall on either side of your garage door opening, and the horizontal tracks that curve from the top of the vertical tracks and run along the ceiling. Minor adjustments to these components can resolve most common alignment issues, restoring harmony to your garage door’s movement. Our goal is to ensure the tracks are perfectly plumb (vertical) and parallel to the door’s edges, allowing the rollers to glide smoothly and quietly.
How to Perform a Vertical Garage Door Track Adjustment
The vertical tracks are responsible for guiding your garage door as it moves up and down. Proper adjustment here is key to fixing issues like gaps between the door and the stop molding, or a door that binds and sticks against the frame. The golden rule for the gap between the garage door and the stop molding is approximately 1/4 inch. This small but crucial space ensures the door seals properly without rubbing.
Here’s how we tackle vertical track adjustment:
- Close and Secure the Door: Ensure the garage door is fully closed and the opener is unplugged. If your door has a manual lock, engage it for added security.
- Inspect and Locate Misalignment: Visually inspect the vertical tracks. Are they plumb? Do they seem to be pulling away from the door frame? Pay attention to any areas where the rollers appear to be binding or where the door rubs.
- Loosen Track Brackets: Using your wrench or screwdriver, slightly loosen the bolts or screws that attach the vertical track to the wall. You don’t want to remove them entirely, just loosen them enough so that the track can be gently nudged from side to side.
- Adjust the Track Position: With the bolts loosened, gently tap the track with your rubber mallet. The goal is to move the track until it is perfectly plumb and maintains a consistent 1/4-inch gap between the door and the stop molding along its entire height. Use your spirit level to confirm vertical alignment. Tap the bottom of the track to bring it into vertical alignment.
- Check the Gap: Use your tape measure to verify that you have a uniform 1/4-inch gap between the door and the stop molding. This is crucial for both smooth operation and weather sealing.
- Tighten Bolts: Once the track is in the correct position and the gap is uniform, carefully tighten all the track bolts. Ensure they are snug, but avoid over-tightening, which can warp the track or strip the screws.
- Repeat for the Other Side: Don’t forget to perform the same steps for the vertical track on the opposite side. Both tracks need to be aligned correctly for optimal performance.
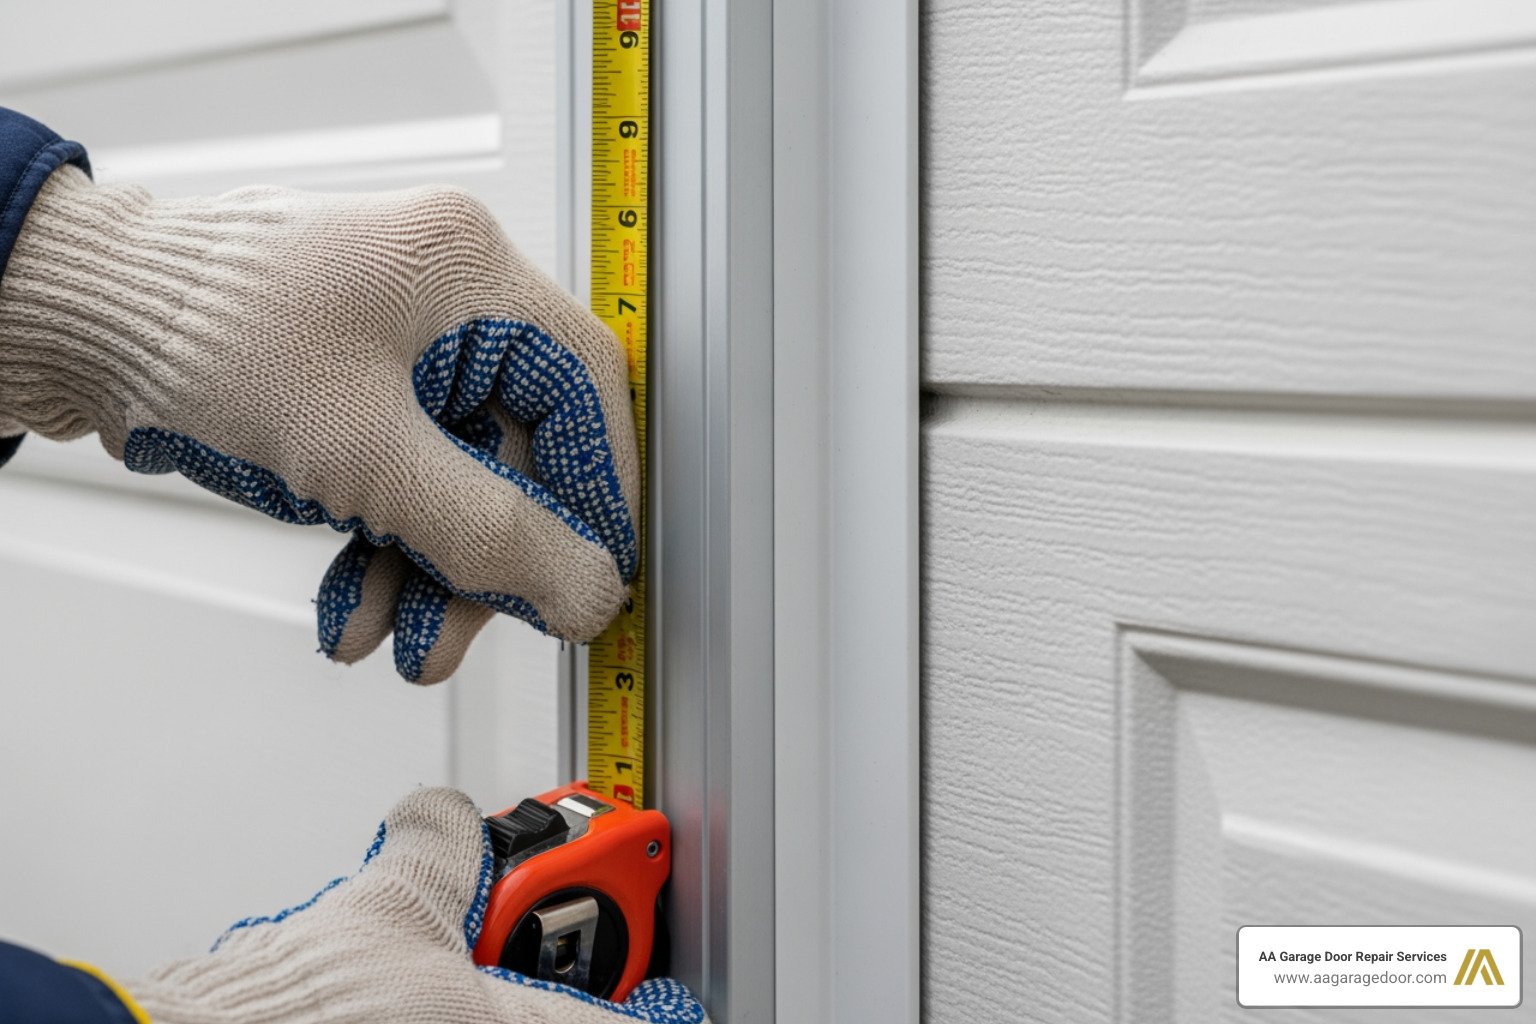
This careful process ensures your vertical tracks are perfectly aligned, allowing your garage door to travel smoothly.
How to Perform a Horizontal Garage Door Track Adjustment
Once your vertical tracks are singing in harmony, it’s time to turn our attention to the horizontal tracks. These tracks guide the door as it transitions from vertical movement to horizontal, moving into the open position along the ceiling. A crucial detail here is that horizontal tracks should have a slight downward slope towards the back of the garage, typically about 1/4 inch per 10 feet of track. This subtle angle helps the door stay closed securely, preventing it from creeping open. Misalignment in these tracks can cause the door to feel loose, rattle, or not close tightly, which can lead to a noisy garage door and compromised security.
Here’s how we adjust the horizontal tracks:
- Inspect and Assess: With the door still closed and secured, examine the horizontal tracks. Are they parallel to each other? Do they appear to have the correct downward slope towards the back of the garage? Check for any visible sagging or areas where the rollers might be catching.
- Check the Slope: Use your spirit level to confirm the downward slope. Place the level on the horizontal section of the track. You should see a slight incline towards the back of the garage. If it’s perfectly level or slopes towards the front, adjustment is needed.
- Loosen Hanging Brackets: The horizontal tracks are typically supported by hanging brackets from the ceiling. Loosen the bolts or screws on these brackets, allowing the track to be adjusted. As with the vertical tracks, loosen just enough to allow movement, not full removal.
- Adjust Track Position: Carefully adjust the position of the horizontal track. The goal is to ensure consistent spacing between the door and the track along its entire length, and to establish the correct downward slope (1/4 inch per 10 feet) towards the back of the garage. You might need to gently tap the track with your rubber mallet or adjust the hanging brackets.
- Ensure Consistent Spacing: As you adjust, pay close attention to the gap between the top of the door and the horizontal track. This spacing should be consistent to prevent rubbing or binding as the door opens and closes.
- Secure Hardware: Once you’re satisfied with the alignment and slope, firmly tighten all the bolts and screws on the hanging brackets. Double-check that everything is secure, but again, avoid over-tightening.
- Test the Door: Once both horizontal tracks are adjusted, carefully reconnect the opener, open up the door, and manually open and close it a few times. Listen for any improvements in noise, observe the smoothness of its movement, and ensure it closes tightly.
A properly adjusted horizontal track system will ensure your garage door glides effortlessly into its open position and closes securely, making those annoying rattles and squeaks a thing of the past.
When to Put Down the Tools and Call a Professional
We love empowering homeowners to tackle DIY projects, and garage door track adjustment for minor issues is definitely within reach. However, there are times when even the most enthusiastic DIYer should put down the tools and call in the cavalry. Your garage door system is complex and involves components under extreme tension, making safety our top priority. Attempting to fix severe problems yourself can not only worsen the damage but also pose a significant risk of serious injury.
If you encounter any of the following situations while inspecting or attempting adjustments, it’s a clear signal that it’s time to call a professional for emergency garage door repair:
- Severely Bent or Warped Tracks: If your tracks are bent or warped beyond a simple tap with a rubber mallet, or if the damage extends over a long section, they likely need professional repair or replacement. Attempting to force severely damaged tracks back into shape can weaken the metal, leading to future problems or even track collapse.
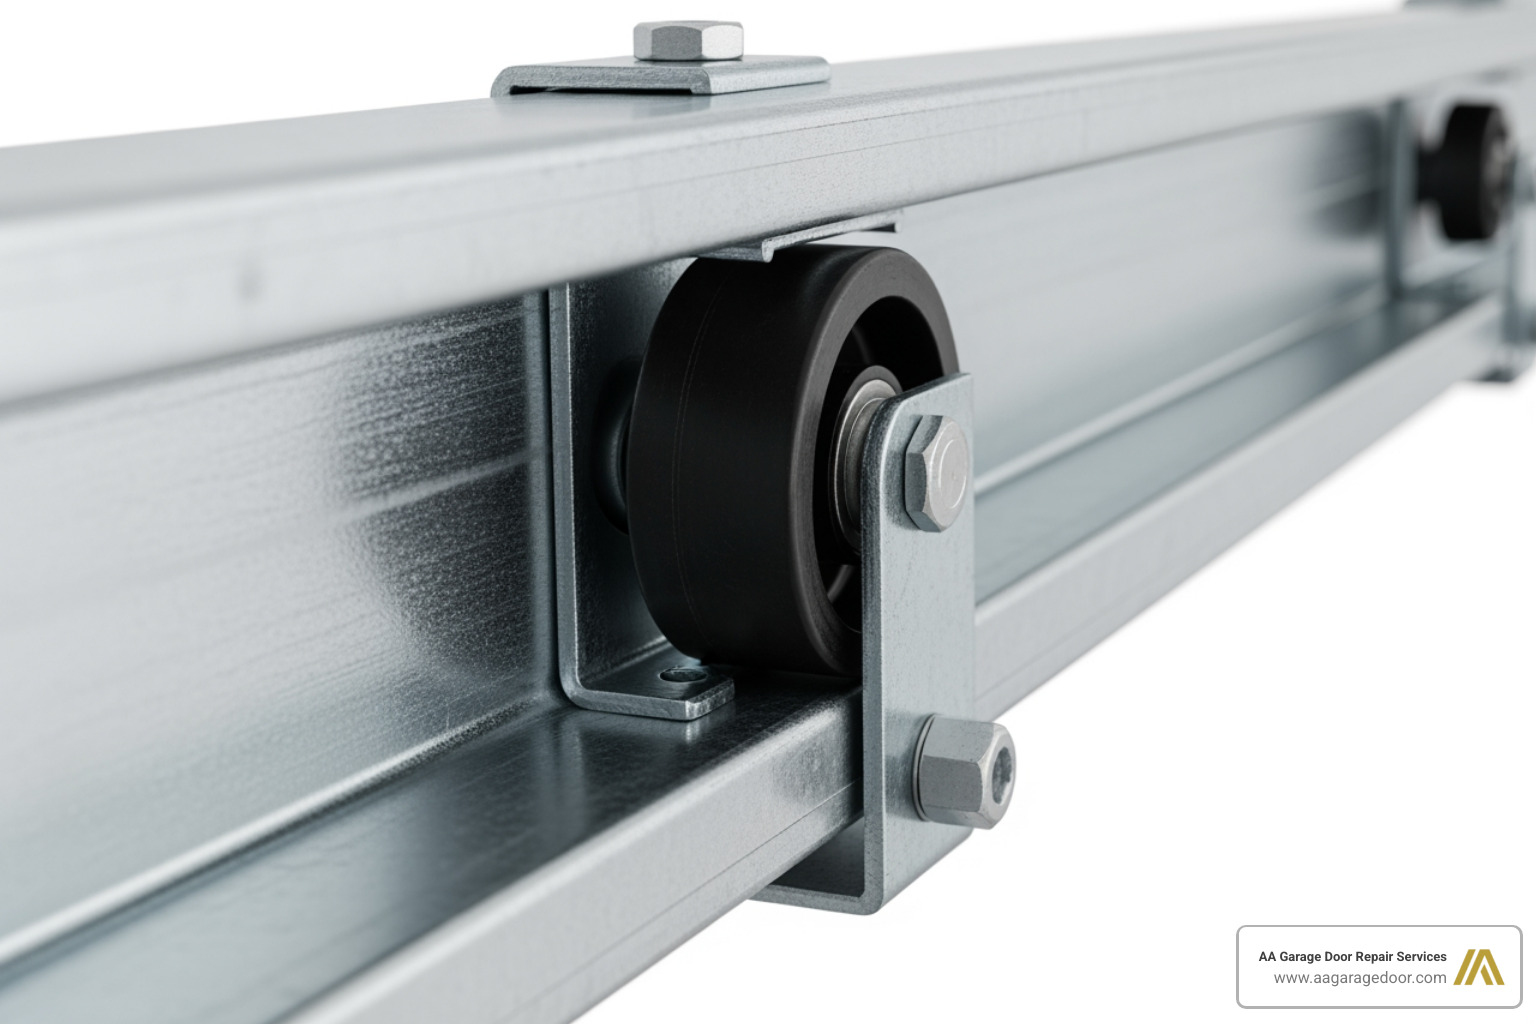
- Broken Rollers or Hinges: While individual rollers can sometimes be replaced by a homeowner, if multiple rollers are broken, or if any of the hinges connecting your door panels are damaged, it’s best to let a professional handle it. These components are integral to the door’s structural integrity and smooth operation.
- Issues with Springs or Cables: This is the big one. The torsion or extension springs on your garage door are under immense tension and are incredibly dangerous if mishandled. Likewise, frayed or broken cables can cause the door to fall unexpectedly. Never, under any circumstances, attempt to repair or adjust springs or cables yourself. This is a job strictly for experienced professionals.
- The Door is Completely Off-Track: If your garage door has completely come off its tracks, do not try to force it back on. This situation indicates a significant underlying problem, possibly with the tracks themselves, the rollers, or the cables. Forcing it can cause catastrophic failure, damaging the door, the opener, and potentially injuring anyone nearby.
- Problem Persists After Adjustment: If you’ve carefully followed our guide for garage door track adjustment and your door still isn’t working correctly, there may be an underlying issue that requires a more experienced eye. Persistent problems often point to more complex mechanical failures that a professional can accurately diagnose and repair.
At AA Garage Door, we have been providing fast, reliable, and safe garage door services to homeowners in St. Paul, Woodbury, Hudson, Baldwin, and throughout the Twin Cities and Western WI since 2001. We have the expertise, specialized tools, and safety protocols to handle even the most challenging garage door track issues. When in doubt, call us; your safety and the longevity of your garage door are worth it.
Frequently Asked Questions about Garage Door Track Adjustment
We often hear common questions from homeowners navigating garage door track adjustment. Here are some of the most frequent inquiries, along with our expert answers, designed to give you clarity and confidence in maintaining your garage door.
Should I lubricate my garage door tracks?
This is a very common question, and the answer might surprise some: No, you should not lubricate the inside of the garage door tracks. While it might seem counterintuitive, applying lubricant to the tracks themselves can actually attract dirt, dust, and debris. Over time, this creates a gummy, abrasive residue that hinders roller movement, making your problem worse instead of better.
Instead, we recommend focusing your lubrication efforts on the moving parts that interact with the tracks: the garage door rollers’ stems and hinges. Use a silicone-based lubricant, specifically designed for garage doors, on these components. This ensures they glide smoothly within the tracks without gumming up the works. Regular lubrication of these parts, along with keeping the tracks clean, is a vital part of comprehensive garage door maintenance. For specific guidance on roller care, check out our garage door roller repair guide.
How tight should the track bolts be?
When performing garage door track adjustment, the tightness of your track bolts is important for both security and preventing damage. Track bolts should be snug and secure, holding the track firmly in place without allowing it to shift. A good rule of thumb is to tighten them finger-tight, then use a wrench to give them another one-quarter to one-half turn. This provides sufficient tension without being excessive.
It’s crucial to avoid over-tightening. Over-tightening can strip the bolts or, worse, warp the track brackets, leading to new alignment problems. It can also make future adjustments more difficult. The goal is a firm hold that keeps the track stable and perfectly aligned.
Can I replace just one section of a bent track?
While it is technically possible to replace just one section of a bent track, it is generally not recommended for a DIY project. Garage door tracks are precision components, and ensuring that a new section aligns perfectly with the existing track, maintaining the exact pitch and spacing, is incredibly difficult. Even a slight misalignment in the replaced section can lead to rollers binding, increased wear on other components, or the door coming off track again.
For track replacement, especially if the damage is significant, it is always safest to seek professional help. Professionals have the specialized tools and expertise to ensure that any new track sections are installed correctly and seamlessly integrated into the existing system, guaranteeing proper function and safety. For reliable professional garage door services in St. Paul and surrounding areas, our team is ready to assist.
Keep Your Door Running Smoothly
Properly aligned garage door tracks are not just about convenience; they are essential for the safety, security, and smooth operation of your entire garage door system. By understanding the common signs of misalignment, gathering the right tools, and carefully following our garage door track adjustment guide, you can confidently tackle minor issues and extend the life of your door. Regular inspections and timely adjustments can prevent small problems from escalating into costly repairs.
However, we understand that not all garage door issues are simple fixes. If you’ve followed this guide and your door still isn’t working correctly, if you encounter severely bent tracks, broken springs, or any other complex problem, please don’t hesitate to seek professional help. The team at AA Garage Door has been providing expert service since 2001, offering fast, reliable, and transparent solutions to homeowners in St. Paul, Woodbury, Hudson, Baldwin, and throughout the Twin Cities and Western WI. We’re here to help you get your garage door back on track!