Preparation, Safety, and Locating the Learn Button
Before climbing up to program your opener, a little preparation goes a long way. Safety is our top priority at AA Garage Door Repair Services. Garage doors are the largest moving objects in most homes, operating under immense spring tension and electric power. Always make sure the garage door path is completely clear of children, pets, and vehicles before you begin testing any programming. If you ever feel unsure about handling these heavy systems, our team provides reliable professional garage door opener assistance to ensure everything is safe and functional.
To get started, you will need a few simple tools and steps:
- A sturdy, self-supporting stepladder placed on flat, level ground. Never balance on a chair or the top of a vehicle.
- A helper to stand by, especially if you are programming keypads or vehicle systems.
- Fresh batteries for your remotes (typically CR2032 lithium coin batteries).
- Your existing working remotes, if you are programming a car system like HomeLink.
We always recommend starting with our pre-programming checklist to ensure your door is mechanically sound. If your garage door is out of balance or has broken springs, programming a remote will not solve your issues. Additionally, check that your safety sensors at the base of the door tracks are clean, aligned, and showing solid indicator lights.
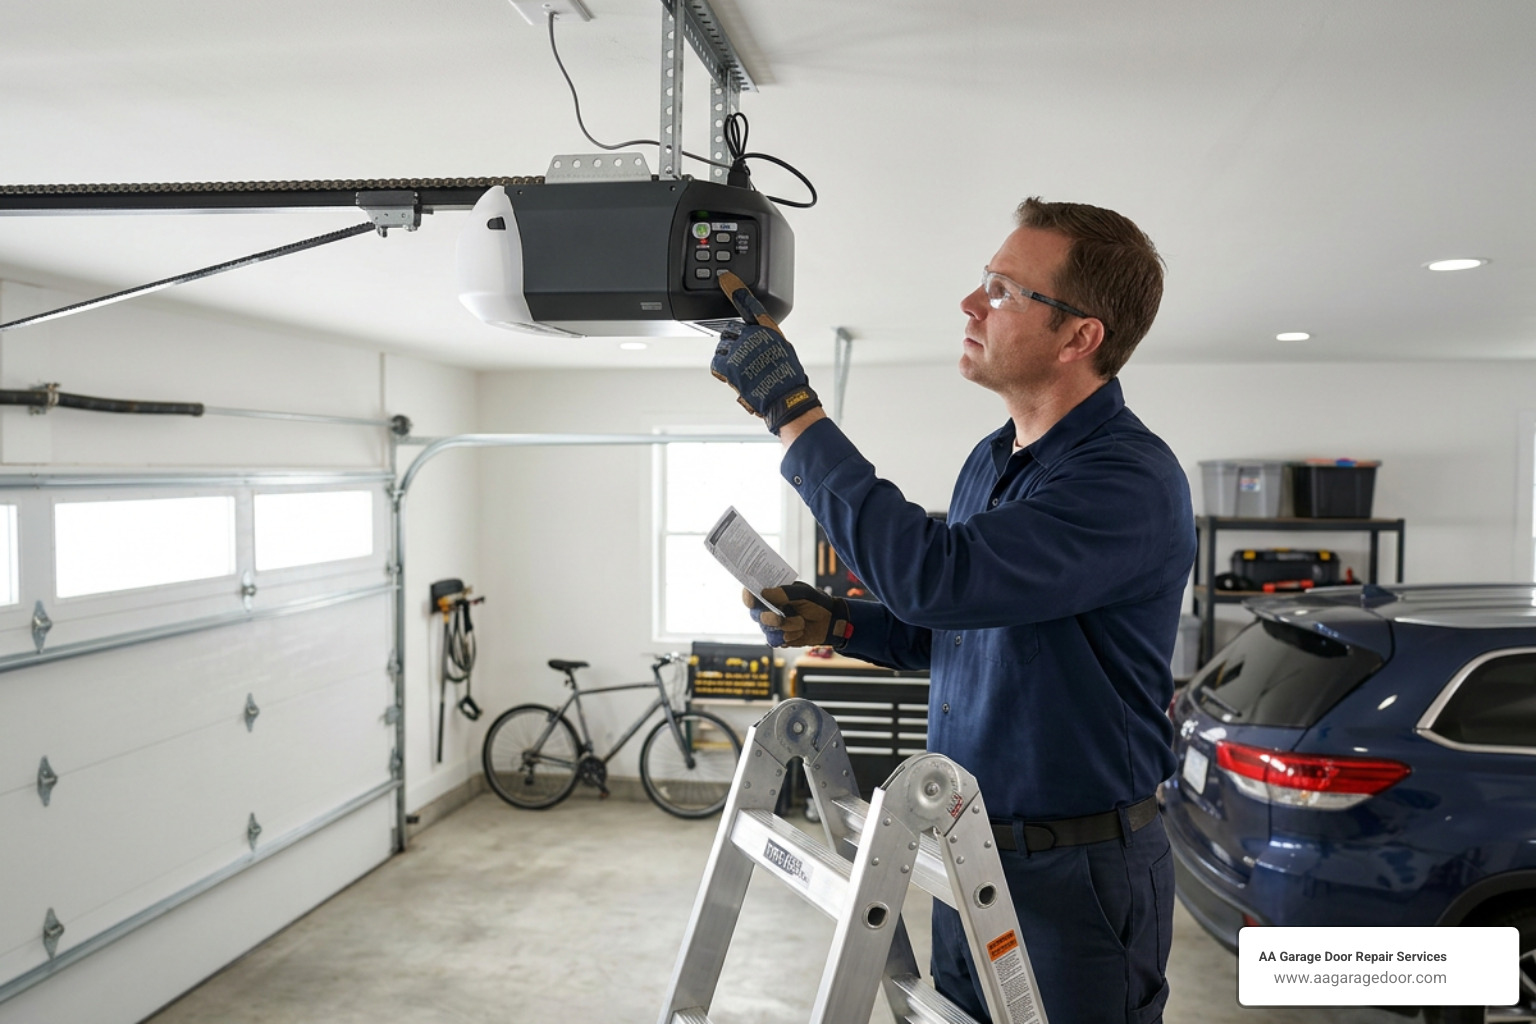
To find the physical Learn button on your garage door opener, look at the ceiling-mounted motor unit. It is usually located on the back or side panel, right near where the thin antenna wire hangs down. On newer, sleek models, you may need to swing open the plastic light lens cover to find the control panel underneath.
For more details on preparing your workspace, you can review the essential tools for programming checklist.
Identifying Your Opener’s Technology: Rolling Code vs. Fixed-Code
Before you press any buttons, you need to know what kind of language your opener speaks.
- Rolling Code Technology (Post-1996 to Present): If your opener was manufactured after 1996, it almost certainly uses rolling code technology (marketed as Security+ 2.0 by LiftMaster/Chamberlain or Intellicode by Genie). Every time you press your remote, a brand-new, encrypted security code is generated from billions of possibilities. This prevents tech-savvy thieves from “code grabbing” or duplicating your signal.
- Fixed-Code DIP Switch Systems (Pre-1993): Older openers rely on physical code matching. Inside the remote and the motor unit, you will find a small row of 8 to 12 tiny toggle switches (DIP switches) that can be set to “+”, “-“, or “0”. If the patterns match, the door opens. These systems are highly vulnerable to signal interception and lack modern safety features.
- Learn Button Colors: On modern rolling-code systems, the color of the Learn button on your motor unit indicates its specific frequency and technology generation. This is crucial when buying replacement remotes:
- Yellow Button: Security+ 2.0 (uses 310, 315, and 390 MHz frequencies).
- Purple Button: Security+ 315 MHz.
- Red/Orange Button: Security+ 390 MHz rolling code.
- Green Button: Older Billion Code system (early 1990s).
How to Program the Garage Door Opener: The 3 Core Methods
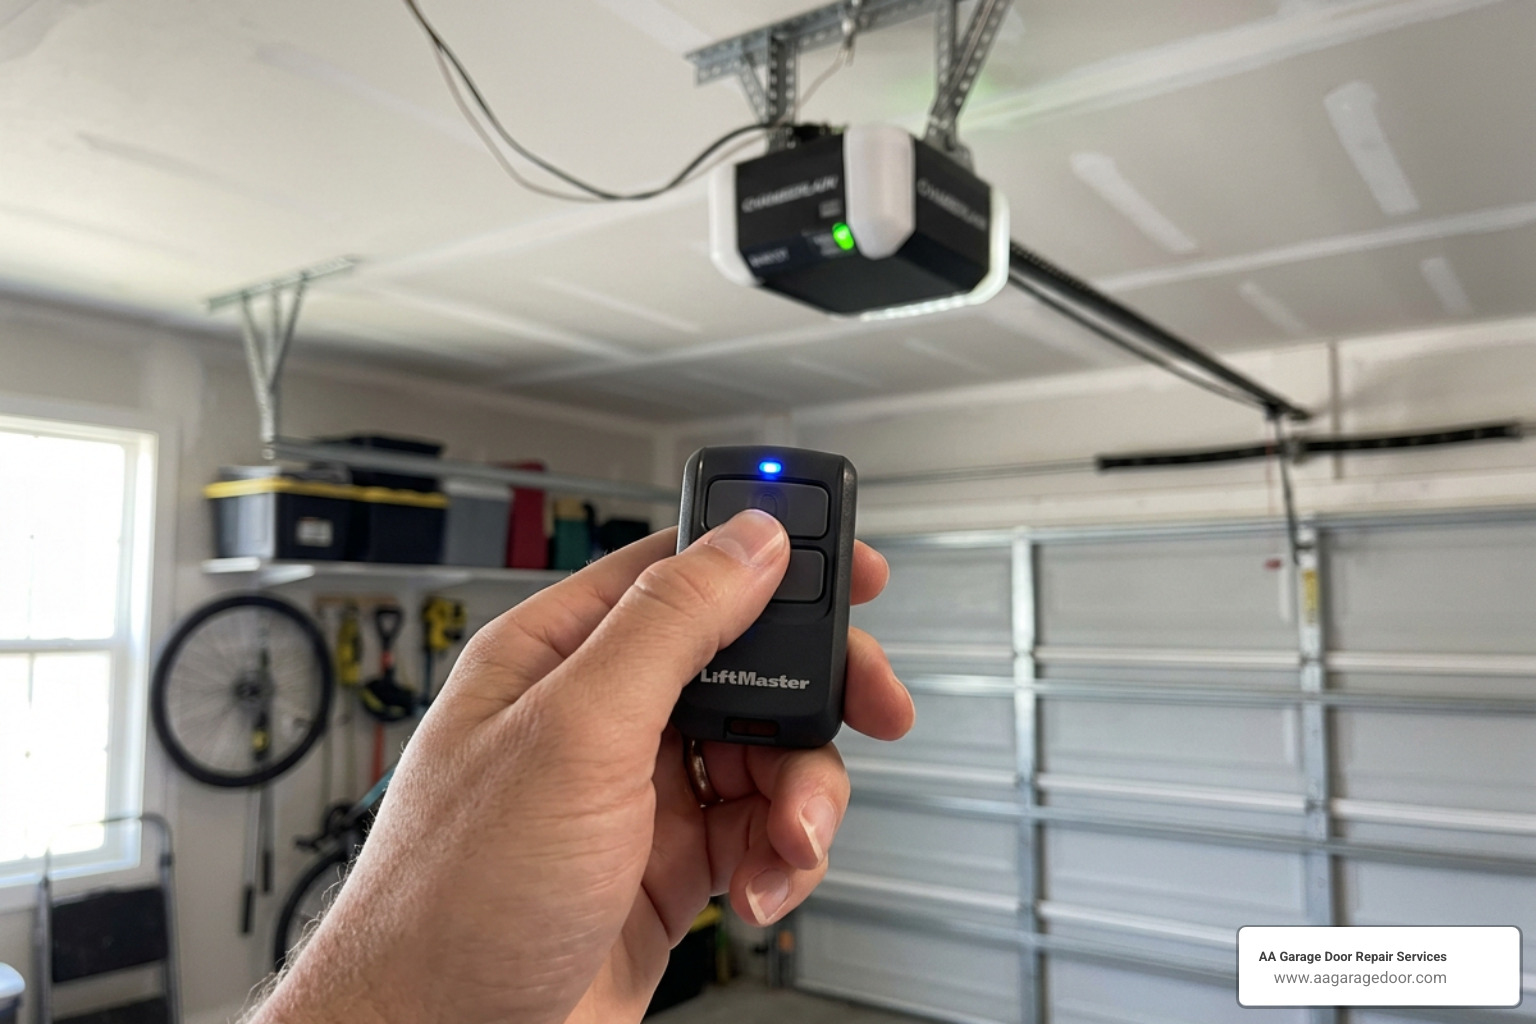
Now that you know where your Learn button is and what color it is, you are ready to begin. The standard step-by-step programming guide outlines how easy this process is.
Almost all modern manufacturers rely on universal pairing methods to connect devices. The most critical rule to remember is the 30-second programming window. Once you activate the programming mode on your opener or wall console, you have exactly 30 seconds to press the button on your remote before the system times out.
Method 1: Using the Motor Unit Learn Button
This is the most common way of programming a new remote directly to your overhead unit.
- Step 1: Set up your ladder safely beneath the motor unit.
- Step 2: Press and immediately release the colored Learn button. Do not hold it down, as holding it for more than 6 seconds will erase all programmed remotes from the system’s memory.
- Step 3: The indicator light next to the Learn button will glow steadily for 30 seconds.
- Step 4: Within that 30-second window, grab your remote control, stand at least 5 feet away from the unit, and press and hold the button you wish to program.
- Step 5: Release the remote button when the overhead motor unit light bulbs flash twice, or when you hear two distinct clicking sounds from the unit.
- Step 6: Wait a few seconds, then press the remote button again to test. The door should smoothly open or close.
Method 2: Using a Wall-Mounted Door Control or LCD Smart Panel
If you have a modern LiftMaster or Chamberlain opener, you do not even need a ladder to program your remote. You can do it directly from your wall-mounted console.
- For Multi-Function Wall Consoles:
- Locate the physical Learn button on the side of your wall control panel.
- Press the Learn button twice in quick succession. The command LED light on the wall panel will begin to blink rapidly.
- Within 30 seconds, press and hold the button on your handheld remote control.
- Release the remote button when the overhead opener lights flash or click.
- For LCD Smart Control Panels:
- Use the navigation buttons below the screen to select the “Menu” option.
- Scroll down to select “Program” or “Device”, then select “Remote”.
- The screen will prompt you to press the button on your remote control.
- Press the remote button once. The system will beep or flash the overhead lights to confirm successful pairing.
Brand-Specific Programming: Chamberlain, LiftMaster, Genie, and Overhead Door
While the basic concepts are identical, slight variations exist between major brands. The table below outlines how programming differs across the industry’s leading manufacturers:
| Brand | Programming Interface | Typical Learn Button Location | Confirmation Signal |
|---|---|---|---|
| Chamberlain / LiftMaster | Press & Release Learn Button (Yellow, Purple, Orange, Green) | Back or side panel under light lens cover | Overhead lights flash twice or two clicks |
| Genie / Overhead Door | Press & Hold “PRGM/SET” Button (LED turns Blue then Purple) | Bottom panel or side panel of motor unit | Both LEDs flash and turn off |
| Craftsman | Press & Release Learn Button (Red, Orange, or Green) | Back panel of the motor housing | Overhead lights flash or click |
How to Program the Garage Door Opener for Genie and Overhead Door Systems
Genie and Overhead Door openers use their own signature rolling code technology, called Intellicode. The steps to pair these systems are slightly different because they use a button sequence instead of a single quick press.
- Step 1: Locate the PRGM/SET button on your Genie motor unit (usually on the bottom or front of the chassis) along with the “+” and “-” arrow buttons.
- Step 2: Press and hold the PRGM/SET button for 2 seconds until the round LED indicator turns solid blue. The long LED next to it will then begin to flash purple.
- Step 3: Step back at least 5 feet from the opener with your Genie remote.
- Step 4: Press and release your chosen remote button once. The LEDs on the opener will flash purple.
- Step 5: Press the same remote button a second time. Both LEDs on the opener will flash blue and then shut off.
- Step 6: Press the remote button a third time to test. The door will activate.
For a deeper look, check out the official Genie programming manual or watch a helpful Genie video guide online to see it in action. If you are looking to upgrade to a newer, highly secure model, explore our recommended compatible garage door openers.
Programming Older Fixed-Code DIP Switch Openers
If your garage door opener was installed in the early 1990s or earlier, it does not have a Learn button. Instead, it uses physical DIP switches.
To program a replacement remote for these systems:
- Unplug the garage door opener from its power outlet.
- Remove the battery cover of your remote and the light cover of the motor unit to locate the matching 8-to-12 switch rows.
- Use a pen or small screwdriver to flip the switches on the remote so they precisely match the sequence of the switches on the motor receiver.
- Plug the opener back in and test.
Security Warning: Fixed-code systems are highly insecure. Because there are only 256 to 4,096 possible combinations, intruders can use simple signal grabbers to copy your code. We highly recommend upgrading to a modern rolling-code opener to protect your home.
Programming Keypads, Key Fobs, and Smart Apps
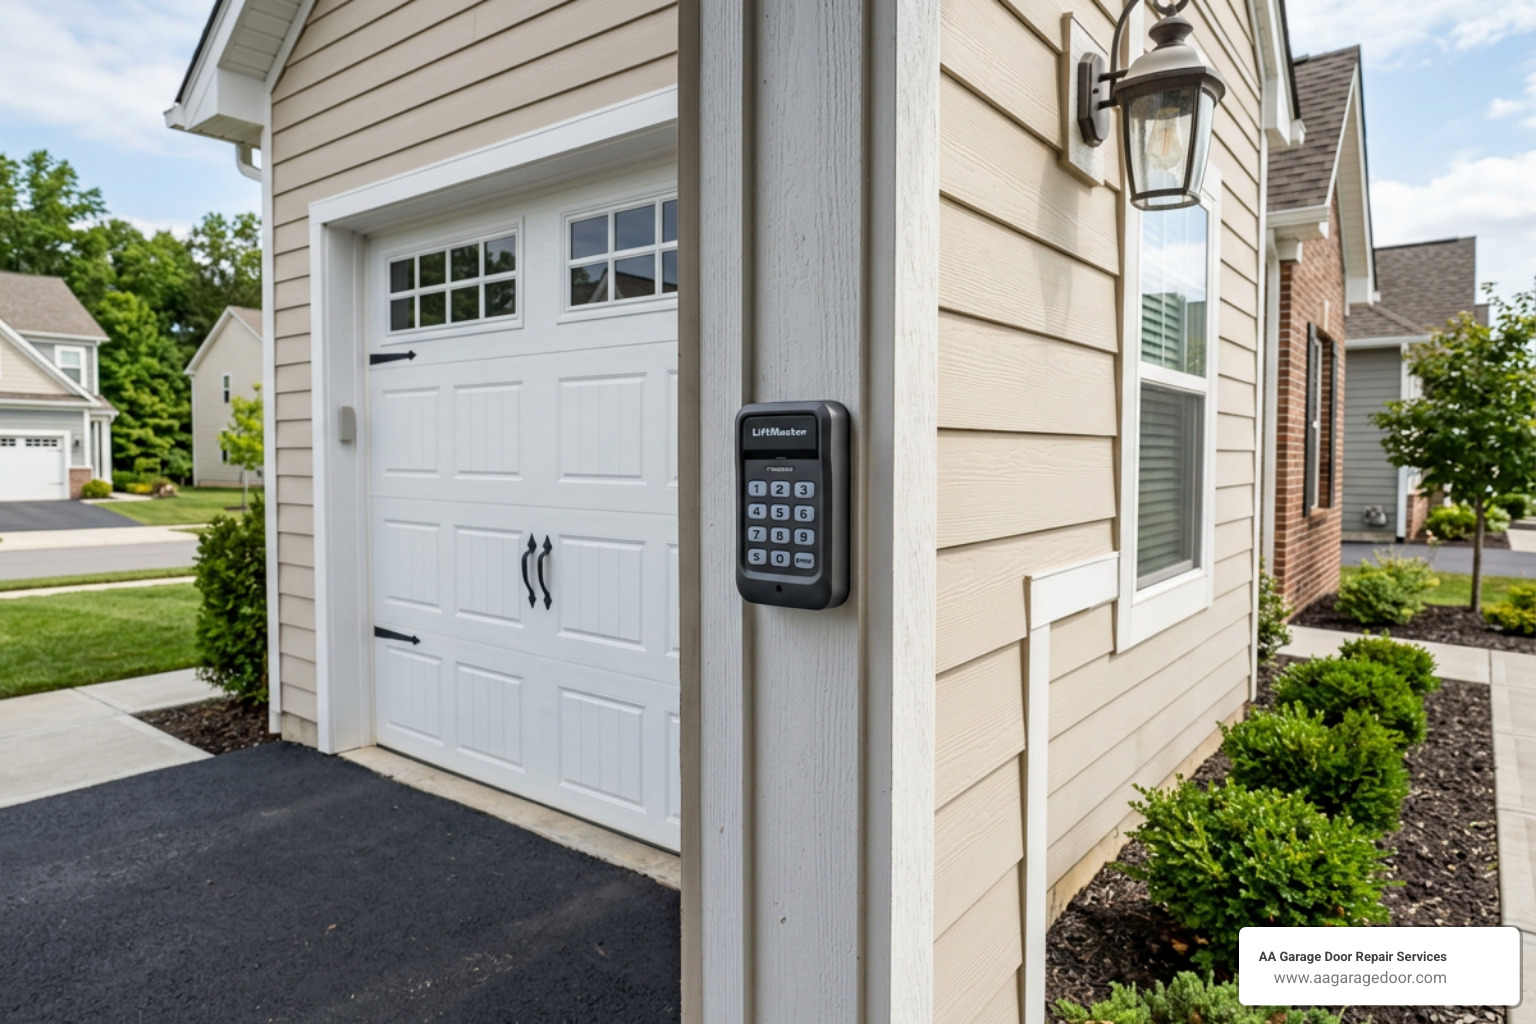
Wireless keypads and miniature key fobs are fantastic additions to any home. They make it easy for children coming home from school, dog walkers, or contractors to access your home securely without carrying a bulky remote. When setting up these handy accessories, review how multiple wireless devices interact with your system before adding new remotes or keypads.
How to Program the Garage Door Opener Keypad and Key Fob
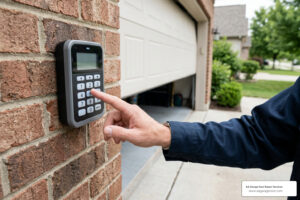
A wireless keypad is mounted directly to the exterior wooden or vinyl frame of your garage door. To program a standard LiftMaster, Chamberlain, or Genie keypad:
- Access your opener’s motor unit and press the Learn button.
- Within 30 seconds, walk to the exterior keypad and enter a secure 4-digit PIN of your choice.
- Press and hold the ENTER button on the keypad.
- Release the button when the overhead light bulb on the motor unit blinks or clicks twice.
- Test by entering your PIN and pressing ENTER.
Pro Tip: For temporary access (like house guests or delivery services), many modern keypads allow you to program a temporary PIN that only functions for a set number of hours or door activations.
Setting Up the myQ App for Wi-Fi Enabled Openers
If your garage door opener has built-in Wi-Fi (usually indicated by a myQ logo or Aladdin Connect logo on the chassis), you can skip physical remotes entirely and control your door from anywhere in the world using your smartphone.
- Step 1: Download the myQ app (for Chamberlain/LiftMaster) or the Aladdin Connect app (for Genie) on your smartphone.
- Step 2: Ensure your home’s Wi-Fi signal is strong in the garage (at least 2 bars on your phone).
- Step 3: Open the app, create an account, and select “Add Device” or tap the “+” icon.
- Step 4: Select “Garage Door Opener” and follow the on-screen prompts.
- Step 5: The app will guide you to press the Learn button on your motor unit to bridge the connection between your home router, the opener, and your phone.
- Step 6: Once connected, you can open, close, and monitor your garage door from your phone, as well as receive real-time alerts if the door is left open.
Vehicle Integration: Programming HomeLink Systems
HomeLink is a wireless control system built directly into the visor, overhead console, or rearview mirror of over 42 million vehicles. It allows you to open your garage door without clipping an unsightly plastic remote to your sun visor.
To program a modern vehicle with a rolling-code garage door opener, follow these steps:
- Clear the Vehicle’s Memory: Turn your vehicle’s ignition to the “On” position (but do not start the engine). Press and hold the two outer HomeLink buttons simultaneously for about 20 seconds. Release them only when the indicator light changes from solid to flashing rapidly.
- Train the Car to Your Remote: Hold your working handheld garage remote 1 to 3 inches away from your HomeLink buttons. Simultaneously press and hold the desired HomeLink button and your remote button. Keep holding both until the HomeLink indicator light changes from a slow flash to a rapid blink, which confirms it has learned the signal.
- Sync with the Rolling Code Opener: Walk to your garage door motor unit and press the Learn button.
- Complete the Training: Within 30 seconds, return to your vehicle. Press and hold your programmed HomeLink button for 2 seconds, then release. Repeat this “press, hold, release” sequence up to three times. The opener lights will flash or click, indicating the vehicle is fully synced.
Troubleshooting, Memory Reset, and When to Call a Professional
Sometimes, despite following every step perfectly, the remote simply refuses to sync. If you run into a roadblock, our reprogramming troubleshooting guide offers deeper solutions. You can also refer to our complete opener maintenance guide to keep your entire system in top-tier shape year-round.
Here are the most common causes of programming failures and how to fix them:
- The Opener Memory Is Maxed Out: Most modern openers can only hold 8 to 40 programmed devices (including remotes, keypads, and vehicles). If you have lived in your home a long time, or are the second owner, the memory might be full.
- The Fix: Erase the memory. Press and hold the Learn button on the motor unit for 6 to 10 seconds until the indicator light goes out. This wipes all wireless codes. You can then reprogram your devices one by one.
- LED Bulb Interference: Standard LED light bulbs installed in your garage door opener emit radio frequency (RF) interference that can block or severely limit the range of your remotes.
- The Fix: Swap out standard household LEDs for specialized, shielded garage door rated LED bulbs.
- Signal Range Issues: If your remote only works when you are standing right next to the motor, your antenna wire might be damaged or coiled up.
- The Fix: Ensure the thin antenna wire hangs straight down from the motor unit and is not wrapped around metal brackets.
If you live in Woodbury, MN, or the surrounding Twin Cities metro, and suspect your opener’s receiver board is fried or your wiring is damaged, do not hesitate to contact our local specialists for expert garage door repair in Woodbury MN.
Frequently Asked Questions about Garage Door Programming
How many remotes can I program to a single garage door opener?
Most modern residential garage door openers can store between 8 and 40 programmed devices in their memory. This limit includes all handheld remotes, wireless keypads, smart control panels, and vehicle HomeLink connections. Once this capacity is reached, the receiver will reject new devices until you perform a full memory reset.
Why does my garage door remote only work when I am close to the door?
This is typically caused by three common issues: a weak or dying CR2032 battery, radio frequency (RF) interference from standard LED bulbs installed inside the opener, or a damaged receiver antenna. Replacing the battery solves this issue about 90% of the time. If that fails, remove any LED bulbs from the opener and test the range again.
Do I need to reprogram my remotes after a power outage?
No, you do not. Modern garage door openers store programmed remote frequencies and security codes in non-volatile memory, which remains intact even during a prolonged power outage. However, severe power surges or lightning strikes can damage the opener’s logic board, which may erase the memory or require a physical board replacement.
Conclusion
Mastering how to program the garage door opener is a quick, rewarding DIY task that boosts your home’s security and adds daily convenience. Whether you are syncing a new key fob, installing an exterior keypad, or integrating your new car’s HomeLink system, these steps will have you up and running in minutes.
However, if your opener is making strange noises, refuses to program, or needs a complete replacement, let the local experts handle the heavy lifting. AA Garage Door Repair Services has proudly served homeowners across St. Paul, the Twin Cities metro, and Western Wisconsin since 2001. We provide fast, reliable 24/7 emergency service with completely transparent pricing.
Ready to upgrade your garage? You can easily schedule professional garage door replacement online or find local garage door services in Hudson WI to assist you with any residential needs.