Why Managing Multiple Garage Door Remotes Is Easier Than You Think
How to program multiple garage door openers is simpler than most homeowners expect — and you can do it in under five minutes without calling a technician.
Here’s the quick answer:
- Locate the Learn button on your opener’s motor unit (usually on the back or side).
- Press and release the Learn button to enter programming mode.
- Press and hold the button on your first remote until the opener’s light flashes or you hear two clicks.
- Repeat immediately for each additional remote — without pressing Learn again between them.
- Test every remote to confirm all are working.
The most common mistake homeowners make is pressing the Learn button between each remote — which erases the previous one instead of adding a new one.
Most modern garage door openers support between 8 and 16 remotes simultaneously, and the programming window stays open for about 30 seconds after you press the Learn button. That’s enough time to pair several remotes back to back.
If you have a multi-car household in the Twin Cities, getting every driver their own working remote is a straightforward task. Our professional garage door openers service is always available if you run into a snag, but for most homeowners, this is a solid DIY job.
I’m David Sands, owner of AA Garage Door LLC, and after more than 23 years helping Wisconsin and Minnesota homeowners troubleshoot and manage their opener systems, I’ve seen almost every multi-remote programming issue there is — including the technology conflicts and compatibility mismatches that cause the most frustration when learning how to program multiple garage door openers. The steps in this guide reflect what actually works in the field, not just what the manuals say.
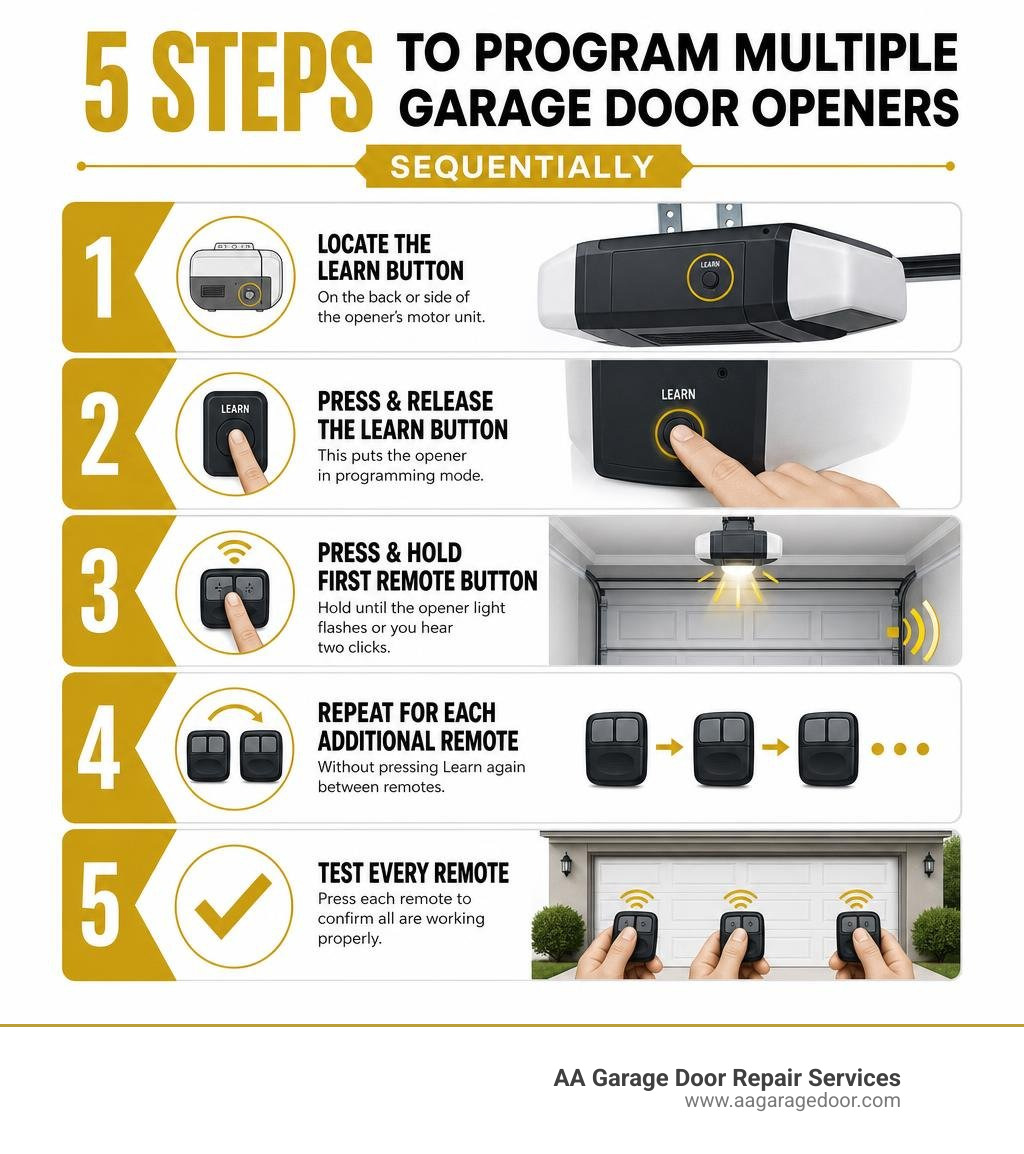
Learn more about how to program multiple garage door openers:
Why You Need to Know How to Program Multiple Garage Door Openers
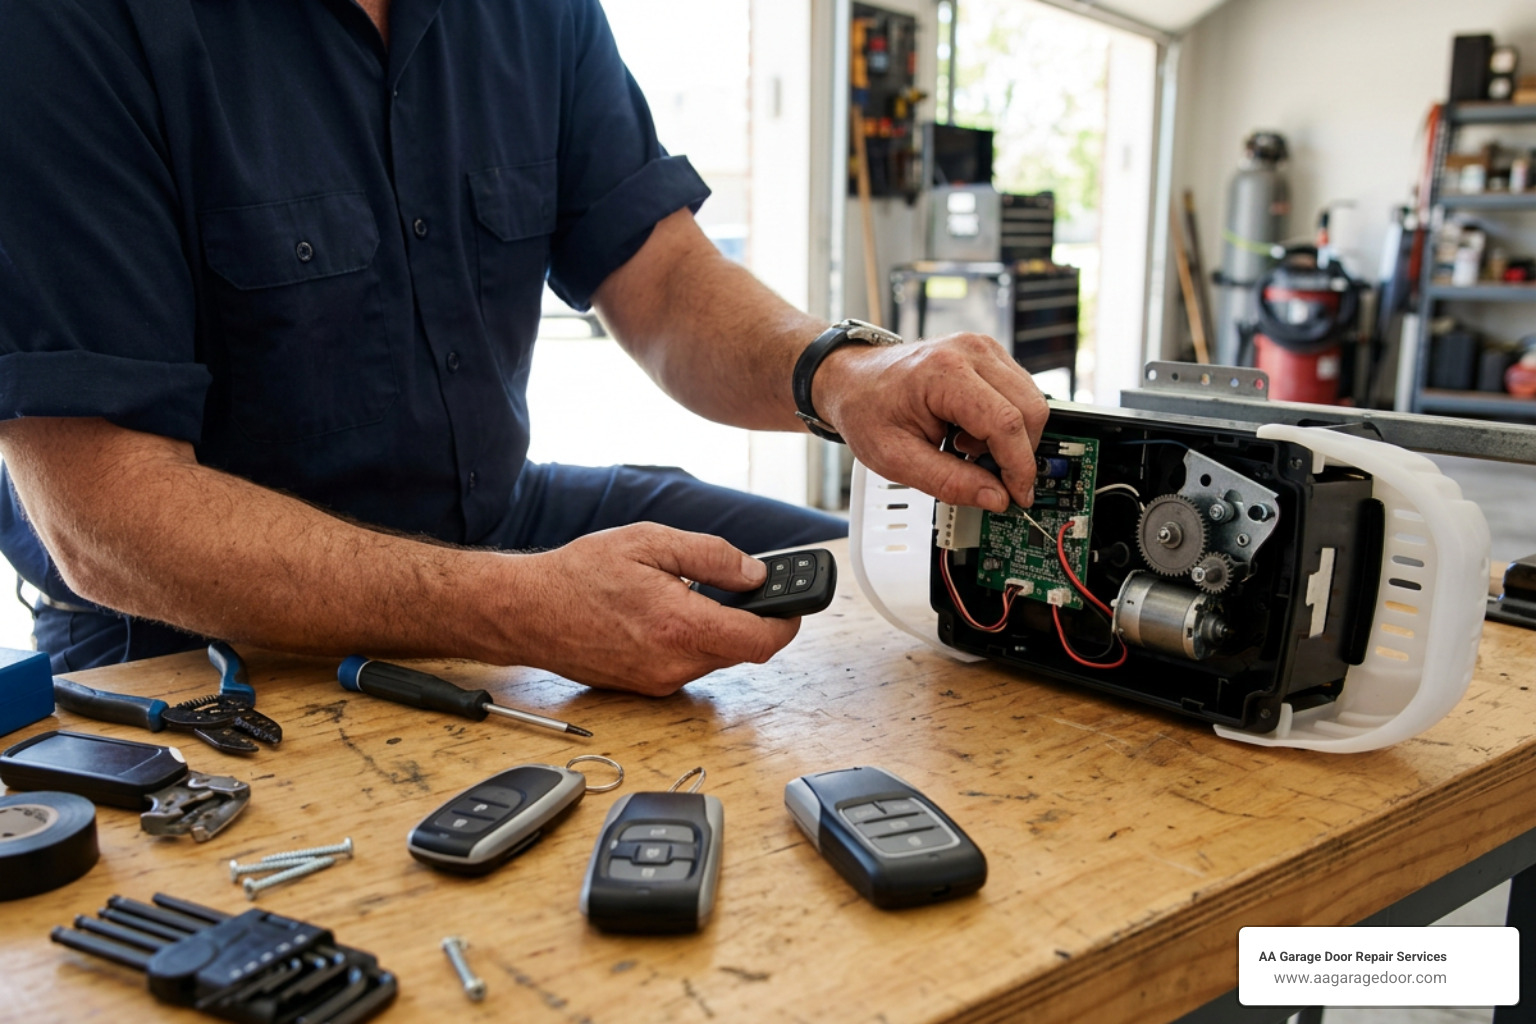
In a busy household, relying on a single remote control is a recipe for daily frustration. Whether you are managing a multi-car garage, coordinating schedules for teenage drivers, or setting up backup access for trusted neighbors, configuring multiple remotes ensures seamless household access.
When everyone has their own dedicated device, you eliminate the hassle of passing a single clicker around or leaving keys under the doormat. Additionally, programming a spare remote or integrating your vehicle’s built-in HomeLink system provides reliable emergency access if your primary remote’s battery dies or a device is misplaced. This is also highly relevant for homeowners who want to utilize multi-button remotes to control distinct doors on the same property. Understanding this process keeps your home secure, organized, and running efficiently.
Understanding Garage Door Opener Technologies and Compatibility
Before climbing up a ladder to program your devices, you need to understand the technology powering your garage door opener. Modern garage door systems operate on specific radio frequencies—typically 300 MHz, 310 MHz, 315 MHz, or 390 MHz—and use encryption to protect your home from unauthorized entry.
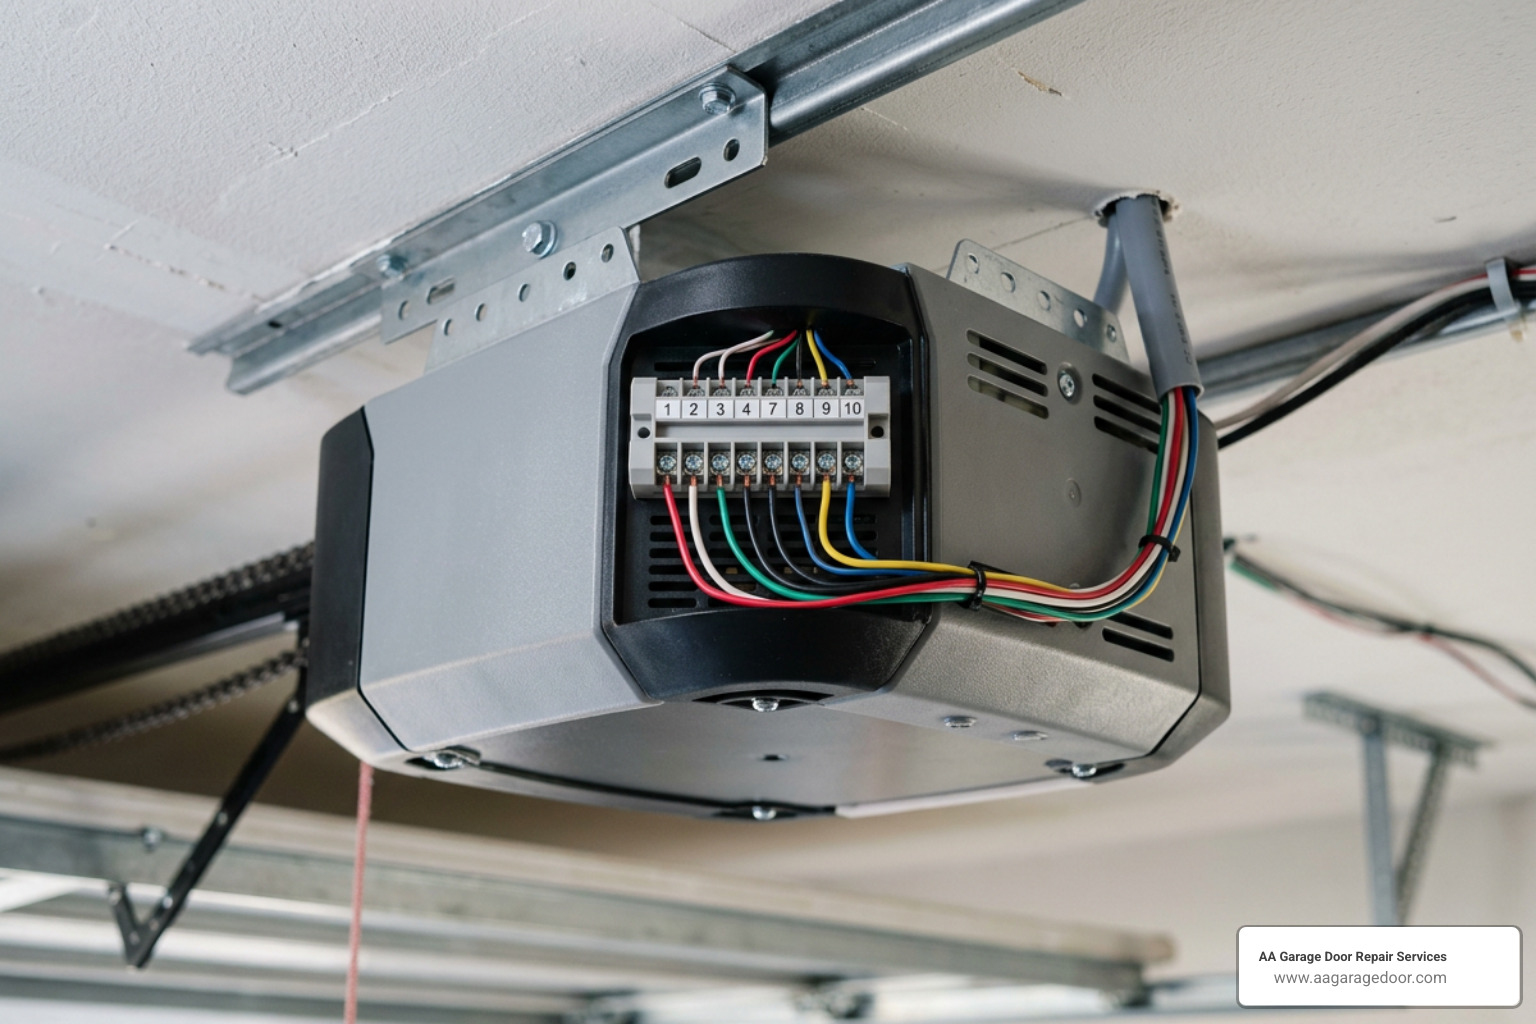
In the early days of automatic openers, systems used physical DIP switches (small manual sliders) to set a permanent, fixed code. Modern systems manufactured over the last 20 years utilize rolling-code technology. Every time you press your remote button, the system generates a brand-new security code out of billions of possibilities, rendering “code grabbers” useless.
When configuring multiple remotes, you must ensure they use compatible communication protocols. For instance, the Chamberlain remote programming guide emphasizes that remotes and openers must share matching frequencies and security versions to pair successfully.
Billion Code vs. Security+ Technologies
One of the most frequent roadblocks homeowners encounter when setting up multiple remotes is a technology conflict between “billion code” and “Security+” protocols.
Billion code is an older, fixed rolling-code system, whereas Security+ (and the newer Security+ 2.0) represents modern, multi-frequency rolling-code encryption. While some legacy openers feature a red or orange Learn button that is technically compatible with both billion code and Security+ remotes, these two technologies cannot coexist on the same receiver.
| Feature | Billion Code Technology | Security+ / Security+ 2.0 |
|---|---|---|
| Security Level | Moderate (Fixed/Early Rolling) | High (Advanced Rolling Code) |
| Frequencies Used | Single Frequency (usually 390 MHz) | Multi-Frequency (310, 315, 390 MHz) |
| Typical Learn Button Color | Green or Red/Orange | Purple, Red/Orange, or Yellow |
| Coexistence | Cannot coexist with Security+ | Cannot coexist with Billion Code |
If you attempt to program a billion code remote and a Security+ remote to the same motor unit, the system will accept whichever one you program last and immediately erase the other. To avoid this technology conflict, make sure all the remotes you intend to use utilize the exact same encryption standard.
Verifying Remote and Opener Compatibility
To determine compatibility before purchasing new accessories, look at the color of the Learn button on your overhead motor unit. This color serves as an industry-standard indicator for your system’s frequency and encryption type:
- Green Button: Uses 390 MHz frequency with billion code technology.
- Red/Orange Button: Uses 390 MHz frequency with Security+ rolling codes.
- Purple Button: Uses 315 MHz frequency with Security+ 315 MHz technology.
- Yellow Button: Uses 310, 315, and 390 MHz frequencies with Security+ 2.0 technology.
Major brands like LiftMaster, Chamberlain, and Craftsman share interchangeable technologies under the Chamberlain Group family, meaning a LiftMaster remote with a purple button will work seamlessly on a Chamberlain opener with a purple Learn button. Genie systems post-1996 use their proprietary Intellicode technology, which operates similarly but is incompatible with LiftMaster/Chamberlain systems unless you use a high-quality universal remote. For a deeper dive into choosing the right hardware, consult our garage door remote complete guide.
How to Program Multiple Garage Door Openers: The Step-by-Step Guide
Now that you have confirmed your remotes are compatible with your overhead unit, you are ready to begin the programming process.
Before starting, ensure your garage door is fully closed and clear of any obstructions. It is also helpful to have all your remotes gathered in one place and fitted with fresh batteries. If you are using universal remotes, refer to the Clopay remote programming instructions to set the remote’s internal brand switch before syncing it with the opener.
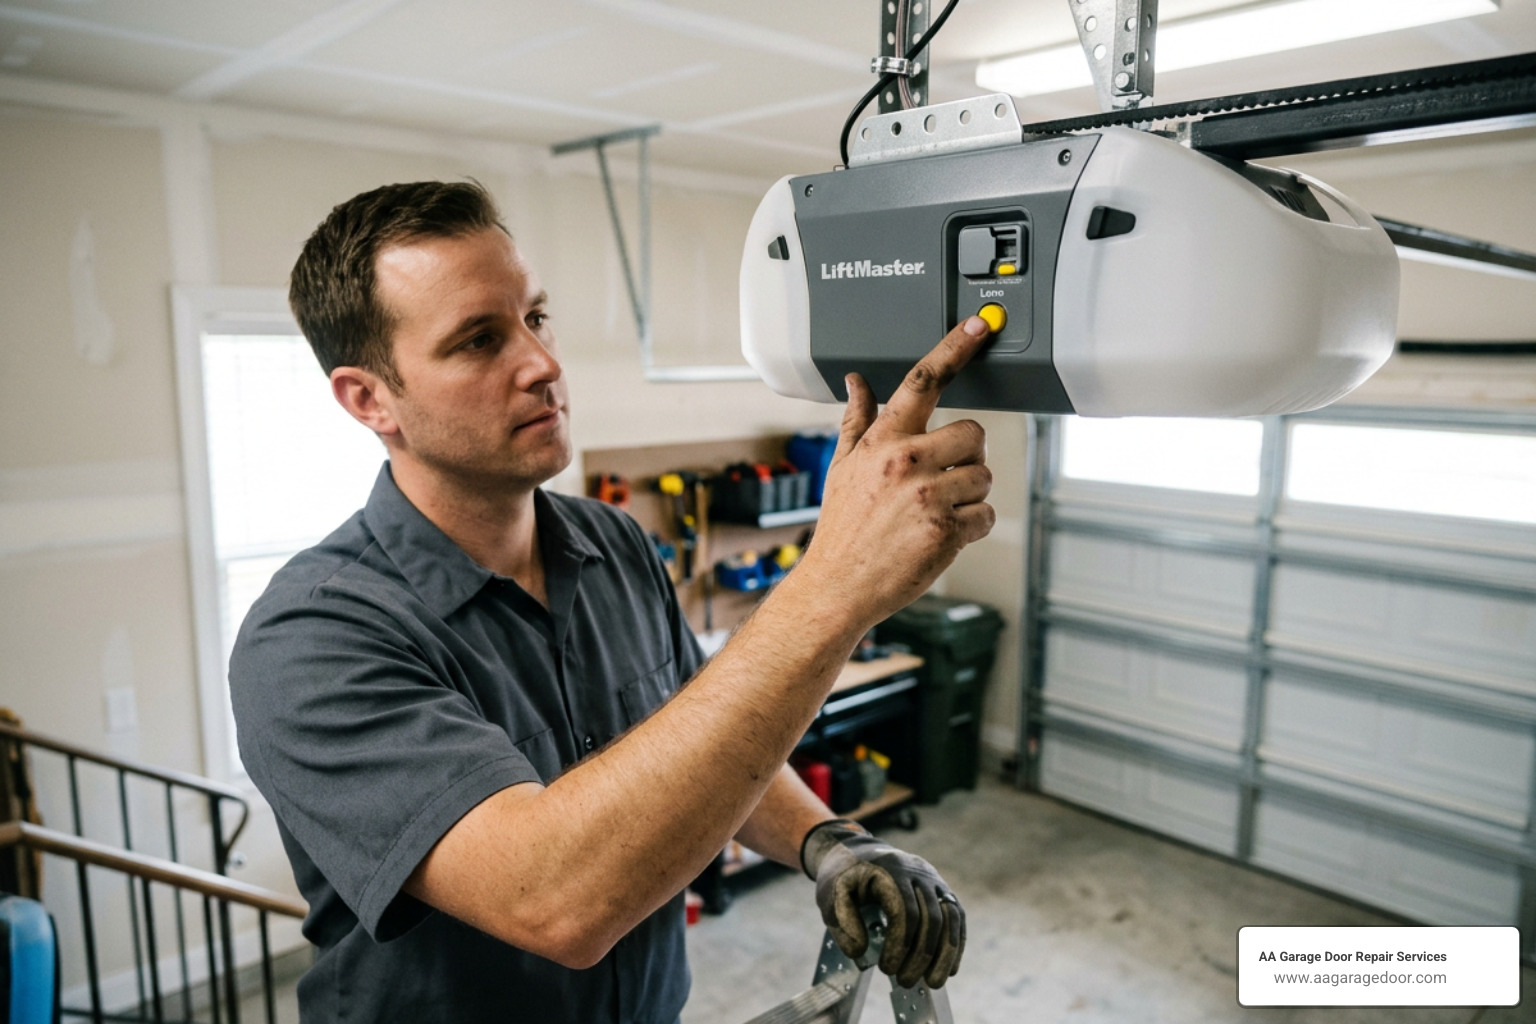
Step 1: Locate the Learn Button on the Motor Unit
To begin, place a sturdy ladder underneath your garage door opener motor unit. Locate the color-coded Learn button, which is typically found on the back or side panel of the motor housing, often hidden behind a light lens cover.
You will also see a thin insulated antenna wire hanging straight down from the unit; the Learn button is always positioned close to this antenna.
Step 2: Clear the Opener Memory (If Necessary)
If you are dealing with a system that has inherited old codes, or if you have lost a remote in the past, it is best practice to perform a system reset.
To clear the memory, press and hold the Learn button for approximately 6 to 10 seconds. The indicator LED light next to the button will glow steadily and then turn off. Once the light goes out, all previous codes, remotes, keypads, and vehicle links are erased from the opener’s memory, giving you a clean slate.
Step 3: Put the Opener into Learn Mode
To put the opener into active programming mode, press and release the Learn button quickly. Do not hold the button down, as doing so will trigger a system reset.
Once released, the indicator LED light next to the button will light up and glow steadily. This activates a 30-to-60-second programming window during which the receiver is listening for a signal from your remotes.
Step 4: Program the First Remote Control
While the indicator light on the motor unit is glowing, step down from the ladder and stand a few feet away from the unit with your first remote control. Press and hold the button you wish to use to operate the door.
Keep the button pressed down until the overhead motor unit’s light bulbs flash twice or you hear two distinct click sounds. This confirmation signal indicates that the opener has successfully paired with the remote.
Step 5: Program Additional Remotes Sequentially
To program your second and third remotes, immediately repeat Step 4 for each device within the remaining programming window. You do not need to climb back up and press the Learn button again unless the indicator light on the motor unit has already turned off.
If the light has timed out, simply press and release the Learn button once more to reactivate the 30-second window, then program the next remote. Once all remotes are paired, wait for the motor unit’s LED light to turn off naturally, then test each remote individually. For more details on maintaining this connection, read our article on how to sync a garage door remote.
Programming Keypads and Accessories for Multi-Door Systems
If you have a wireless keypad or keyless entry pad mounted outside your garage, you can program it alongside your handheld remotes. Keypads are highly convenient, letting you access your home without carrying physical keys or clickers.
For systems controlling multiple garage doors, you can configure a single keypad to operate up to three separate openers. According to the Genie keypad programming for multiple doors documentation, this is accomplished by setting a master PIN and then configuring the keypad into “multi-door mode.”
- Enter your master PIN and press the Program button twice.
- Enter the total number of doors you wish to control (e.g., 2 or 3) and press Program.
- Press the Learn button on your first garage door opener.
- On the keypad, enter your PIN, press the Up/Down key, press 1 (for door one), and press Up/Down again.
- Repeat this pairing sequence on the second opener, assigning it as door 2.
Troubleshooting Multi-Remote Programming Conflicts
Even with careful preparation, programming multiple remotes can occasionally present challenges. If you find that one of your remotes suddenly stops working or refuses to pair, the issue is usually related to radio frequency interference or minor programming errors.
Troubleshooting Tips When Learning How to Program Multiple Garage Door Openers
If you experience range issues or intermittent operation, check the following common culprits:
- LED Bulb Interference: Standard household LED bulbs installed inside or near the garage door opener can emit electromagnetic noise in the 300-400 MHz range. This noise can block the signal from your remote control. To resolve this, replace your bulbs with shielded, garage-door-compatible LED bulbs.
- Antenna Positioning: The thin wire antenna hanging from your motor unit should hang straight down. If it is coiled up, cut, or tucked inside the motor housing, your remote’s range can be reduced by up to 50%.
- Reverted Remotes: Occasionally, an older remote may fail to transmit its rolling code and revert to billion code technology. If this happens, it will conflict with your other Security+ remotes. You can identify a reverted remote by testing your system with a wireless keypad or a third remote; if the keypad works but programming the problematic remote disables everything else, that remote has reverted and should be replaced.
For official manufacturer guidelines on resolving these signal issues, you can review the Overhead Door programming instructions.
What to Do When One Remote Erases Another
If programming a second remote causes your first remote to stop working, you are likely dealing with a sequential programming failure. This occurs when the Learn button is held down too long between remotes, causing the system to perform a memory wipe instead of adding a new device.
To fix this, perform a full memory reset by holding the Learn button down for 10 seconds until the LED goes out. Once the memory is clear, press the Learn button once quickly, and then program all your remotes in rapid succession. For a detailed breakdown of this reset process, check out our guide on how to program a new garage door remote.
Frequently Asked Questions About Programming Multiple Remotes
How many remotes can be programmed to a single garage door opener?
Most modern garage door openers can store between 8 and 16 remote control codes in their receiver memory. Older legacy systems manufactured before 1998 typically have a smaller memory capacity, supporting between 4 and 8 remotes simultaneously.
Why does programming a second remote disable the first one?
This typically happens because the Learn button was held down too long during the second programming attempt, which inadvertently triggered a full memory reset. It can also occur on older systems if you do not program the remotes sequentially within the same active learning window.
How often should I replace the batteries in my garage door remotes?
We recommend replacing your remote batteries (typically CR2032 or similar lithium coin cells) every 1 to 2 years as preventative maintenance. Replacing them regularly prevents battery acid corrosion and ensures consistent range and performance.
Conclusion
Learning how to program multiple garage door openers is a simple project that can dramatically improve your household’s daily convenience and security. By following the correct sequential programming steps and verifying compatibility, you can easily manage access for every family member.
If you encounter persistent signal interference, require a system upgrade, or need professional assistance, AA Garage Door Repair Services is here to help. We have provided reliable garage door installation, maintenance, and garage door opener repair across the Twin Cities and Western Wisconsin since 2001. We offer 24/7 emergency service, transparent pricing, and a satisfaction guarantee.
Whether you need a quick tune-up or a comprehensive Apple Valley garage door repair solution, our team is ready to serve you. Contact us today at (651) 797-8446 to schedule an appointment!