Why Knowing How to Reprogram a Garage Door Keypad Can Save You Time and Money
Learning how to reprogram a garage door keypad is one of the most useful things you can do as a homeowner — and in most cases, it takes under five minutes. If you need reliable assistance with your home’s access points, you can always turn to AA Garage Door’s professional repair services for expert support.
Here’s the quick version:
- Find the Learn button on your garage door opener motor unit (usually under the light cover or on the back panel).
- Press and hold it for 10 seconds to erase existing codes. The indicator light will blink or turn off.
- Press the Learn button once more to enter programming mode. You have 30 seconds to complete the next step.
- Enter your new PIN on the keypad and press Enter (or the UP/DOWN button, depending on your model).
- Test the new code by entering it to open and close the door.
That’s the core process for most modern garage door opener systems. The exact steps vary by brand and model — and that’s what the rest of this guide covers in detail.
Keypads stop responding for a lot of reasons — dead batteries, a forgotten PIN, a new home purchase, or a shared code that needs to be changed for security. Whatever brought you here, you’re in the right place.
I’m David Sands, owner of AA Garage Door LLC, and I’ve spent over 23 years diagnosing and repairing opener systems across Wisconsin and Minnesota, including the Twin Cities metro. I’ve personally walked hundreds of homeowners through how to reprogram a garage door keypad across every major brand — from Genie to LiftMaster to Craftsman. This guide covers everything you need, step by step.

Understanding Your Garage Door Keypad System
Before climbing up a ladder, it helps to understand what kind of system is mounted to your wall. If you need help with your home’s entry systems, our team at AA Garage Door Repair Services is always ready to assist.
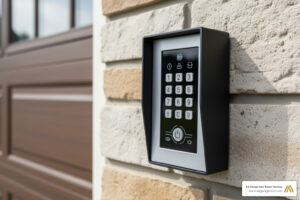
There are two primary styles of keypads: wired and wireless.
- Wired Keypads: Popular on older systems, these are physically connected to the indoor wall button panel. The key difference is that programming a wired keypad occurs at the indoor wall control board itself rather than at the overhead motor unit. They require a battery to retain their memory, meaning if the battery dies, the code is often lost and must be reset.
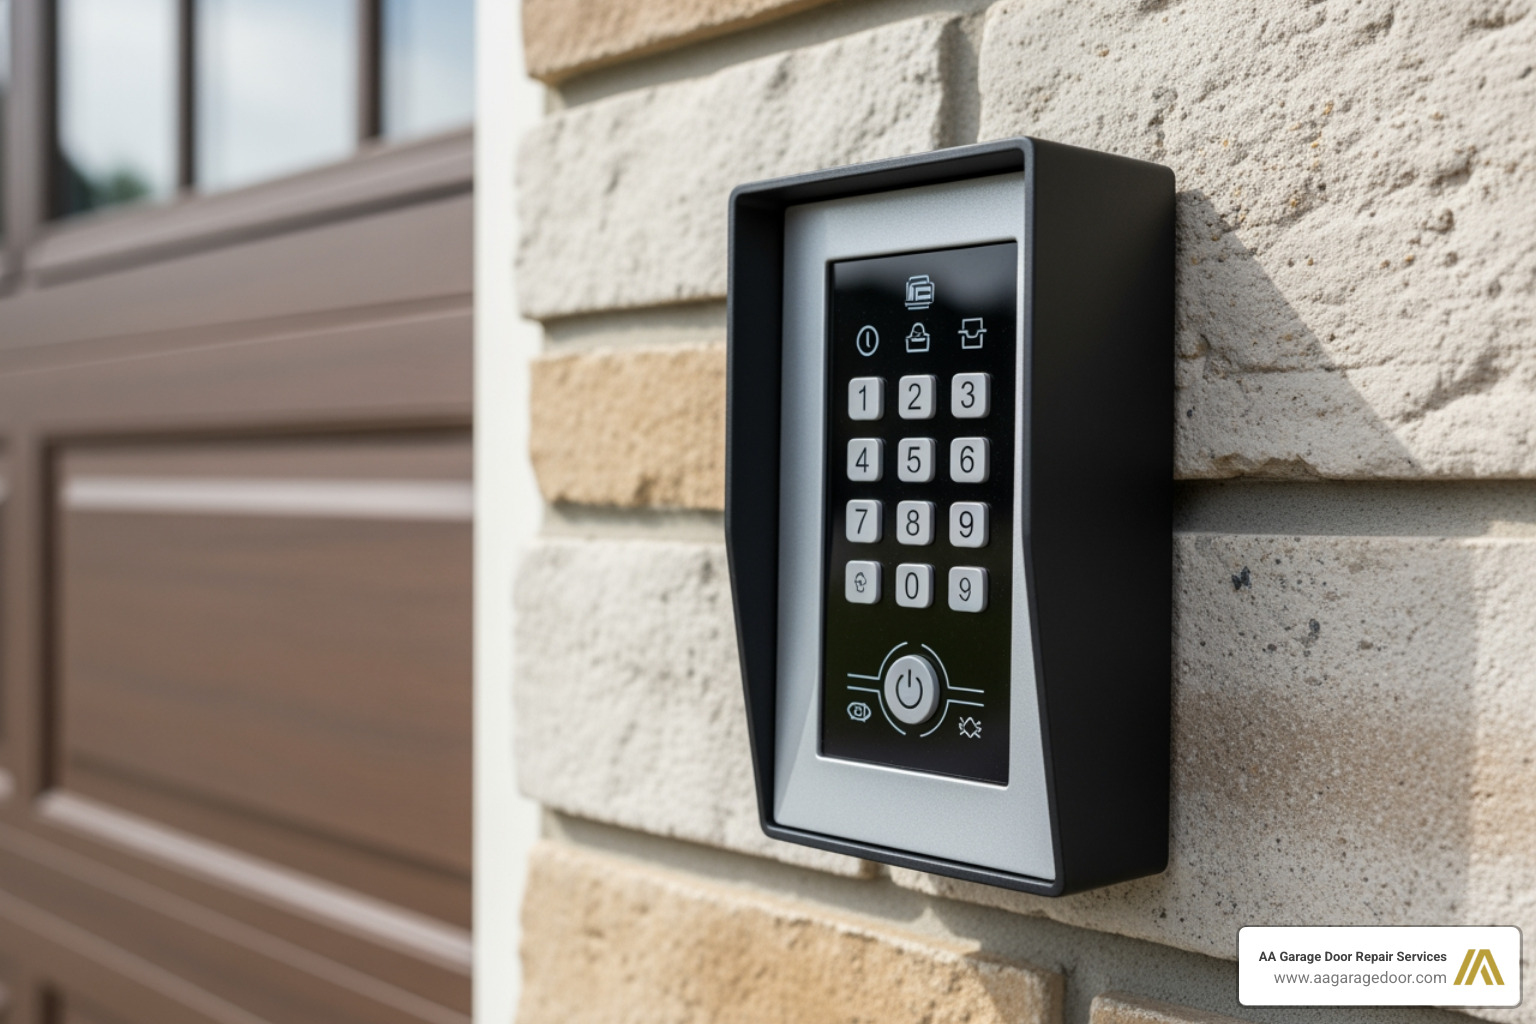
- Wireless Keypads: These are the modern standard. They use radio frequencies (RF) to send a signal directly to the overhead opener unit. When you program a wireless keypad, you are syncing the keypad’s signal to the receiver inside the opener.
To make things easy, check out this Garage Door Keypad Complete Guide to learn more about how these signals connect. For a broader look at the mechanics, you can also read this article on how to reprogram a garage door opener keypad – Engineer Fix.
Here is a quick comparison of the two programming methods:
| Feature | Wired Keypads | Wireless Keypads |
|---|---|---|
| Programming Location | Indoor wall panel circuit board | Overhead motor unit (Learn button) |
| Primary Power Source | Low-voltage wiring + backup battery | 9-Volt, AA, or AAA batteries |
| Security Technology | Fixed code | Rolling code technology |
| Programming Window | No strict time limit | Strict 30-second window |
Identifying Your Opener Brand and Model
To find the correct programming sequence, you must identify your garage door opener’s brand and manufacturing date. Look for a metal or paper label affixed to the side or back of the overhead motor housing. This label lists the model number, serial number, and manufacturing date.
The age of your opener dictates the type of security technology it uses. Systems manufactured after 1993 standardly use rolling code technology (which changes the transmitted code automatically after every single use to prevent code grabbing). Systems built before 1993 rely on static codes set via physical switches.
Locating the Learn or Program Button
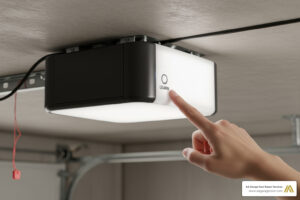
For wireless systems, the “Learn” or “Program” button is the brain of the operation. It is typically located on the back panel of the overhead motor unit, often hidden behind a light cover or near the hanging antenna wire.
Manufacturers color-code these buttons to indicate the specific radio frequency and security generation of the unit:
- Yellow: Security+ 2.0 (310/390 MHz)
- Purple: Security+ 315 MHz
- Orange/Red: Security+ 390 MHz
- Green: Billion Code 390 MHz
Knowing your button’s color is critical because universal keypads require specific brand-matching codes based on these colors during setup.
How to Reprogram a Garage Door Keypad: Step-by-Step Guide

Now that you have identified your system, let’s walk through the actual programming process. Modern systems use a tight 30-second programming window. Once you press the Learn button on your overhead opener, you must enter your PIN on the exterior keypad within 30 seconds, or the system will time out.
For a comprehensive overview of general programming, check out the Garage Keypad Programming Guide or read this deep dive on how to reprogram garage door opener. For extra context, refer to Reprogramming Your Garage Door Keypad: A Complete Guide | Armadillo.
How to Reprogram a Garage Door Keypad for Genie Openers
Genie openers use Intellicode® rolling code technology. To program a modern Genie GK Wireless Keypad, follow these steps:
- Initialize the Keypad: Ensure your keypad has a fresh battery. Press the keys 3-5-7 in order, then press the PROGRAM button.
- Enter Your New PIN: Type in your chosen 3-to-8 digit PIN, then press the PROGRAM button. The keypad backlight will flash and then turn off, confirming the PIN is saved.
- Set the Opener to Learn Mode: Go to your Genie overhead motor unit. Press and hold the PROGRAM button until the round LED turns blue, then release it. The long LED will begin flashing purple.
- Sync the Keypad: Walk to your exterior keypad. Enter your new PIN, then press the UP/DOWN key 3 to 4 times slowly until the garage door starts moving.
For older Genie models or more specific scenarios, you can refer to the Garage Keypad Reprogram Guide or the official Genie Garage Door Opener Wireless Keypad Programming Instructions – The Genie Company. For a complete breakdown of the 9 easy steps for Genie systems, read this guide on how to reprogram a Genie keypad | 9 Easy Steps (2026).
How to Reprogram a Garage Door Keypad for LiftMaster, Chamberlain, and Craftsman
LiftMaster, Chamberlain, and Craftsman openers are manufactured by the Chamberlain Group and share identical programming steps. Most of these models use Security+ or Security+ 2.0 technology.
- Locate the Learn Button: Press and release the colored Learn button on your overhead motor unit once. The adjacent LED indicator will glow steadily for 30 seconds.
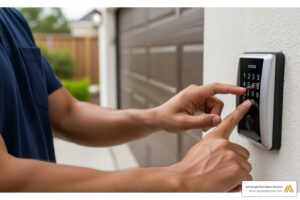
- Enter the PIN: Within that 30-second window, walk to your keypad outside. Carefully enter your desired 4-digit PIN.
- Complete Syncing: Press and hold the ENTER button on the keypad. Release the button when the overhead motor unit light bulbs blink or you hear two clicks. This indicates the keypad has successfully synced.
- Test: Wait for the lights to stop blinking, then enter your PIN and press ENTER to confirm the door moves.
For a detailed walkthrough on changing these codes safely, view our resource on Changing the Garage Door Opener Code or refer to the manufacturer’s guide on how to add, program or change a keyless entry PIN.
Resetting and Clearing Keypad Memory
If you have recently moved into a new home in St. Paul or Woodbury, or if you suspect your code has been compromised, you should clear the opener’s memory entirely before programming a new PIN.
- Clearing Modern Openers: To erase all remotes and keypads from an opener’s memory, press and hold the colored Learn button on the overhead motor unit for approximately 10 seconds. The indicator LED will turn on and then turn off (or blink). Once it turns off, all previous codes are erased. You will need to reprogram any handheld remotes alongside your keypad.
- DIP Switch Systems (Pre-1993): If your opener was manufactured before 1993, it does not have a Learn button. Instead, it uses physical DIP switches (usually 8 to 12 small switches) inside both the motor unit and the keypad. To change the code on a DIP switch system, you must physically slide the switches to create a new pattern. The switch pattern on the keypad must match the switch pattern on the overhead motor unit exactly.
For more details on resetting universal keypads, check out our Universal Garage Door Keypad Reset Guide or read the Universal Garage Door Keypad Complete Manual. If you are using a universal model, you can also consult the official Universal Keypad Instructions.
Troubleshooting and Maintenance Tips

Even with the correct instructions, programming can occasionally go sideways. Here are the most common issues and how to fix them:
- The 30-Second Timeout: If the keypad fails to sync, you likely exceeded the 30-second programming window. Have a helper stand by the ladder to press the Learn button so you can enter the PIN immediately.
- Dead or Weak Batteries: A weak battery may have enough power to light up the keypad’s backlight but not enough power to transmit a strong RF signal to the motor unit. Always install a fresh, high-quality 9V battery before programming.
- Signal Interference: Metal door frames, nearby radio towers, or certain LED light bulbs installed inside the garage door opener can cause signal interference. If your keypad only works from a few inches away, try replacing your opener’s LED bulbs with shielded, garage-door-safe LED bulbs.
- Multi-Door Programming: Many modern keypads allow you to control up to three different doors. To set this up, you must program each door individually using the same PIN but assigning a different door number (e.g., entering your PIN, pressing the door number 2, and then pressing the Learn button on the second opener).
- Temporary PINs: If you need to give access to a contractor or house sitter, many keypads allow you to program a temporary PIN. This code will only function for a set number of hours or a specific number of door cycles before automatically expiring.
To configure these advanced features, read our guide on how to Set Up Garage Door Keypad. For additional universal setup tips, check out the Ultimate Program Universal Garage Door Keypad Guide, the quick Program Universal Garage Door Keypad manual, or the Universal Garage Door Opener Keypad Guide. If you are starting fresh with a brand new system, our Garage Door Opener Programming Guide or the Garage Door Keypad Programming overview will help you get up and running smoothly.
Frequently Asked Questions about Keypad Programming
Why is my garage door keypad not responding after reprogramming?
If your keypad won’t respond after programming, the most common cause is a weak battery or a timing error during the setup process. Try replacing the battery with a brand-new 9-volt alkaline battery, clear the opener’s memory, and carefully repeat the programming steps, ensuring you complete the sequence within the 30-second window.
How often should I replace my garage door keypad battery?
You should replace your garage door keypad battery once every year as part of regular home maintenance. Extreme cold temperatures in Minnesota and Wisconsin winters can rapidly drain battery voltage, so we recommend installing a fresh battery every autumn before the freezing weather sets in.
Can I program multiple garage doors to a single keypad?
Yes. Most modern wireless keypads support multi-door programming, allowing you to operate up to three separate garage door openers. You will use the same master PIN for all doors, but you must program each overhead motor unit individually by assigning a specific door number (1, 2, or 3) on the keypad during the sync process.
Conclusion
Reprogramming your garage door keypad is a fast, straightforward DIY project that improves your home’s security and convenience. However, if you have an older system, physical damage, or a persistent wiring issue that won’t go away, it might be time to call in the professionals.
At AA Garage Door Repair Services, we have provided fast, reliable garage door installation, maintenance, and repair since 2001. We proudly serve homeowners across St. Paul, Woodbury, Baldwin, Hudson, and the surrounding Twin Cities metro area. Whether you need a simple keypad replacement, Apple Valley garage door repair, or expert garage door opener services, our local technicians are available 24/7 with transparent pricing and a satisfaction guarantee.
Don’t let a stubborn keypad lock you out. Call us today at 651-702-1420 or schedule an appointment online with our team!