Why Resetting Your Garage Door Code Matters More Than You Think
Knowing how to reset the garage door code is one of the most practical — and most overlooked — home security tasks you can do. To ensure your home remains secure, you can schedule professional garage door services or follow our simple guide below. Most homeowners never think about it until something goes wrong: a lost remote, a new neighbor who knows the old PIN, or a move into a previously owned home.
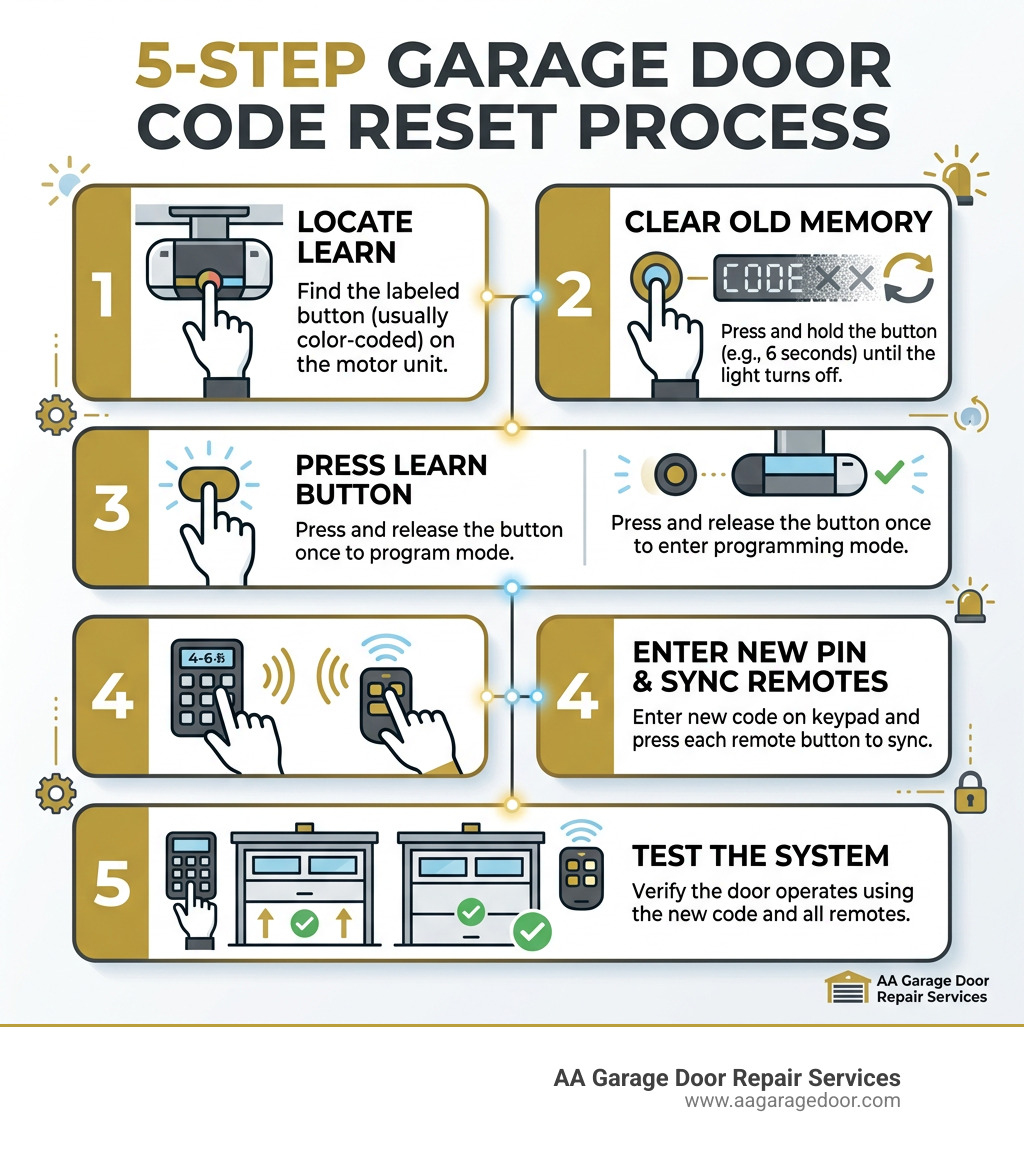
Here’s how to reset your garage door code in 5 steps:
- Locate the Learn button on your garage door opener motor unit (usually on the back or side panel)
- Press and hold the Learn button for 6 seconds until the indicator light turns off — this clears all old codes
- Press the Learn button once to enter programming mode (you have 30 seconds)
- Enter your new 4–6 digit PIN on the keypad and press Enter or Program to save it
- Test the new code by entering it on the keypad and confirming the door opens and closes
The process takes under five minutes in most cases. You don’t need any special tools — just a stepladder to reach the motor unit and a new code you’ll actually remember.
Your garage door is one of the primary entry points into your home. With over four out of five U.S. homes having a garage, securing that access point is just as important as locking your front door. Yet many homeowners go years — sometimes decades — without ever changing their code. That’s a real security risk, especially if you’ve recently moved, had contractors in your home, or lost a remote.
As the owner of AA Garage Door Repair Services, I’m David Sands, and over more than 23 years of servicing garage door opener systems across Wisconsin and Minnesota, I’ve walked hundreds of homeowners through exactly how to reset the garage door code on every major brand. In the steps and brand-specific sections below, I’ll share everything you need to do it right the first time — and what to watch out for if something doesn’t work.
How to reset the garage door code terminology:
- how to configure garage remote
- how to program a garage remote control
- how to sync garage door remote control
Why You Need to Know How to Reset the Garage Door Code
Your garage door is more than just a convenience; it is the largest physical entry point to your home. While we carefully change our front door locks when we move or lose a key, we often completely neglect the security of our overhead doors.
There are several critical scenarios where knowing how to reset the garage door code is essential for your home’s safety:
- Moving Into a New Home: If you are among the millions of families purchasing an existing home this year, resetting your opener memory should be at the absolute top of your moving checklist. The previous owners, their extended family, neighbors, real estate agents, and past service contractors may all still have the old keypad PIN or have active remotes programmed to your motor.
- Lost or Stolen Remotes: If a handheld remote goes missing from your car or driveway, your entire home is vulnerable. Performing a complete system reset wipes that lost remote from the opener’s memory, rendering it completely useless to an intruder.
- Revoking Temporary Access: If you recently gave your keypad code to home painters, carpet cleaners, or dog walkers, it is highly recommended to change the code once their work is completed.
- Suspicious Activity or Preventative Maintenance: Over time, keypad buttons can wear down physically. If you have used the same 4-digit code for five years, the specific numbers on your keypad might look worn or shiny, making it incredibly easy for a bad actor to guess your combination. We recommend proactively changing the garage door opener code every 6 to 12 months to prevent code prediction.
Understanding the difference between resetting and reprogramming is key. Reprogramming simply updates the code on your keypad if you already know the old PIN. A true reset, however, clears the entire motherboard memory of the opener unit. This deletes all paired keypads, handheld remotes, and vehicle integrations, giving you a completely secure, blank slate.
Step-by-Step Guide: How to Reset Your Garage Door Code
Before you begin, safety must come first. Ensure your garage door is fully closed and the area around the tracks is completely clear of children, pets, and vehicles. Since you will be working near the motor unit, always use a stable, rubber-footed stepladder placed on flat ground. Never stand on the top rung of a ladder.
Follow these five comprehensive steps to clear your old codes and program a fresh, secure entry PIN.
Step 1: Locate the Learn Button on Your Opener
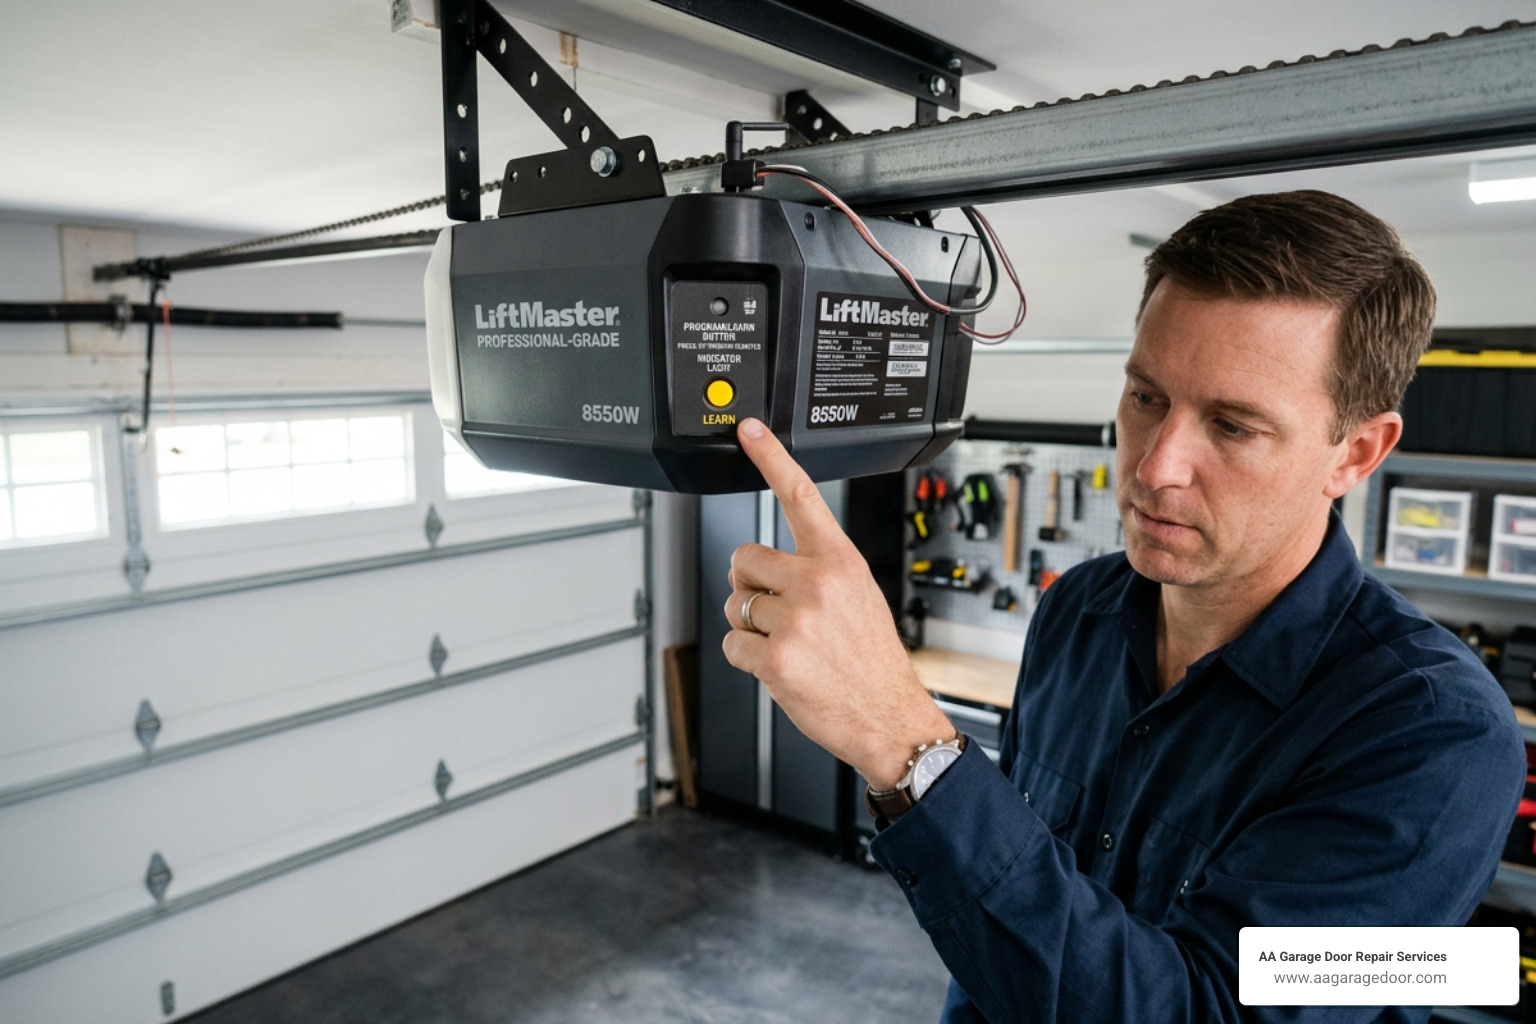
To start the reset process, you must locate the programming button on the main overhead motor unit hanging from your garage ceiling. Manufacturers label this button differently depending on the brand and production year, but it is most commonly called the “Learn”, “Program”, or “Reset” button.
To find it:
- Locate the light cover or control panel cover on the back or side of the motor unit.
- Remove or swing open the plastic light lens cover to expose the control board.
- Look for a small, brightly colored button (it may be yellow, purple, red, orange, or green) often situated next to a small LED indicator light.
If you are having trouble identifying your specific model’s layout, consult our Universal Garage Door Keypad Reset Guide for detailed visual maps of various opener configurations.
Step 2: Clear the Opener’s Memory
Once you have located the Learn button, the next step is to perform a factory reset on the motor unit to wipe all existing codes from its memory.
To clear the memory:
- Press and hold the colored Learn button down firmly.
- Continue holding the button for approximately 6 to 10 seconds.
- Watch the adjacent LED indicator light. Once the light blinks rapidly or turns off completely, release the button.
At this point, the memory is completely cleared. Any old keypad codes, handheld remotes, or vehicle links will no longer operate your door. For a detailed breakdown of how this memory wipe protects your home from unauthorized access, refer to the guide on How to Reset Your Garage Door Code Safely and Fast | Armadillo.
Step 3: How to Reset the Garage Door Code on Your Keypad
Now that the opener’s memory is blank, you have a 30-second window to pair your new keypad code to the motor unit.
To program your new PIN:
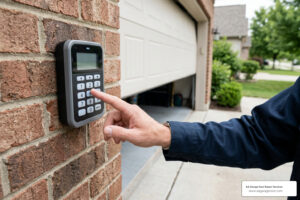
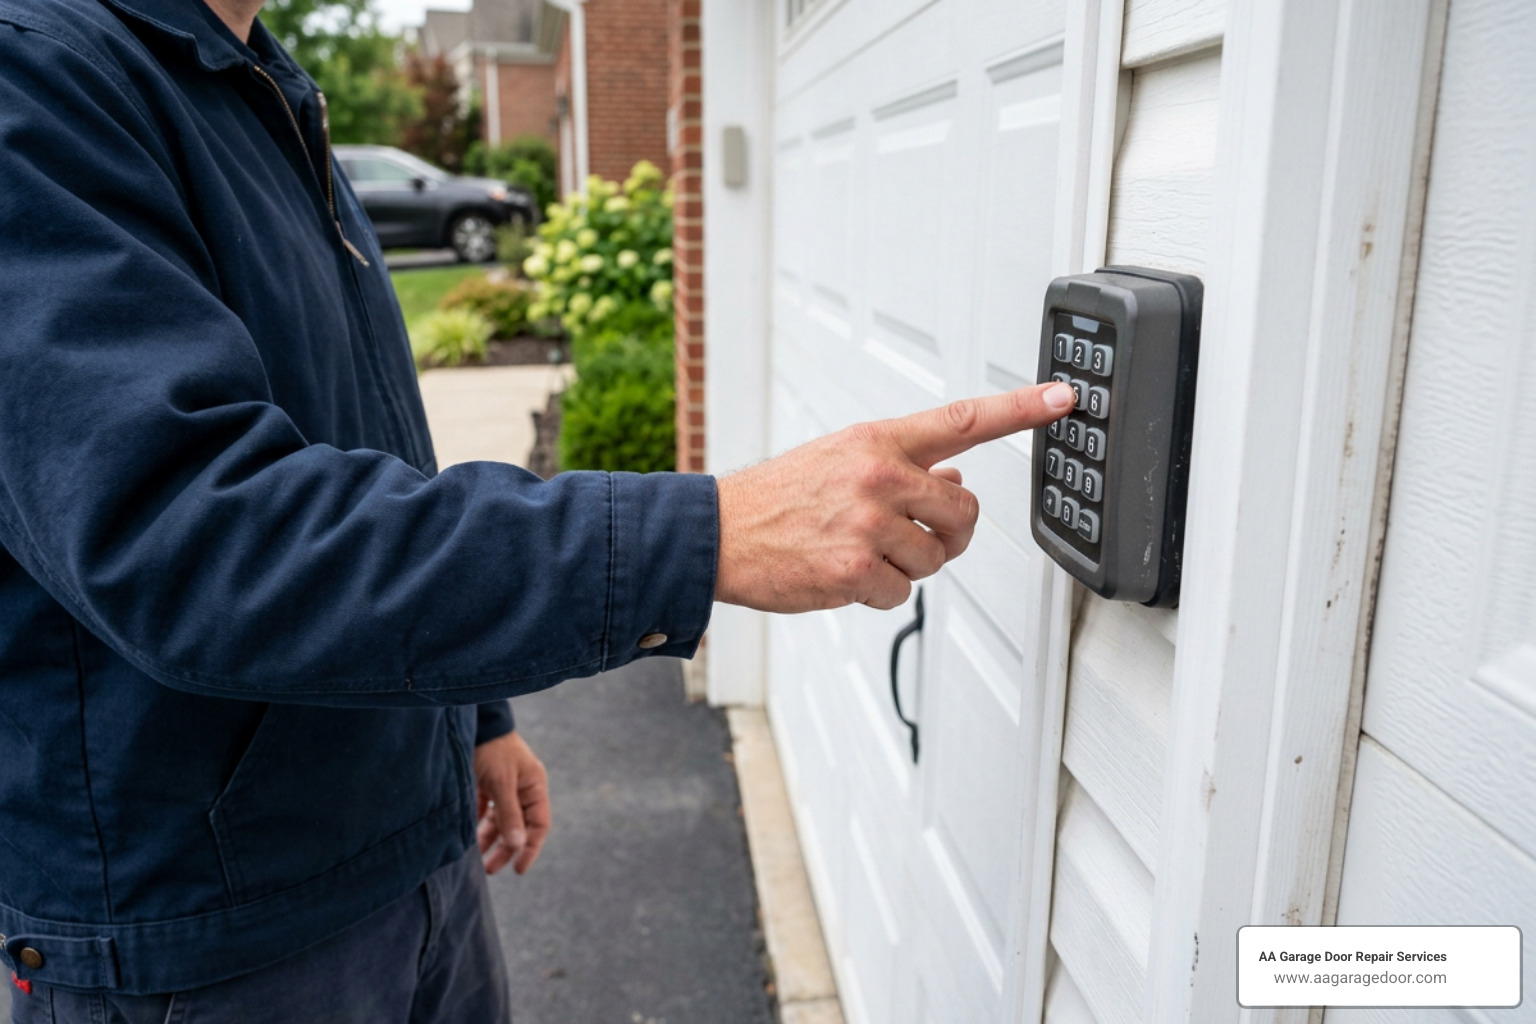
- Quickly walk over to your wall-mounted wireless keypad outside the garage.
- Press and release the Learn button on the motor unit once (do not hold it this time). The indicator light will glow steadily for 30 seconds, signaling that it is in pairing mode.
- Within that 30-second window, enter your chosen 4-to-6-digit PIN on the outside keypad.
- Press and hold the Enter or Program button on the keypad until you see the light bulbs on the overhead motor unit blink, or hear two distinct clicking sounds. This confirms the new code has been successfully saved.
For advanced keypad settings, including how to set up temporary PINs for guests or service workers, check out our Universal Garage Door Keypad Complete Manual.
Step 4: Sync Your Handheld Remotes
Because clearing the motor’s memory in Step 2 erased all paired accessories, your handheld visor remotes will no longer open the door. You must now sync them back up with your new system configuration.
To sync your remotes:
- Press and release the Learn button on the overhead motor unit.
- Within 30 seconds, press and hold the main button on your handheld remote control.
- Hold the remote button down until the opener lights flash or click, indicating that the remote has successfully paired with the motor’s updated rolling code.
- Repeat this process for any additional remotes in your household.
For more detailed remote programming tips, read our article on New Home, New Code: Reprogram Your Garage Door Remote.
Step 5: Test the System for Proper Operation
Before packing away your ladder, you must test the entire system to ensure the new codes are saved correctly and the safety mechanisms are functioning perfectly.
To test your system:
- Stand outside your closed garage door and enter your new PIN on the keypad, followed by the Enter key. The door should open smoothly.
- Once open, enter the code again to close the door.
- If the door starts closing and then reverses instantly, check to make sure your safety sensors at the base of the door are aligned and free of obstructions.
- Finally, test each of your handheld remotes from inside your car to ensure consistent range and operation.
If your keypad fails to respond or continues to flash erratically during this stage, refer to the troubleshooting steps outlined in Garage Door Keypad Wrong Code? How to Reset and Set a New PIN (Forgot the Code) – Garage opener fix.
Brand-Specific Reset Instructions for Major Manufacturers
While the general five-step reset method applies to most modern systems, programming nuances exist between major manufacturers. Understanding these differences can save you from unnecessary frustration.
| Opener Brand | Learn Button Color/Type | Keypad Reset Sequence | Memory Erase Time |
|---|---|---|---|
| LiftMaster / Chamberlain | Yellow, Purple, Red/Orange, Green | Press Learn, enter PIN + press ENTER | Hold Learn for 6 seconds |
| Genie / Overhead Door | Gray/Black (labeled “Program”) | Hold Program until LED flashes, enter PIN + press UP/DOWN | Hold Program for 10 seconds |
| Craftsman (Older Models) | Red/Orange or Green | Press Learn, enter PIN + press ENTER | Hold Learn for 6 seconds |
| DIP Switch Systems | No button (uses physical switches) | Match physical switch positions on receiver and keypad | Change physical switch patterns manually |
How to Reset the Garage Door Code for LiftMaster and Chamberlain
LiftMaster and Chamberlain openers (including those equipped with myQ smart technology) utilize a highly secure color-coded Learn button system. The color of your button dictates the radio frequency and the specific rolling-code generation your system uses.
- Yellow Button (Security+ 2.0): This is the most common modern configuration. Press and release the yellow Learn button, then enter your new PIN on the keypad and hold ENTER until the opener light blinks.
- Purple Button (Security+ 315 MHz): Press and release the purple Learn button. Within 30 seconds, enter your new PIN on the keypad and hold ENTER for several seconds until the motor clicks.
For a comprehensive guide on matching your specific button color to the correct replacement accessories, see our Universal Garage Door Opener Keypad Guide.
Resetting Genie and Overhead Door Intellicode Systems
Genie and Overhead Door systems use “Intellicode” technology, which requires a slightly different approach than Chamberlain models.
To reset a Genie Intellicode system:
- Locate the Program/Set button on the bottom or back of the motor unit.
- Press and hold the button until the round LED indicator light turns blue, then release it.
- The long LED next to it will begin flashing purple.
- Go to your keypad, enter your new 4-digit PIN, and press the Up/Down or Program button 3 to 4 times slowly until the door activates.
For more details on Genie-specific frequency codes, check our Universal Garage Door Opener Codes Guide.
Resetting Older Craftsman and DIP Switch Openers
If your garage door opener was manufactured before 1993, it likely does not have a Learn button. Instead, these legacy systems utilize physical “DIP switches” to establish a secure connection.
To reset a DIP switch system:
- Slide open the battery cover on your remote control and the back cover of your wireless keypad to locate the row of 8 to 12 tiny physical switches.
- Locate the matching row of switches inside the overhead motor unit.
- Flip the switches on the keypad and remote so they perfectly match the exact pattern of the switches on the motor receiver.
- Because these systems operate on static 390 MHz frequencies, they are highly vulnerable to code-grabbing devices. We strongly recommend upgrading these older units to modern rolling-code systems to protect your home.
Learn more about the security limitations of older models in our article, The Truth About Universal Garage Door Codes and Keypads.
Troubleshooting Common Keypad Reset Issues
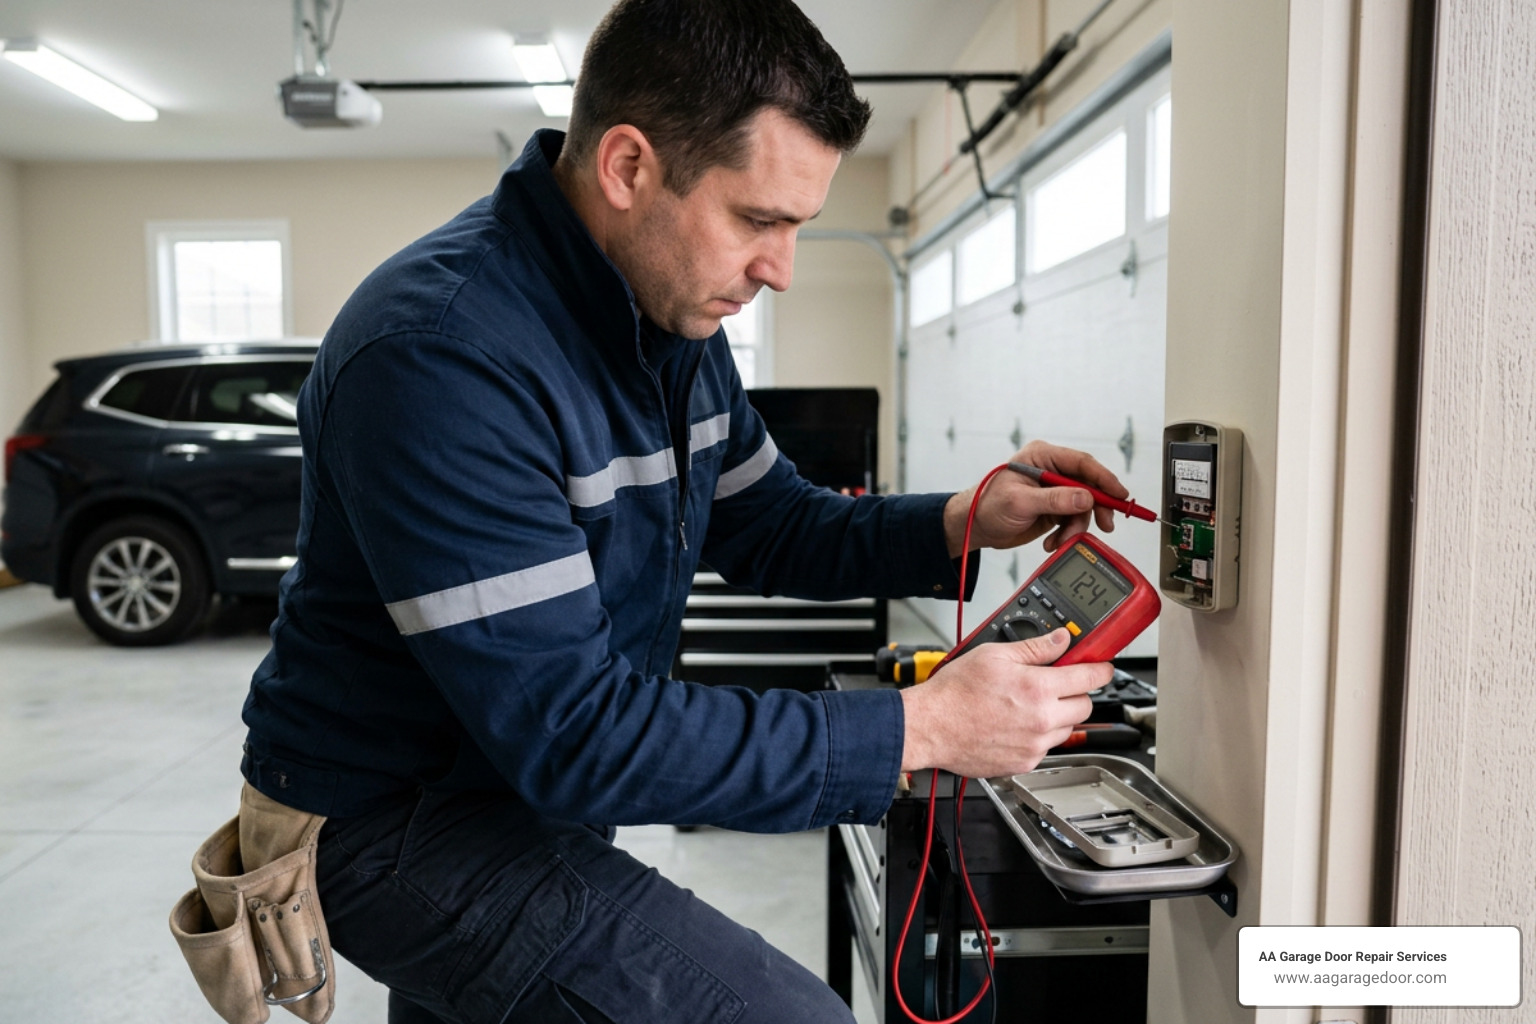
If you have followed the steps above and your new code still fails to operate the door, do not panic. Most programming failures are caused by simple, easily correctable system issues rather than a broken motor.
- Weak Keypad Batteries: This is the single most common culprit. Even if your keypad’s buttons light up, the battery may not have enough power to transmit a strong radio frequency signal to the overhead motor unit. Always install a fresh, high-quality 9V battery before attempting a system reset.
- Radio Frequency (RF) Interference: If your remotes only work when you are standing directly next to the motor unit, you are likely experiencing RF interference. This is frequently caused by standard LED light bulbs installed inside the garage door opener itself. Standard LEDs emit electromagnetic noise that blocks the opener’s receiver. Swap them out for specialized, garage-rated LED bulbs or traditional incandescent bulbs.
- Lock or Vacation Mode: Check the wall-mounted control panel inside your garage. If the “Lock” or “Vacation” button has been accidentally pressed, the receiver will reject all wireless signals from keypads and remotes. Simply press and hold the Lock button on the wall panel for 2 to 3 seconds to disable this security lockout feature.
- Keypad Lockout Mode: If you or a family member entered the wrong code too many times, many modern keypads will enter a temporary security lockout mode for 5 minutes. During this window, the keypad will blink continuously and refuse to register any new inputs. Wait 5 full minutes without touching the keypad before attempting to program it again.
For a deeper dive into diagnosing complex keypad issues, read our guide What’s Your Garage Door’s Secret? A Look at Codes and Keypads.
Frequently Asked Questions About Garage Door Codes
Can I reset my garage door keypad if I forgot the old code?
Yes. You do not need to know the old code to reset your keypad. By pressing and holding the Learn button on the overhead motor unit for 6 to 10 seconds, you bypass the keypad entirely and wipe the opener’s memory clean. You can then program a brand-new PIN of your choice directly into the system.
Will resetting my keypad code erase my handheld remotes?
Yes. Performing a full memory clear by holding down the Learn button will erase all paired accessories, including handheld remotes, wireless keypads, and vehicle HomeLink systems. You will need to individually re-pair each remote and vehicle link to the motor unit after you have finished setting up your new keypad PIN.
How do I program my vehicle’s HomeLink system after a reset?
With over 42 million vehicles on U.S. roads equipped with HomeLink systems, syncing your car is a common post-reset step.
- Press and hold the two outer buttons on your vehicle’s in-car HomeLink console until the indicator light begins flashing rapidly to clear old data.
- Hold your handheld garage remote 1 to 3 inches away from the HomeLink button you wish to program.
- Simultaneously press and hold both the handheld remote button and the desired HomeLink button until the vehicle’s indicator light changes from slow to rapid flashing.
- Finally, press and release the Learn button on your garage motor unit, walk back to your car within 30 seconds, and press the programmed HomeLink button twice to complete the connection.
Conclusion
Resetting your garage door code is a straightforward, highly effective way to keep your home, family, and belongings secure. Whether you have just moved into a new home in Woodbury, MN, lost a remote in Baldwin, WI, or simply want to update an old code in Hudson, WI, following this guide will help you complete the task quickly and safely.
While many programming and battery issues can be resolved with a bit of DIY troubleshooting, some garage door problems require expert attention. If your keypad remains completely unresponsive, your motor unit fails to enter programming mode, or you suspect your opener’s receiver board has failed, the team at AA Garage Door Repair Services is here to help.
Since 2001, we have provided fast, reliable, and transparent garage door solutions across the Twin Cities metro area and Western Wisconsin. We offer comprehensive garage door opener services and professional maintenance to keep your home’s largest entry point operating safely and securely. If you live in the Apple Valley area, you can also easily access our local Apple Valley Garage Door Repair team.
Don’t leave your home’s security to chance. If you need assistance resetting your system, programming new accessories, or upgrading to a secure rolling-code opener, our local experts are available 24/7 to ensure your garage door remains safe, secure, and fully operational!