How to Program a Chamberlain Garage Door Opener Keypad (Quick Answer)
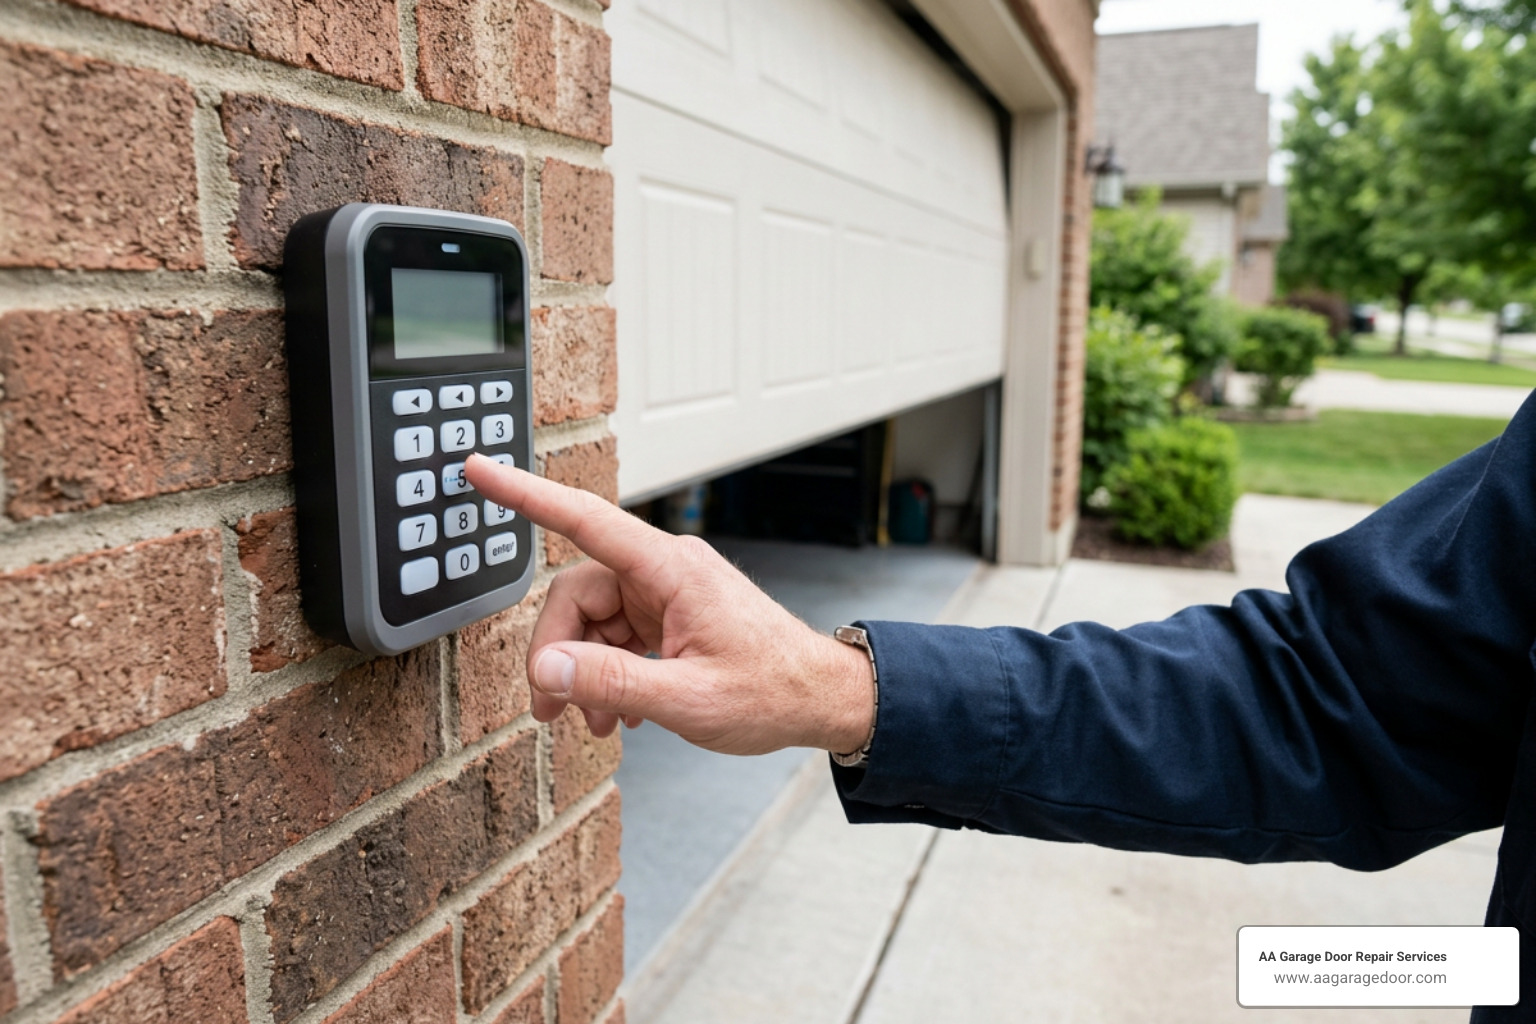
Learning how to use a Chamberlain garage door opener program keypad is simpler than most homeowners expect — once you know your opener’s Learn button color. If you need professional assistance, you can always rely on AA Garage Door Repair Services for expert support.
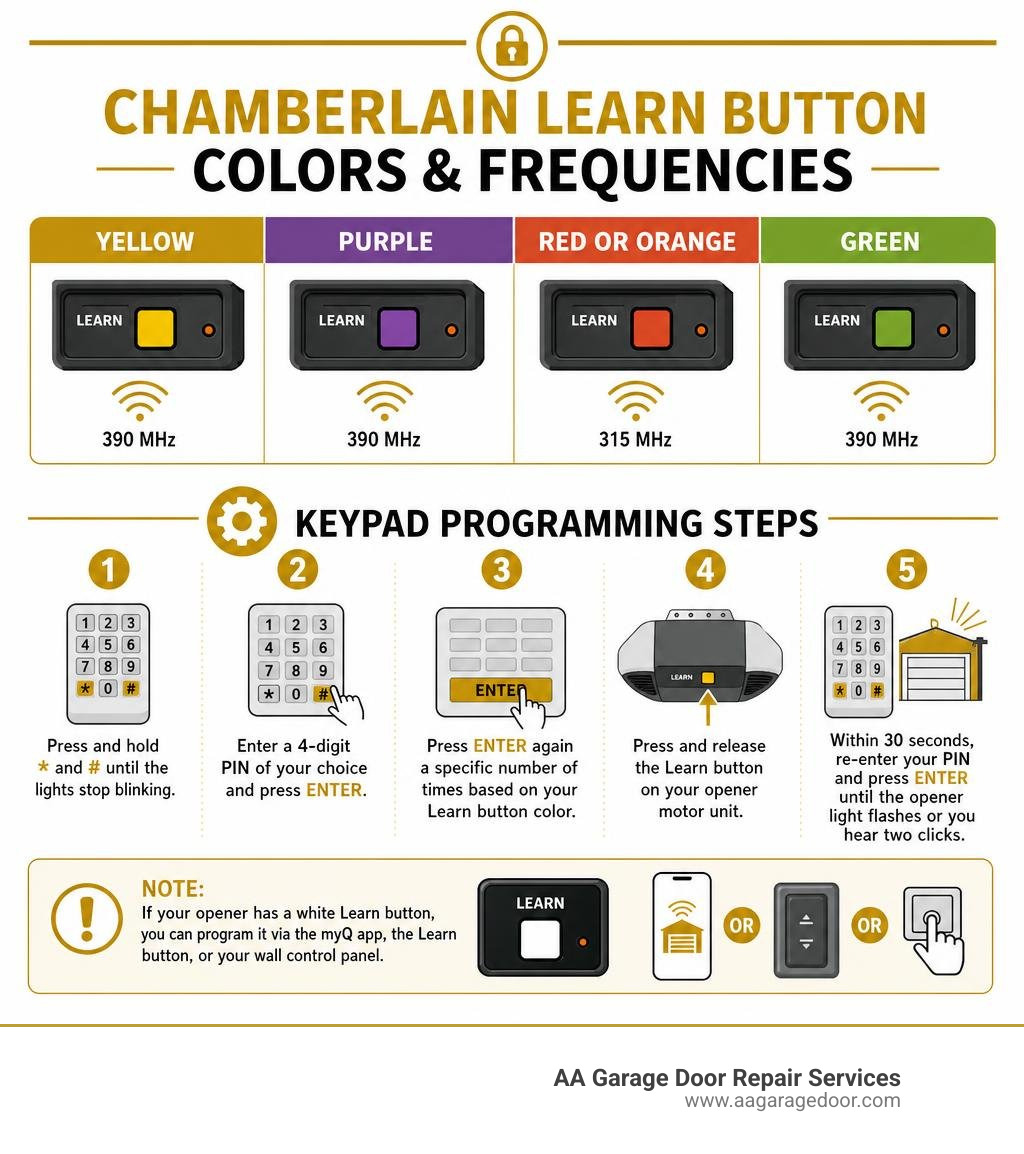
Here are the core steps to program most Chamberlain keypads:
- Press and hold * and # on the keypad until the lights stop blinking.
- Enter a 4-digit PIN of your choice and press ENTER.
- Press ENTER again a specific number of times based on your Learn button color (see table below).
- Press and release the Learn button on your opener motor unit.
- Within 30 seconds, re-enter your PIN and press ENTER until the opener light flashes or you hear two clicks.
| Learn Button Color | Press ENTER This Many Times |
|---|---|
| Yellow | 1 time |
| Purple | 2 times |
| Red or Orange | 3 times |
| Green | 4 times |
Note: If your opener has a white Learn button, you can program it via the myQ app, the Learn button, or your wall control panel.
Your garage door opener model determines which method applies — the sections below cover every major Chamberlain keypad type in detail.
I’m David Sands, owner of AA Garage Door LLC, with over 23 years of hands-on experience servicing and programming Chamberlain garage door opener keypads across the Twin Cities and Western Wisconsin. Whether it’s a stubborn 940EV that won’t sync or a universal CHU48 needing setup from scratch, I’ve worked through every scenario this guide covers.
If you are currently struggling to get your keypad working, our team at AA Garage Door Repair Services is always ready to help. We provide fast, reliable, 24/7 service with transparent pricing across St. Paul, Woodbury, Hudson, and Baldwin.
Let’s explore exactly how you can get your keypad up and running without pulling your hair out!
How to Identify Your Chamberlain Keypad Model
Before climbing up a ladder to press buttons on your opener, you must identify exactly which wireless keyless entry model you own. Attempting to program a keypad using the wrong manual is a recipe for frustration.
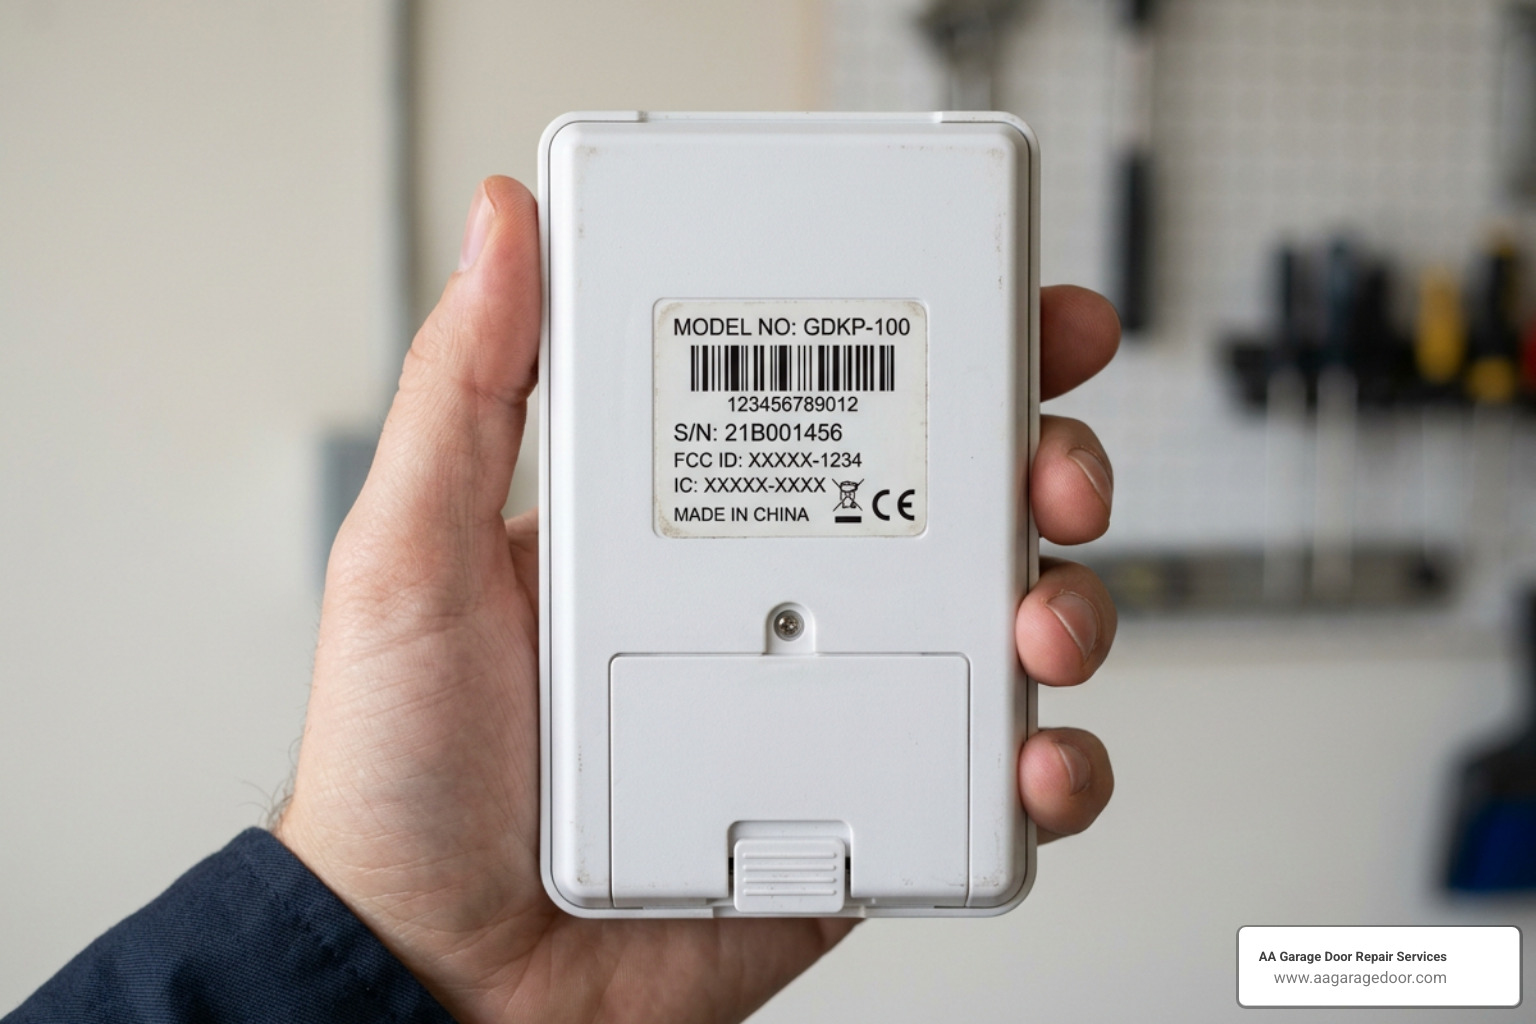
Locate the Identification Sticker
The easiest way to identify your keypad model is to look at the casing. Most Chamberlain keypads feature a sticker with the model number located on the back of the device. To see this, you will need to slide the keypad up and off its mounting screws.
Common Chamberlain models include:
- Standard Models: 940EV, 940EVC, 940ESTD, and 940D.
- Universal Models: CHU48, CHU48C, and Clicker KLIK2U / KLIK2U-P2.
- Security+ 3.0 Wireless Keypads: The newest generation of wireless keypads.
Modern myQ and Security+ 3.0 Models
If you have one of the newest Security+ 3.0 wireless keypads, you can bypass the traditional manual button-pressing sequence entirely. These cutting-edge models support fast digital setup. Simply scan the QR code located on the back of the keypad using your smartphone’s myQ app to walk through an automated pairing process.
Backwards Compatibility
A common question we hear in the field is whether newer keypads work with older garage door openers. Remote controls and keyless entries ending with the part number EV or MAX are backwards compatible with all Chamberlain, LiftMaster, and Craftsman garage door openers manufactured after 1993 (the year safety photoelectric sensors became legally mandated).
For detailed official specifications, you can review the 940EV, 940EV-P2, 940EVC, 940EVC-P2 Wireless Keyless Entry Instructions or check out our comprehensive Garage Door Opener Keypad Complete Guide.
How to Use the Manual Method to Program a Chamberlain Garage Door Opener Keypad (940EV/940EVC)
The Chamberlain 940EV and 940EVC are among the most popular keypads on the market. Programming them manually requires matching the device to the radio frequency of your opener, which is indicated by the color of the Learn button on the motor unit head.
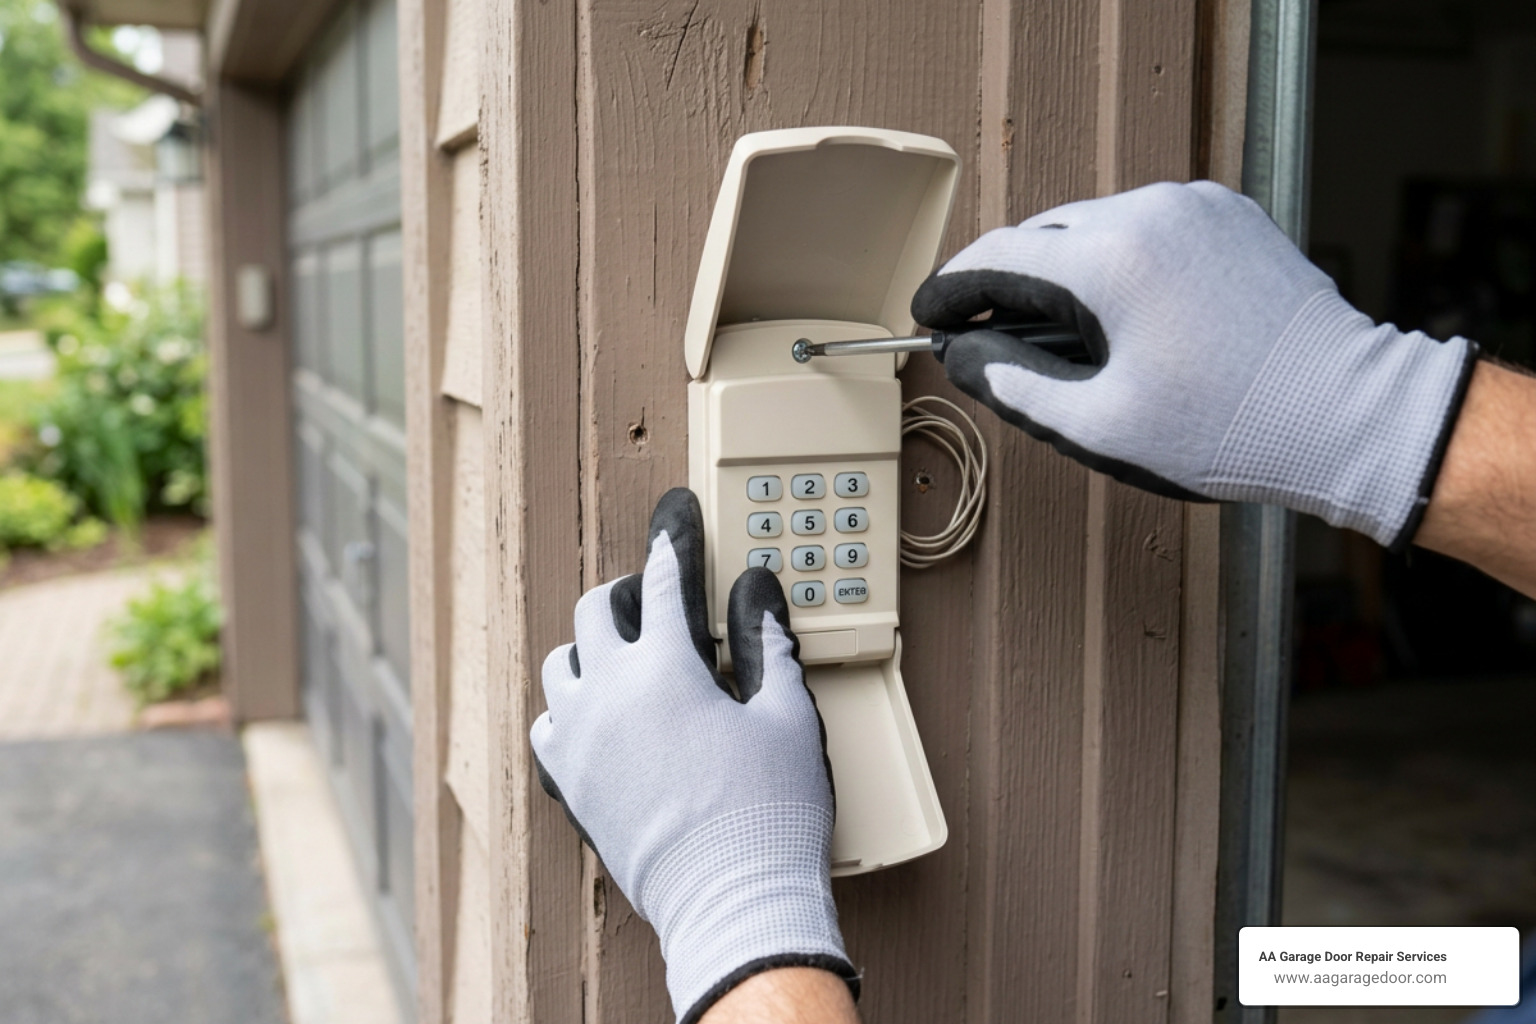
The Step-by-Step Programming Process
- Prepare the Keypad: Slide the keypad cover open. Press and hold the * and # buttons simultaneously until the keypad’s LED lights stop blinking and stay solid.
- Choose a PIN: Enter a personal 4-digit PIN of your choice, then press and release the # button.
- Set the Opener Type: Press and release the ENTER button a specific number of times based on your opener’s Learn button color:
- Yellow Learn Button: Press ENTER 1 time
- Purple Learn Button: Press ENTER 2 times (Note: Purple buttons can fade over time and look brown).
- Red/Orange Learn Button: Press ENTER 3 times
- Green Learn Button: Press ENTER 4 times
- Save the Selection: Press and release the 0 button to exit programming mode.
- Sync with the Opener: Climb your ladder and locate the Learn button on your garage door opener motor unit. Press and immediately release the Learn button (do not hold it down, as this will erase your remotes). The Learn indicator LED will glow steadily.
- Pair the Devices: You have a 30-second window to complete this step. Return to the keypad, enter the 4-digit PIN you chose in Step 2, and press and hold the ENTER button. Release the button as soon as the garage door opener motor light bulb flashes or you hear two clicks.
Testing your setup is easy: wait for the keypad lights to go out, enter your PIN, and press ENTER. The door should smoothly open or close. For more tips on setting up codes, read our guide on How to Set Garage Door Code in 5 Easy Steps. For official documentation, refer to the 114A3926 WIRELESS KEYLESS ENTRY MODELS 940EV AND 940EVC manual.
Step-by-Step Guide to Chamberlain Garage Door Opener Program Keypad Setup for Universal Models (CHU48)
If you own the universal wireless keypad models CHU48 or CHU48C, the setup process is slightly different. These universal keypads are designed to work with multiple brands, meaning they use a unique handshake protocol.
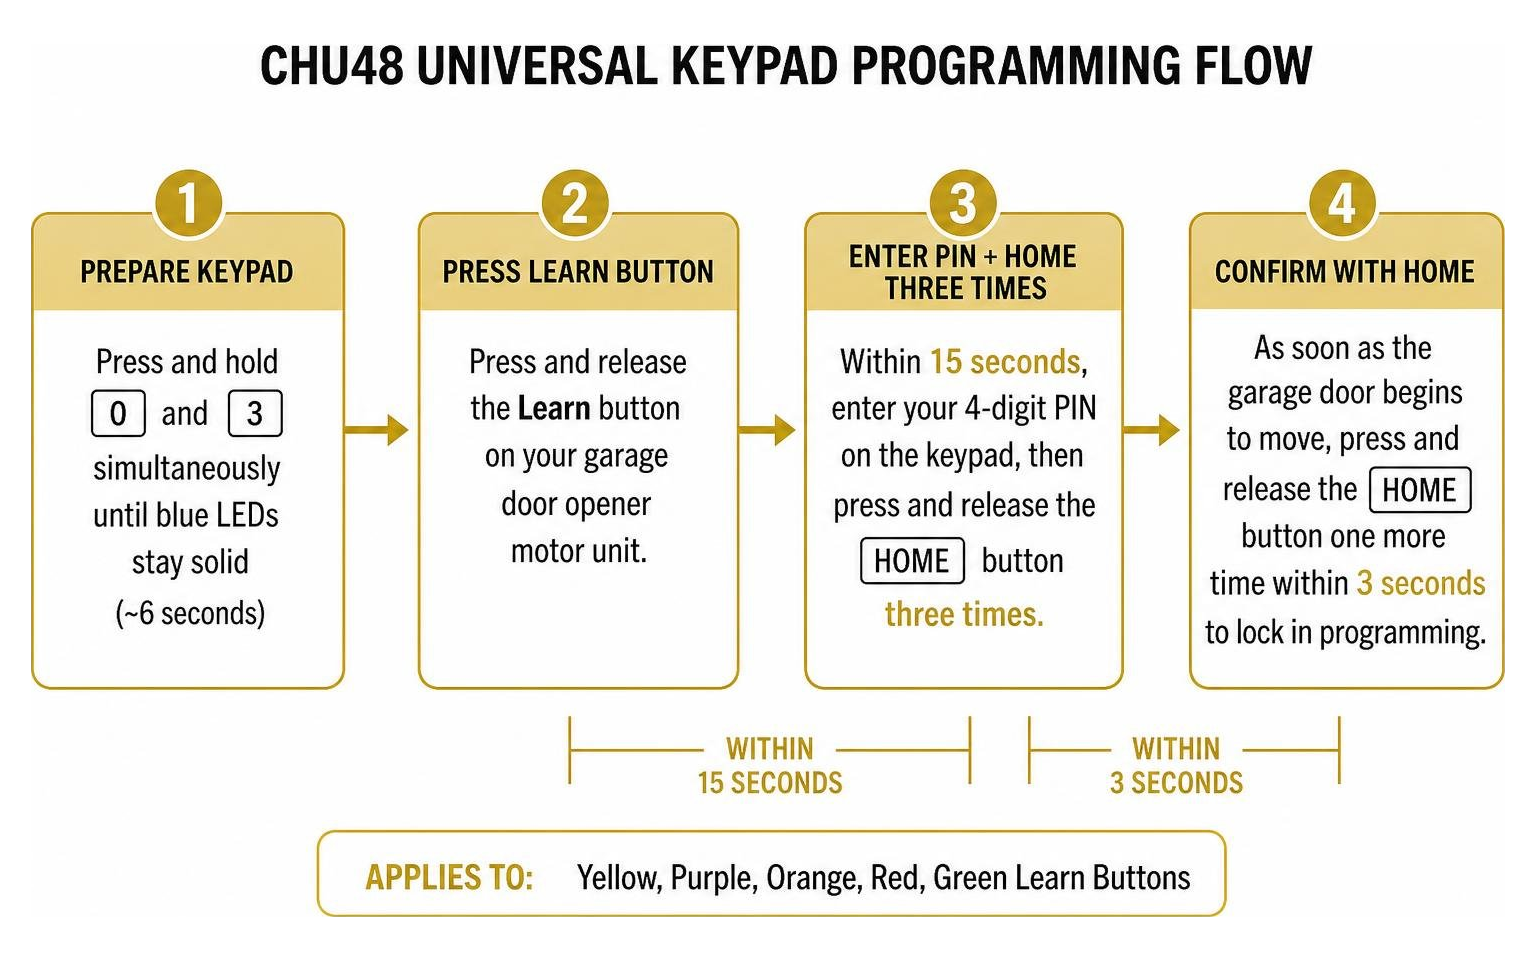
Programming Steps for Colored Learn Buttons (Yellow, Purple, Orange, Red, Green):
- Press and hold the 0 and 3 buttons on the keypad simultaneously until the blue LEDs stay solid (this typically takes about 6 seconds).
- Press and release the Learn button on your garage door opener motor unit.
- Within 15 seconds, enter your desired 4-digit PIN on the keypad, then press and release the HOME button three times.
- As soon as the garage door begins to move, press and release the HOME button one more time within 3 seconds to lock in the programming.
Programming Steps for White Learn Buttons and myQ:
Chamberlain openers featuring a white Learn button represent smart, modern systems. You can program your CHU48 keypad directly using the myQ app, which walks you through digital PIN management, or you can use your physical wall-mounted control panel inside the garage.
To program via the wall control panel:
- Press the Learn button on the control panel twice.
- Enter your chosen 4-digit PIN on the keypad within 30 seconds.
- Press and hold the ENTER key on the keypad until the opener’s light bulb flashes.
To read more about universal compatibility, consult the Chamberlain CHU48, CHU48C Product Manual – English, French, Spanish or our Universal Garage Door Keypad Complete Manual.
Programming a Clicker Universal Keypad (KLIK2U) to Your Chamberlain Opener
The Clicker KLIK2U-P2 is another highly popular universal option. To configure this model, you must use a specific “Opener ID” that corresponds to your Chamberlain opener’s manufacture date and button color.
| Opener Brand / Learn Button Color | Opener ID |
|---|---|
| Chamberlain with Green Learn Button (1993-1996) | 2 |
| Chamberlain with Orange/Red Learn Button (1997-2004) | 3 |
| Chamberlain with Purple Learn Button (2005-Present) | 10 |
| Chamberlain with Yellow Learn Button (2011-Present) | 8 |
Clicker KLIK2U Programming Instructions:
- Press and hold the * and # keys together until the keypad LEDs stop flashing and stay lit.
- Enter your new 4-digit PIN and press the # key.
- Enter your specific Opener ID from the table above, then press the # key.
- Go to your garage door opener motor unit and press and release the Learn button.
- Return to the keypad, enter your 4-digit PIN, and press the 0 key. (Note: For Genie or Overhead Door openers, you would press the 0 key twice, but for Chamberlain, you only press it once).
- To test, enter your PIN and hold the 0 key down until the door begins to move.
For complete click-by-click instructions, check out the Chamberlain KLIK2U-P2 Programming Instructions – English, French or read our Ultimate Program Universal Garage Door Keypad Guide.
Advanced Keypad Settings: PIN Changes, Temporary Codes, and One-Button Close
Once your keypad is synchronized, you can unlock advanced features. Whether you need to change your PIN for security, give temporary access to a dog walker, or toggle the convenient “One-Button Close” feature, Chamberlain keypads make it simple.
| Feature | Action Required | Keypad Combo |
|---|---|---|
| Change Permanent PIN | Update your master entry code | Current PIN to Hold # (or *) to New PIN to ENTER |
| Set Temporary PIN (Hours) | Grant access for a set time limit | Master PIN to Hold * to Temp PIN to ENTER to Number of Hours to ENTER |
| Set Temporary PIN (Openings) | Grant access for a set number of uses | Master PIN to Hold * to Temp PIN to ENTER to Number of Openings to ENTER |
| Toggle One-Button Close | Close door without entering PIN | Press and hold 1 and 9 keys together for 10 seconds |
How to Change Your Permanent PIN
If you know your current PIN and simply want to update it for security reasons:
- Enter your existing 4-digit PIN on the keypad.
- Press and hold the # button until the keypad lights blink twice.
- Enter your new 4-digit PIN and press the ENTER button. The keypad lights will flash to confirm the change.
Setting up a Temporary PIN for Guest Access
You can program a temporary PIN that automatically expires after a specific number of hours or a set number of door openings (up to 255). This is perfect for home renovations or pet sitters in the St. Paul area.
- Enter your permanent master PIN.
- Press and hold the * button until the keypad lights blink three times.
- Enter your temporary 4-digit PIN and press ENTER.
- Now, define the limit:
- To limit by hours: Enter the number of hours (1 to 255), then press ENTER.
- To limit by number of openings: Enter the number of openings (1 to 255), then press ENTER.
Managing the “One-Button Close” Feature
The One-Button Close feature allows anyone to close the garage door by pressing just the ENTER (or HOME) button, without entering a PIN. This is highly convenient but can be disabled if you have children playing nearby who might accidentally close the door.
- To Enable/Disable: Press and hold the 1 and 9 keys simultaneously for 10 seconds. The keypad will blink twice to indicate One-Button Close is enabled, or four times to indicate it has been disabled.
Learn more about managing codes with the official How to Add, Program or Change a Keyless Entry PIN guide or our local Change Code Garage Door Keypad Guide.
How to Reset a Chamberlain Keypad to Factory Default Settings
If you have forgotten your PIN entirely or bought a home with an existing keypad, performing a hard factory reset is the best way to start fresh.
A factory reset reverts the keypad to its original multi-channel default settings. For Chamberlain keypads, the standard factory default code is 1111# for the first channel (Door 1) and 2222# for the second channel (Door 2).
Step-by-Step Factory Reset:
- Slide the keypad’s battery cover down and remove the 9V battery.
- Locate the small Reset button inside the battery compartment.
- Press and hold the Reset button using a pen or small screwdriver.
- While holding the button, reinstall the 9V battery.
- Continue holding the Reset button for approximately 5 seconds until you hear a beep or the keypad lights flash, indicating the reset was successful.
Once reset, you can begin programming your new custom 4-digit PIN using the standard programming steps outlined above. For troubleshooting assistance, refer to our Universal Garage Door Keypad Reset Guide.
Troubleshooting and Clearing Opener Memory
Sometimes, a newly installed keypad or remote control refuses to program no matter how many times you follow the instructions. In our experience servicing doors in Baldwin and Woodbury, this is usually caused by a memory conflict on the opener’s logic board.
How to Clear All Codes from Your Opener
If your opener’s memory is full, it will reject new devices. Clearing the memory will erase all programmed remotes and keypads, allowing you to reprogram them one by one without interference.
- Locate the Learn button on your garage door opener motor unit.
- Press and hold the Learn button for approximately 6 seconds (or until the LED indicator light next to it turns off).
- All previous codes, remotes, and keypads are now completely erased from the opener’s memory.
- Reprogram your keypad first, followed by your handheld remotes.
For a detailed walkthrough on syncing remotes after clearing memory, check out our guide on How to Reset the Garage Door Remote in 5 Easy Steps.
Troubleshooting Tips: When Your Chamberlain Garage Door Opener Program Keypad Fails to Sync
If you’ve cleared the memory and your chamberlain garage door opener program keypad still won’t sync, check for these common issues:
- Program Button Timeout: The opener’s Learn button only stays active for 30 seconds. If you take too long walking down the ladder to enter your code, the opener will time out.
- RF Interference: LED light bulbs installed inside the garage door opener motor can emit radio frequency (RF) interference that blocks the keypad’s signal. Try temporarily removing the light bulbs and programming again.
- Metal Siding Blockage: If your keypad is mounted directly onto aluminum or steel siding, the metal can act as a shield and block the radio signal. Try holding the keypad in your hand a few feet away from the wall to program it. If it works, mount a small piece of wood behind the keypad to insulate it from the metal siding.
- Low Battery Power: Even if the keypad lights turn on, the battery may not have enough power to transmit a strong signal to the opener. Always use a fresh, high-quality 9V battery.
For more expert troubleshooting advice, read our guide on How to Reprogram a Garage Door Keypad the Right Way.
Frequently Asked Questions about Chamberlain Keypads
What battery does the Chamberlain keypad use and how do I replace it?
Chamberlain wireless keypads operate on a standard 9-Volt alkaline battery.
If you notice that the keypad’s LED lights are dim, blinking erratically, or failing to light up when you press buttons, it is time to replace the battery. To replace it:
- Slide the battery cover down and out.
- Disconnect the old 9V battery from the wire harness.
- Snap a fresh 9V battery into place.
- Slide the cover back on.
Note: Replacing the battery quickly (within 60 seconds) will preserve your programmed PIN, so you won’t have to reprogram the device.
Can I program one Chamberlain keypad to operate multiple garage doors?
Yes! Chamberlain keypads feature multi-channel programming, allowing you to operate up to static limits (typically 2 to 4 doors) using a single keypad.
To program additional doors, you must repeat the standard programming process for each door, but you must assign a unique PIN to each garage door opener. For example, use PIN 1234 for Door 1 and PIN 5678 for Door 2. The keypad will automatically route the signal to the correct opener based on the PIN you enter.
Why does my keypad only work to close the door but not open it?
If your keypad successfully closes the garage door with the One-Button Close feature but refuses to open it when you type your PIN, there are two likely causes:
- Incorrect PIN Entry: You may have entered the wrong PIN. The keypad only transmits the last four digits pressed before the ENTER key. If you make a mistake, simply keep typing your correct 4-digit PIN and press ENTER.
- Blocked Safety Sensors: If the door refuses to close and the opener lights flash, your photoelectric safety sensors at the bottom of the door tracks are likely misaligned or blocked. The keypad cannot override safety sensor blockages.
Conclusion
Programming a chamberlain garage door opener program keypad is a highly rewarding DIY project that adds incredible convenience to your home. By identifying your keypad model, matching the steps to your opener’s Learn button color, and keeping a fresh 9V battery installed, you can ensure reliable keyless access year-round.
However, if you’ve tried resetting your keypad, cleared your opener’s memory, and still can’t get your Chamberlain system to program, you don’t have to struggle alone.
At AA Garage Door Repair Services, we have been helping homeowners throughout St. Paul, Woodbury, Hudson, and Baldwin since 2001. We offer expert assistance with garage door openers and keypads, backed by our 24/7 emergency service and satisfaction guarantee.
Don’t let a stubborn keypad lock you out! Visit our Apple Valley location page to schedule a professional technician visit. We’ll have your garage door system running flawlessly in no time!